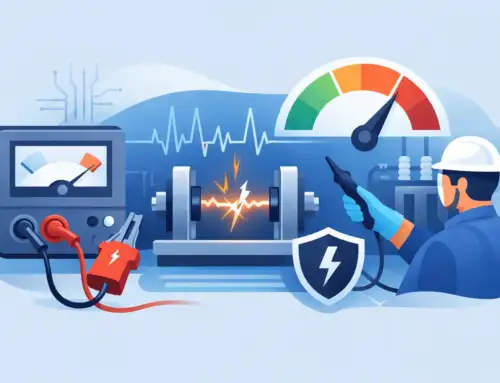
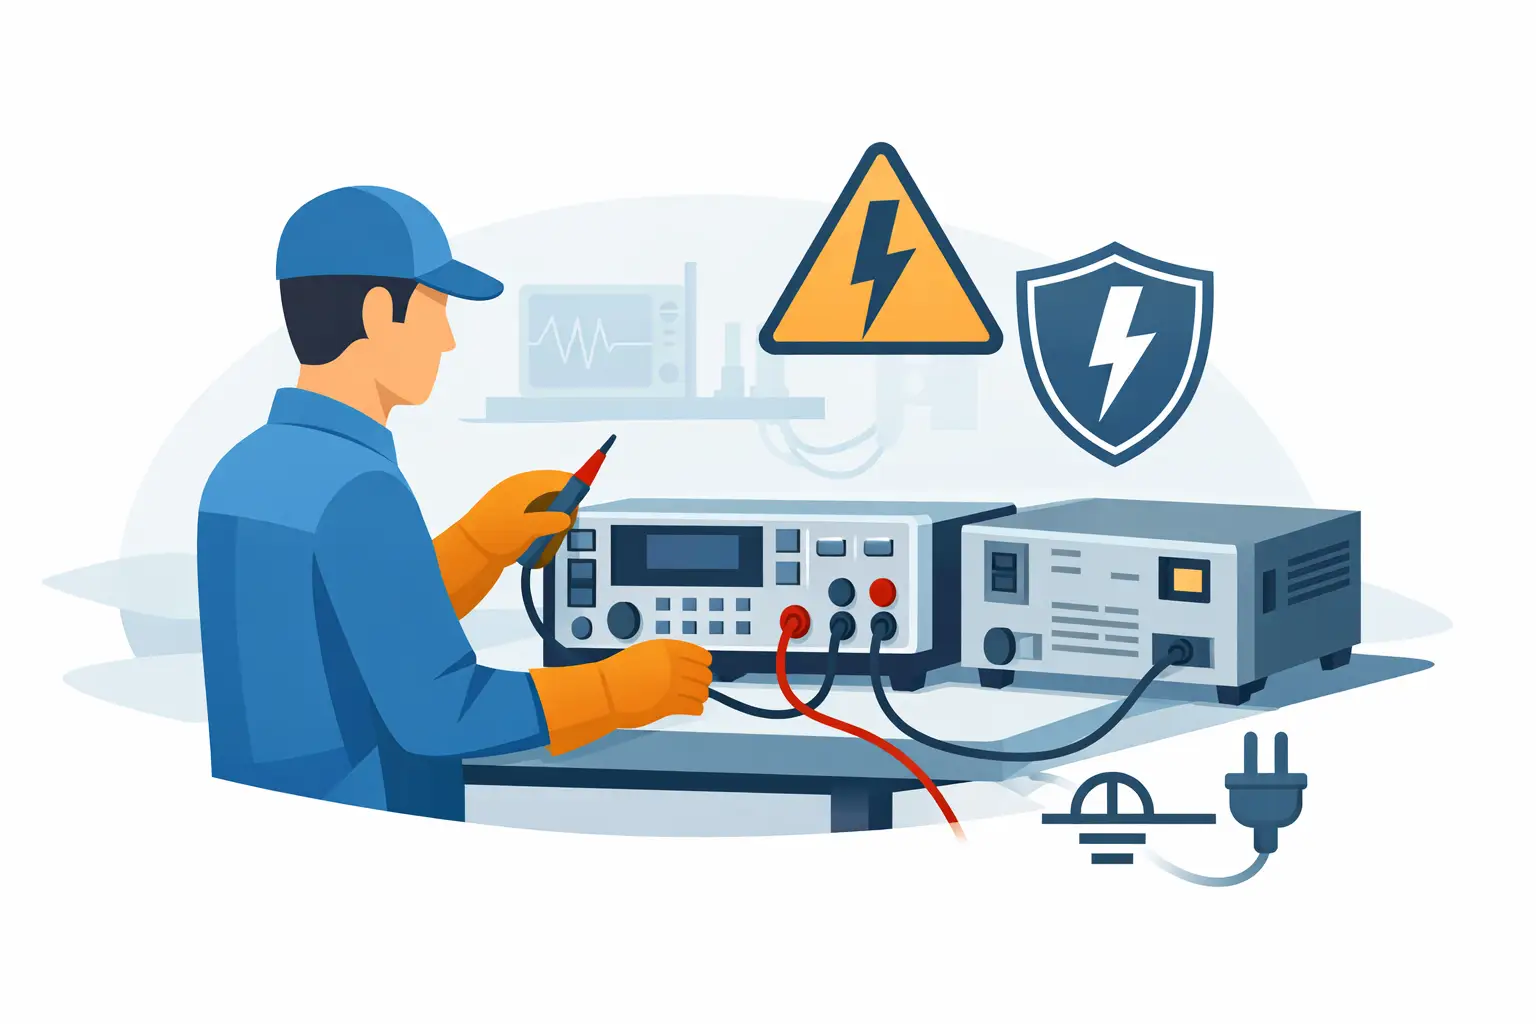
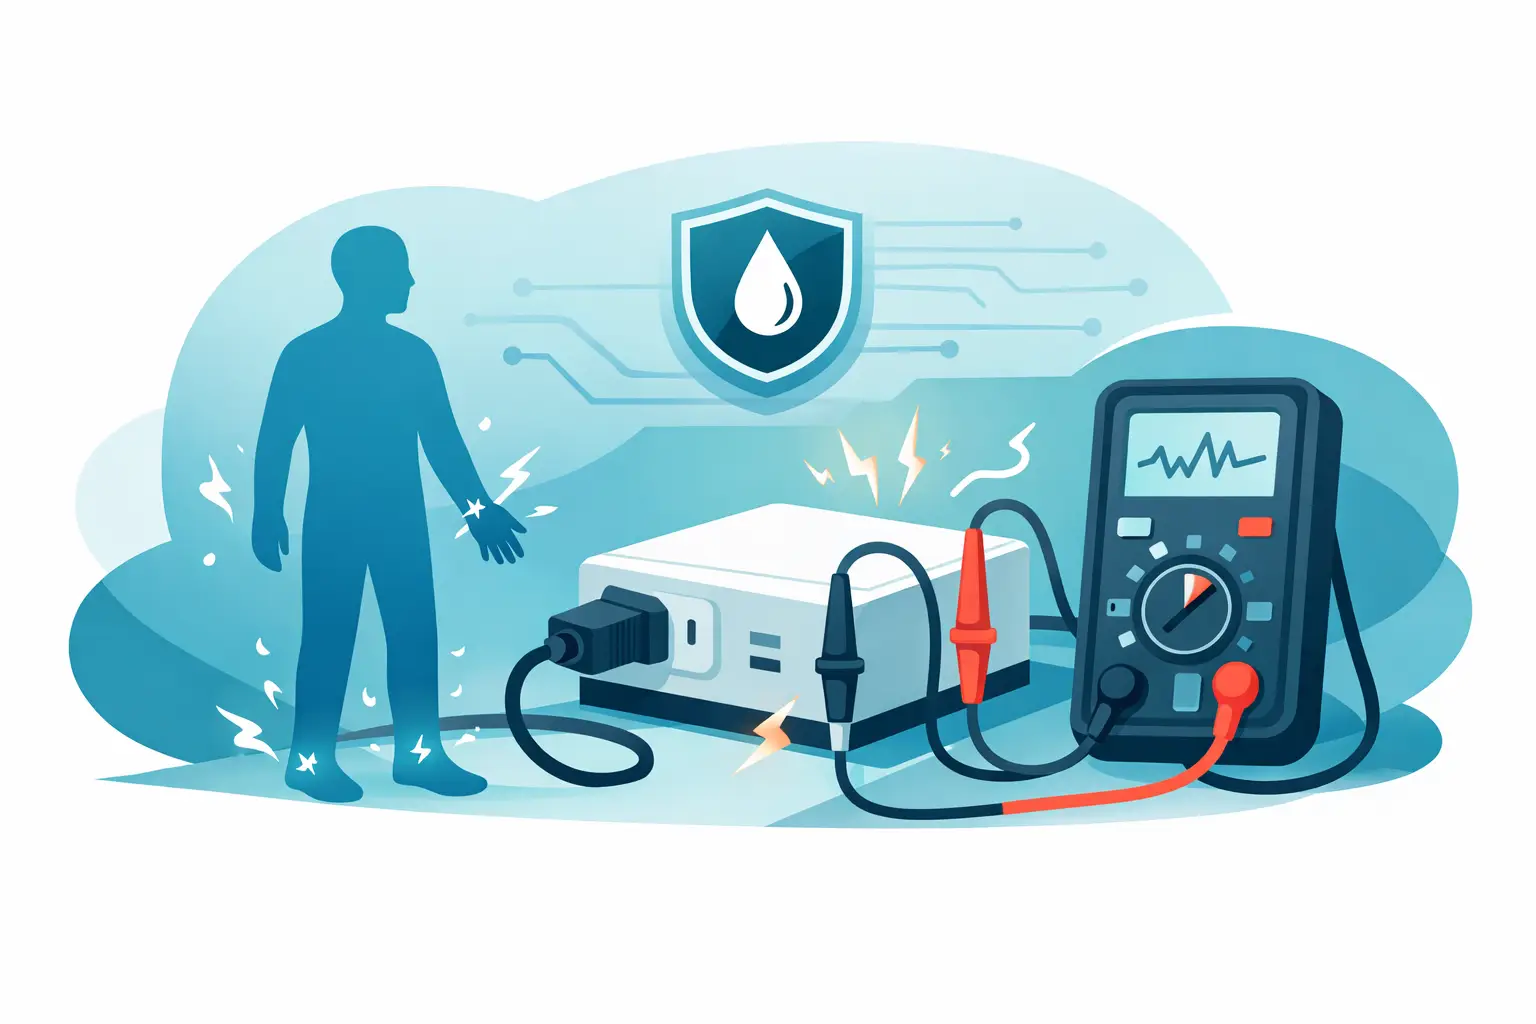
A leakage current reading that looks reasonable is not the same as a leakage current reading you can defend. In safety, compliance, and product validation work, the question is not only how to validate leakage current measurements, but how to prove that the value reflects the device under test rather than the test setup, instrument limits, or environmental noise.
Leakage current validation matters because the measurement sits at the intersection of product safety, regulatory requirements, and instrument performance. Small setup errors can shift results enough to trigger false failures, hide a real safety issue, or create unnecessary engineering churn. When teams treat validation as a formal measurement discipline instead of a quick confidence check, they get data that holds up during design reviews, audits, and certification testing.
What validation really means in leakage current testing
Validating a leakage current measurement is not a single action. It is the process of confirming that the instrument, fixture, method, and operating conditions produce results that are accurate, repeatable, and appropriate for the applicable standard.
That distinction matters. A calibrated tester can still produce invalid results if the wrong measuring network is selected, if fixture capacitance is too high, if grounding is inconsistent, or if the applied voltage does not match the intended test condition. Calibration confirms instrument performance against a reference. Validation confirms that the full measurement process is fit for use.
For engineering teams, that usually means answering five questions. Is the tester operating within traceable calibration? Is the measurement method aligned with the governing standard? Is the setup minimizing parasitic effects and external interference? Are the results repeatable across runs and operators? And does the observed value make physical sense for the product under test?
How to validate leakage current measurements in practice
The most reliable approach starts before the first reading is taken. Define the test objective first. Production screening, design verification, failure analysis, and formal compliance testing can all involve leakage current, but they do not always use the same limits, operating modes, or confidence thresholds.
Next, confirm the standard and measurement model. Medical electrical equipment, consumer products, industrial assemblies, and EV subsystems may reference different leakage current methods and body model networks. If the standard specifies a measuring device, supply configuration, polarity sequence, fault condition, or frequency range, those details are part of the measurement. Skipping them invalidates the result even if the number appears stable.
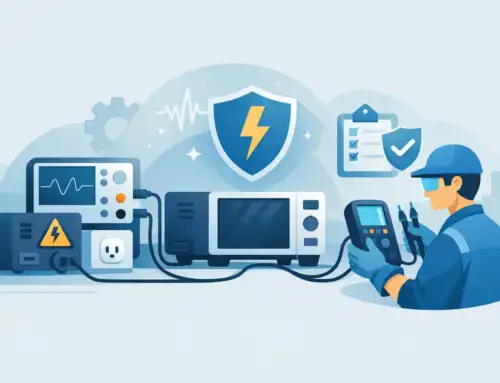
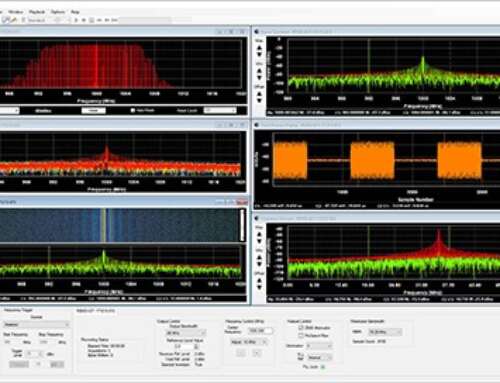
Then verify the instrument configuration. Range selection, bandwidth, filter settings, integration time, source voltage, and current measurement path all affect the reading. Leakage current is often low enough that instrument noise, zero offset, and coupling from nearby conductors become relevant. If the tester supports guard functions or configurable networks, confirm that these are set intentionally rather than left at prior test defaults.
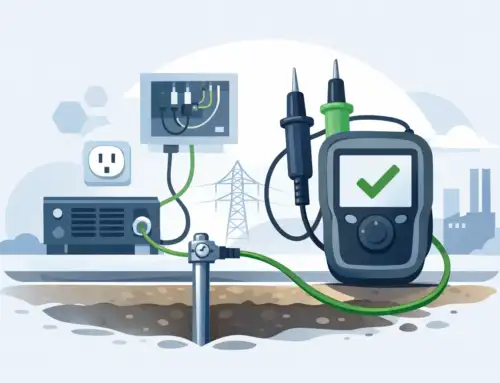
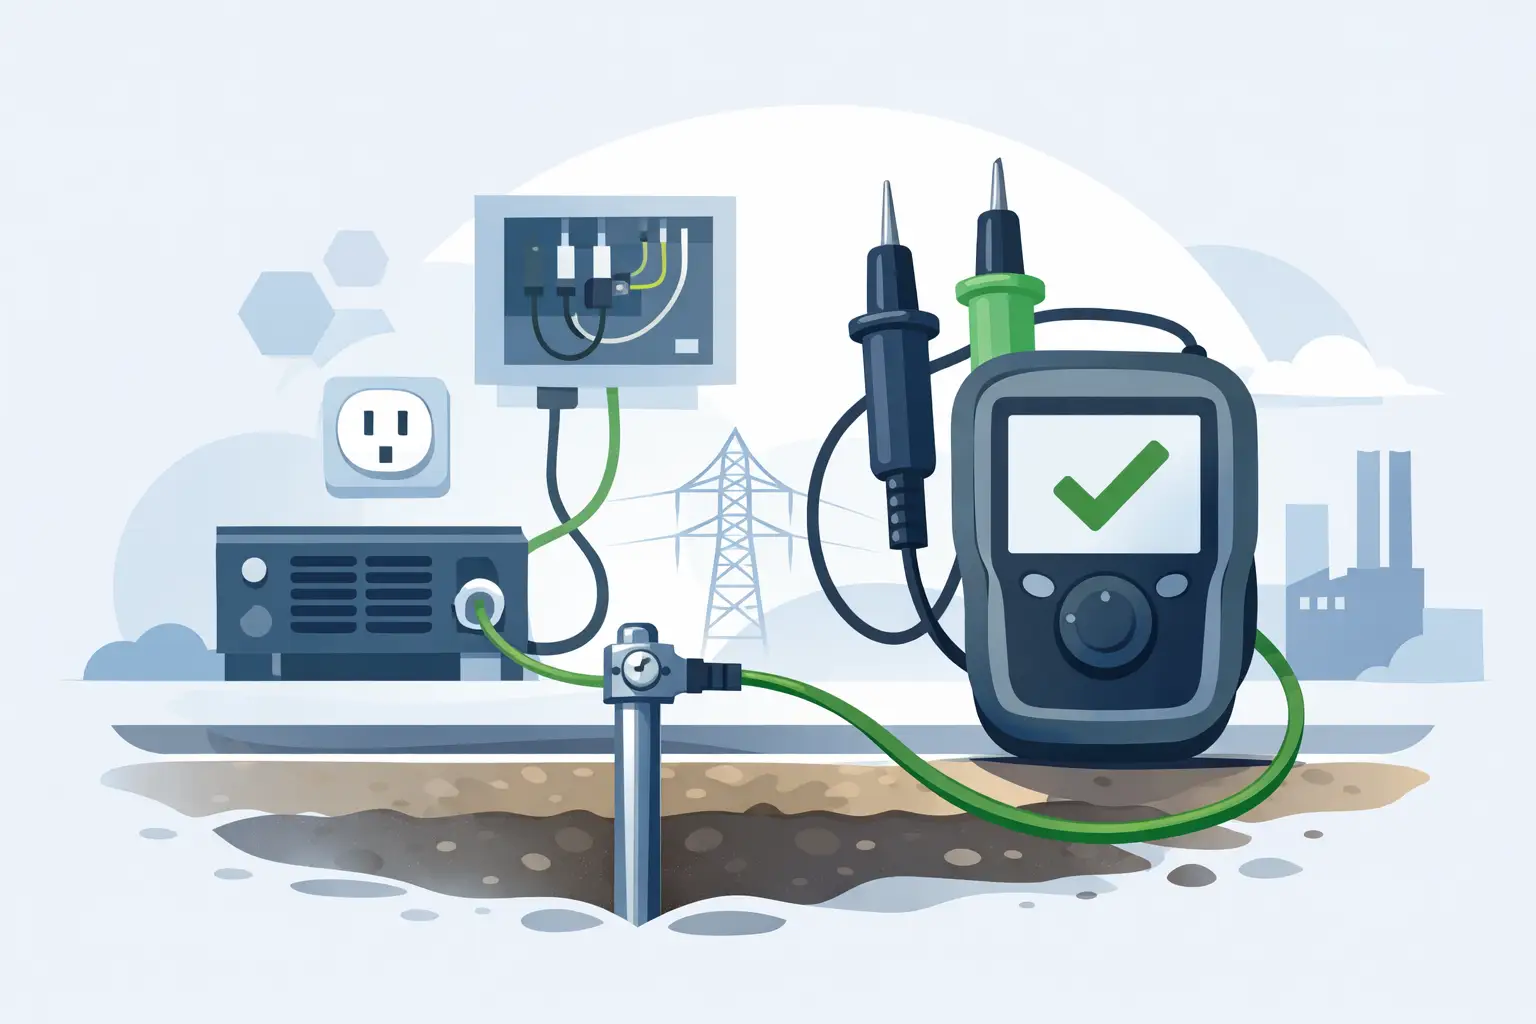
A practical validation step is to use a known reference path that simulates expected leakage. This can be a traceable resistance or impedance standard, or a carefully characterized validation fixture designed for the applicable method. The point is not to reproduce every behavior of the DUT. It is to confirm that the system measures a known current correctly under the same source and network conditions used in the actual test.
Start with calibration, but do not stop there
Traceable calibration is the floor, not the ceiling. The instrument should have a current calibration appropriate to the expected measurement range, and the calibration interval should match the risk profile of the application. In regulated environments, documentation matters as much as the certificate itself. Teams should be able to show calibration status, reference standards, uncertainty, and any relevant as-found or as-left data.
Even so, a recent calibration does not remove the need for an operational check. Leakage current testers can be affected by cable changes, worn fixtures, contamination, software updates, or operator setup differences. A short verification routine at the start of a shift or test campaign often catches these issues faster than troubleshooting after a batch of suspect results.
This is where engineering discipline pays off. If a tester passes calibration but fails an in-house reference check, the issue is usually in the setup, not the metrology lab. That is exactly why validation needs to include the whole measurement chain.
Control the setup variables that distort low-level current readings
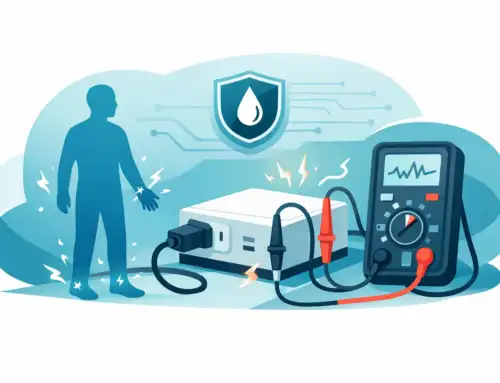
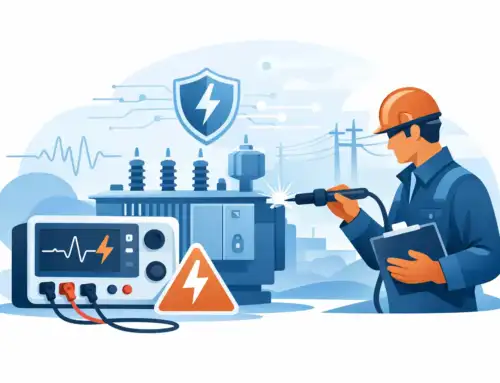
Leakage current measurements are especially sensitive to parasitics. Long leads add capacitance. Routing test cables next to high-voltage lines can introduce coupling. Bench grounding can create alternate return paths. Humidity, contamination, and fixture insulation condition can all increase apparent leakage.
For that reason, the physical test arrangement should be treated as part of the instrument. Keep cable lengths controlled and documented. Use fixtures with known insulation properties. Clean surfaces that can accumulate conductive residue. Maintain consistent grounding and shielding practices. If the DUT has multiple operating modes or floating sections, validate each relevant configuration rather than assuming one setup covers all cases.
Warm-up time also matters more than many teams expect. Source stability, internal offsets, and DUT dielectric behavior can all change during the first several minutes of operation. If your readings drift before settling, that is not just a nuisance. It is a sign that the method needs a defined stabilization period.
Repeatability and reproducibility are part of validation
A single correct-looking result is weak evidence. Validation should include repeated measurements under the same conditions to assess repeatability, and where practical, checks across operators, fixtures, or stations to assess reproducibility.
If the data spread is large relative to the acceptance limit, the process is not validated even if the average value is close to expectation. In those cases, teams should look at instrument resolution, environmental noise, fixture consistency, and DUT state control. Some products inherently show variation because of capacitive charging, switching behavior, or power supply topology. That is acceptable if the variation is understood and bounded. It is a problem if no one can explain it.
A useful practice is to document a baseline mean and spread for representative products or golden units. Over time, that gives test engineering a way to distinguish true DUT changes from station drift.
Use uncertainty as a decision tool, not a paperwork exercise
When engineers ask how to validate leakage current measurements, they often mean how much confidence is enough to make a release or compliance decision. That is an uncertainty question.
Measurement uncertainty in leakage current testing can come from instrument accuracy, range resolution, line voltage stability, measuring network tolerance, fixture effects, environmental conditions, and DUT variability. Not every application requires a full formal budget, but high-consequence testing should quantify the major contributors.
This becomes critical when measured values are near the specification limit. If a product measures 0.48 mA against a 0.50 mA limit, pass or fail cannot be determined responsibly without considering uncertainty and the decision rule being applied. In production environments, guardbands may be appropriate. In compliance work, the relevant standard or certification body may dictate how limits are interpreted.
The discipline here is straightforward. Know the expanded uncertainty of the measurement process, understand the acceptance rule, and avoid making binary decisions from marginal data without context.
How standards alignment affects validation
One of the most common causes of disputed leakage current results is not instrument error but method mismatch. Different standards can define different measuring devices, supply conditions, fault simulations, and touchpoint arrangements. Two competent labs can test the same product and report different values if their setups are not equivalent.
That is why standards alignment should be verified as part of validation, not assumed. Confirm the required network, source frequency, source impedance, polarity switching, ground condition, and any normal or single-fault scenarios. If software controls the sequence, review the programmed steps against the written method. A small configuration mismatch can create a large disagreement, especially for products with EMI filters, Y capacitors, or switching power architectures.
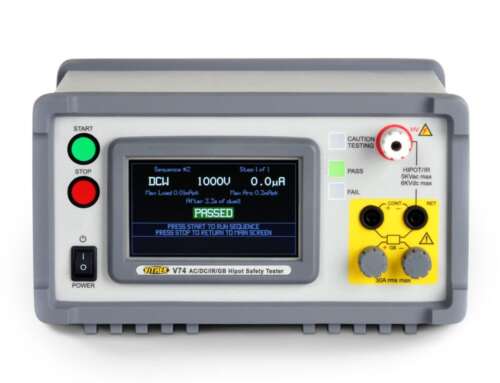
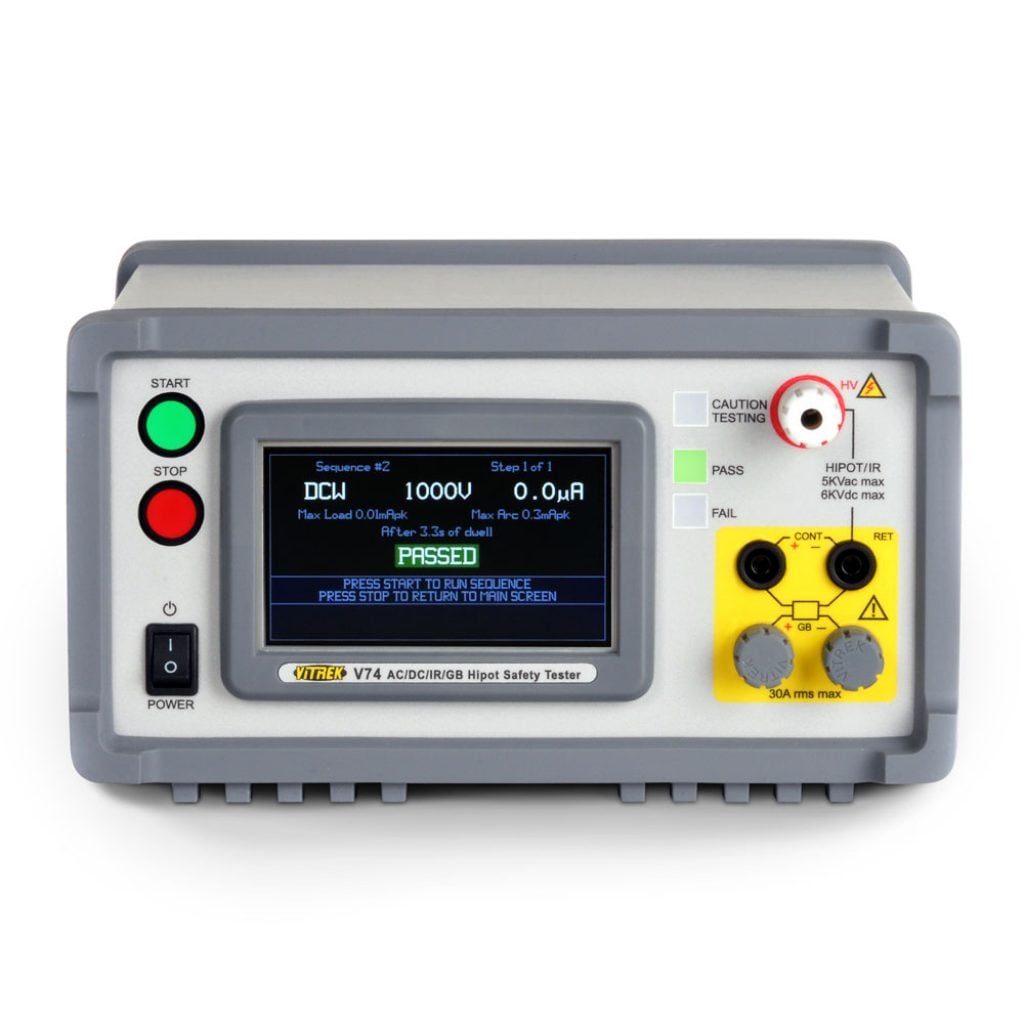
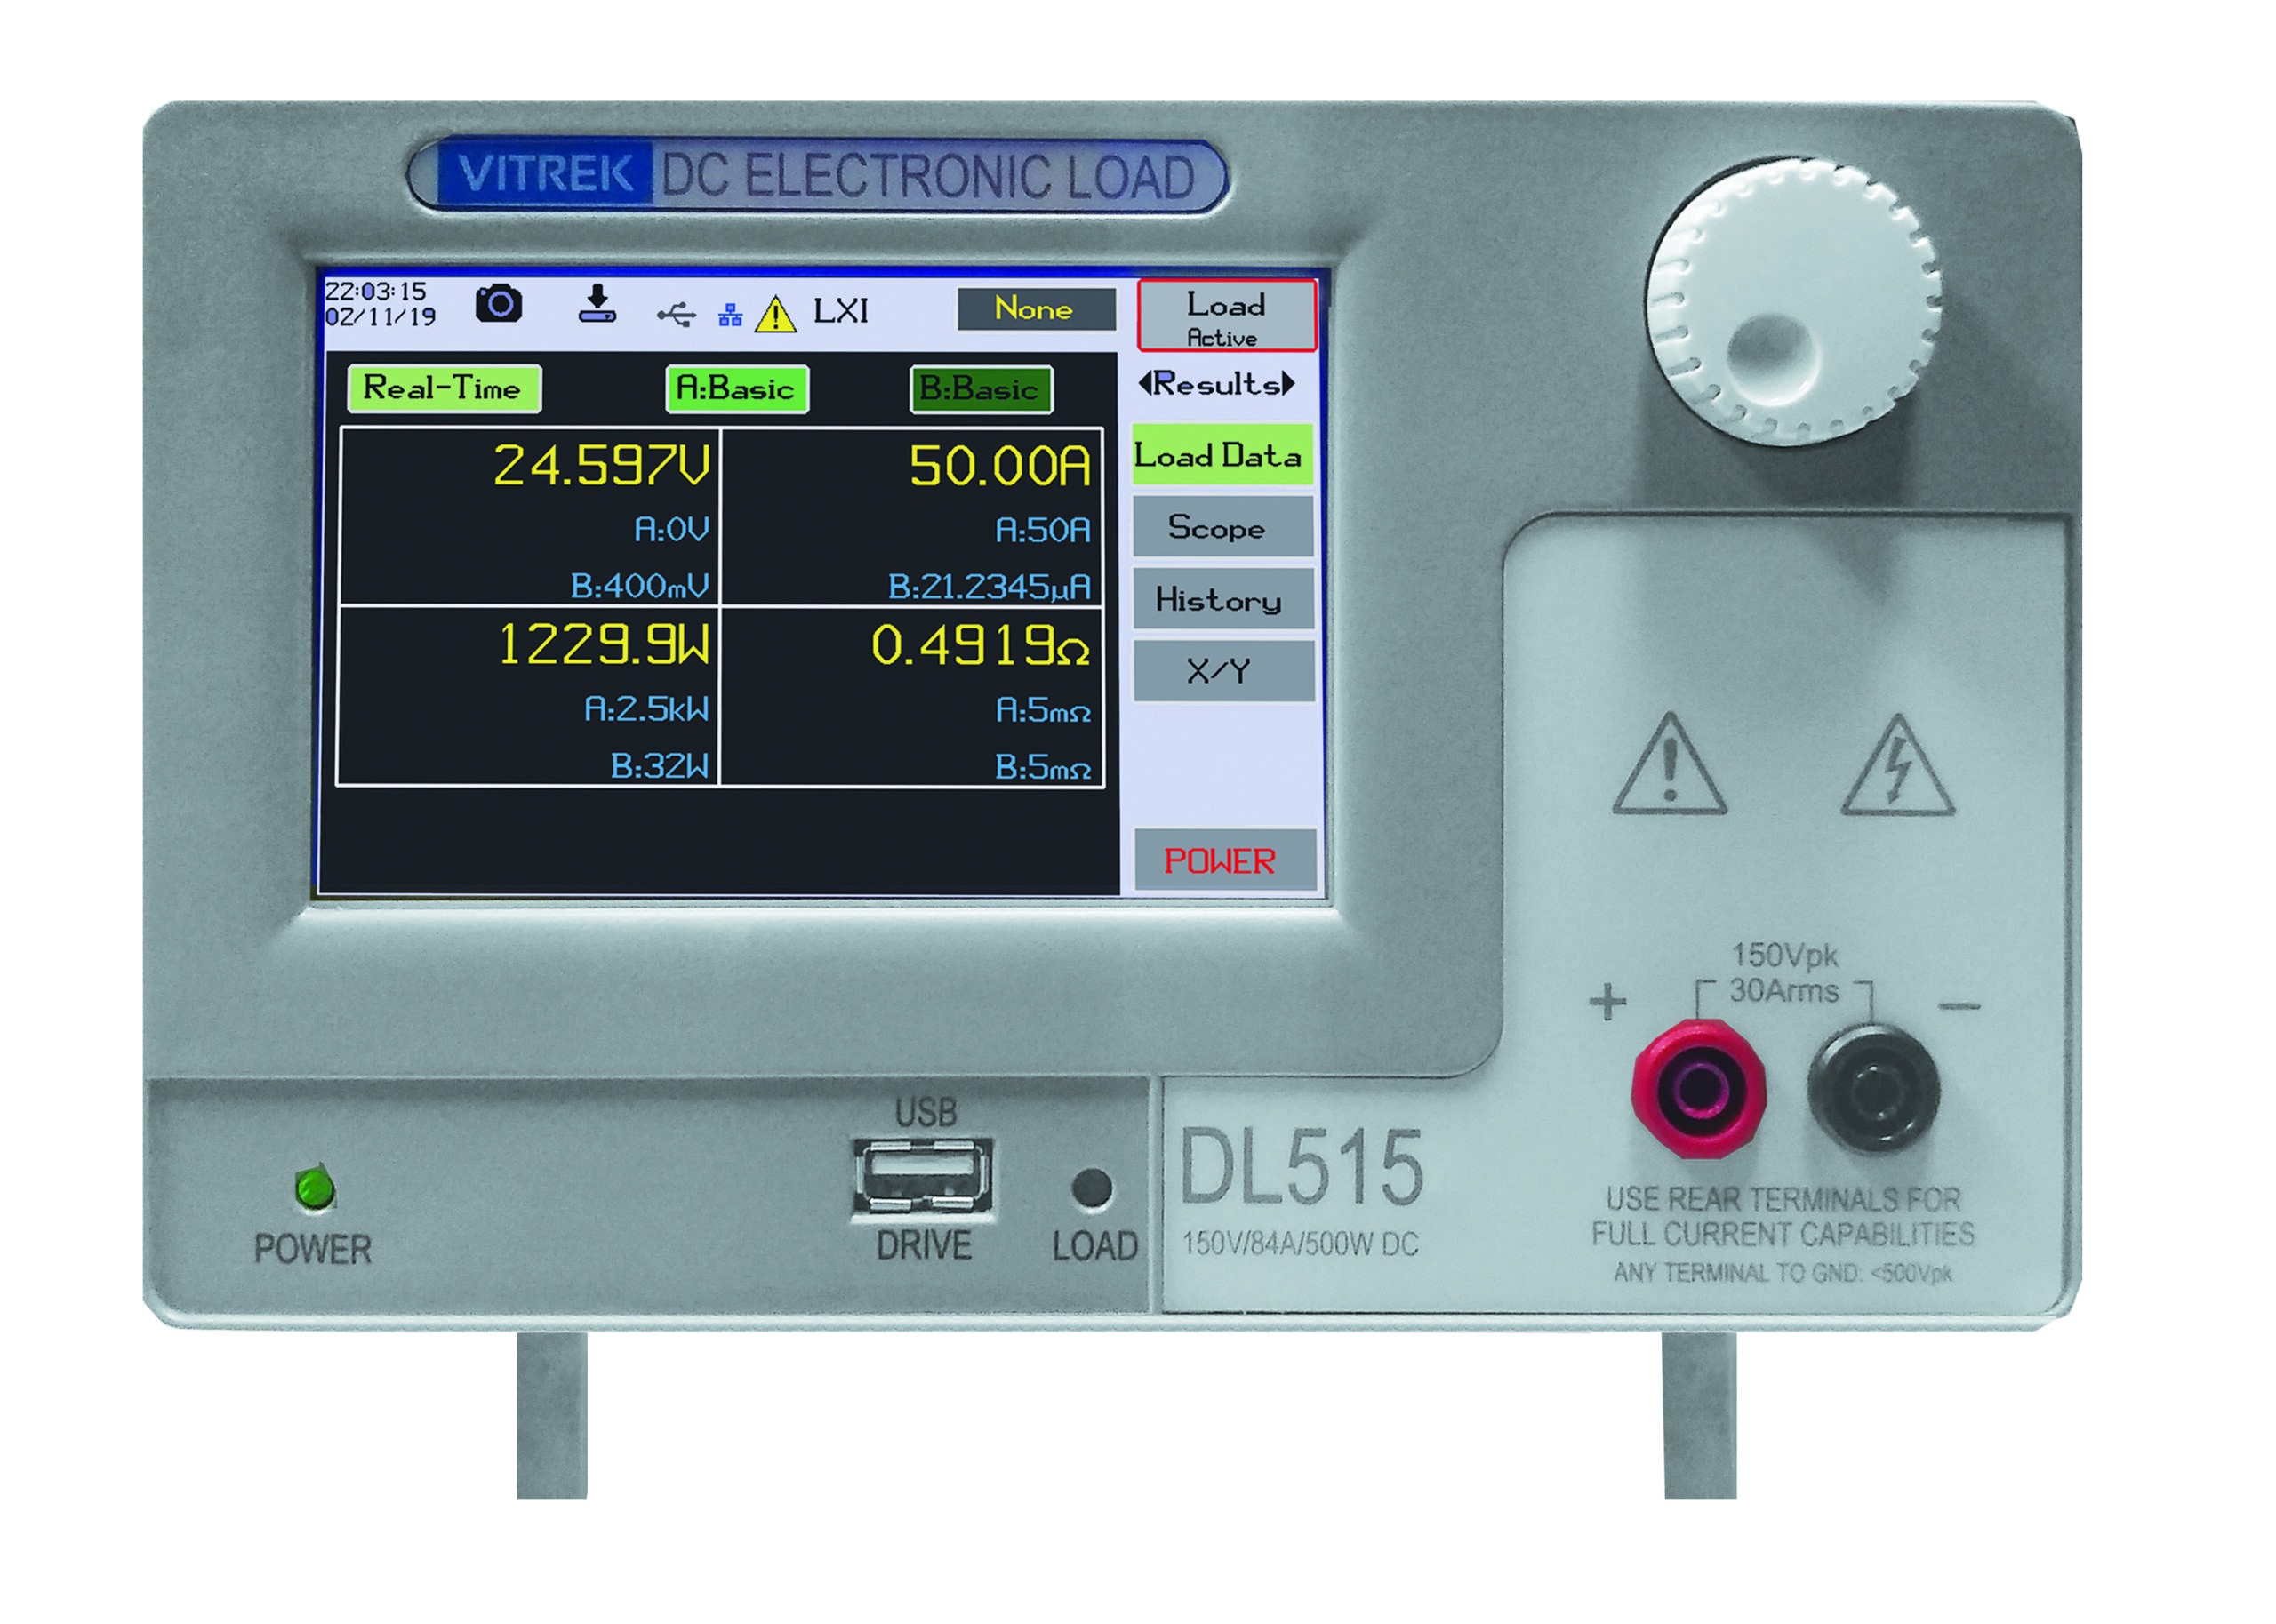
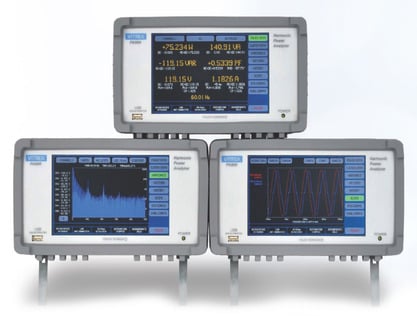
For organizations managing multiple product categories, standardized work instructions and prevalidated test methods reduce this risk substantially. This is also where purpose-built safety test platforms from experienced suppliers such as Vitrek can help by providing tighter control over source conditions, measurement functions, and repeatable execution.
Document enough to make the result defensible
Validation is only useful if another engineer can review the record and understand what was proven. At a minimum, document the instrument identification, calibration status, method used, fixture configuration, environmental conditions if relevant, reference check results, and repeatability observations. If uncertainty or guardbanding influences the disposition, record that logic clearly.
The best validation records are not longer than necessary. They are specific. If a reading later becomes part of a failure investigation, supplier dispute, or audit trail, clear documentation saves far more time than it takes to create.
A well-validated leakage current measurement gives engineering teams more than a number. It gives them confidence that the number means what they think it means, which is exactly what high-stakes testing demands.


