A failed hipot result can stop a production line, delay a qualification program, or trigger an avoidable investigation. The first question is not simply, why does hipot testing fail? It is whether the unit under test has a genuine insulation weakness, or whether the test method, fixture, environment, or programmed limits created the result.
Hipot testing applies a voltage substantially above normal operating conditions to verify dielectric withstand capability between isolated circuits, accessible conductive parts, protective earth, or other defined test points. A failure may indicate a real safety concern. It can also result from legitimate capacitive charging current, test lead leakage, inadequate discharge time, incorrect AC or DC settings, or an uncontrolled fixture. Separating those conditions requires disciplined troubleshooting and traceable test parameters.
What a Hipot Failure Actually Means
A hipot tester reports failure when a measured condition crosses the limits defined in the test program. Depending on the instrument and application, that condition may be excessive leakage current, an arc event, a breakdown, a flashover, a failure to reach programmed voltage, or a continuity-related interlock condition.
Those outcomes are not interchangeable. A clear breakdown at a repeatable voltage is very different from a transient current spike during an AC ramp. Likewise, a DC test that initially exceeds a low current limit may be charging a large capacitive load rather than exposing defective insulation. The test result is valid only when the selected voltage, ramp, dwell, current limits, measurement mode, and connections match the applicable product standard and the product’s intended insulation system.
For regulated products, the governing standard, certification plan, and documented risk analysis determine the proper test method. A test program should not be changed merely to obtain a passing result.
Why Does Hipot Testing Fail in Production?
The insulation system has a genuine defect
Real dielectric failures commonly originate in material damage or insufficient spacing. Pinched wire insulation, damaged magnet wire, solder bridges, sharp metal edges, cracked potting compound, inadequate creepage or clearance, and improperly seated grommets can all create a conductive path when high voltage is applied.
Contamination is another frequent cause. Flux residue, moisture, conductive dust, machining debris, cleaning chemicals, and fingerprints can lower surface resistance or promote tracking across insulating surfaces. A unit may pass when dry and fail after humidity exposure, thermal cycling, or handling. That pattern is evidence to investigate material condition and process control, not a reason to dismiss the failure as intermittent.
Weaknesses may also appear at interfaces rather than in bulk insulation. Connector backshells, cable exits, transformer leads, conformal-coating boundaries, and fastener locations concentrate electric field stress. If failures cluster at one location or lot, inspect the mechanical assembly process and review field geometry around that area.
The test voltage or limits are programmed incorrectly
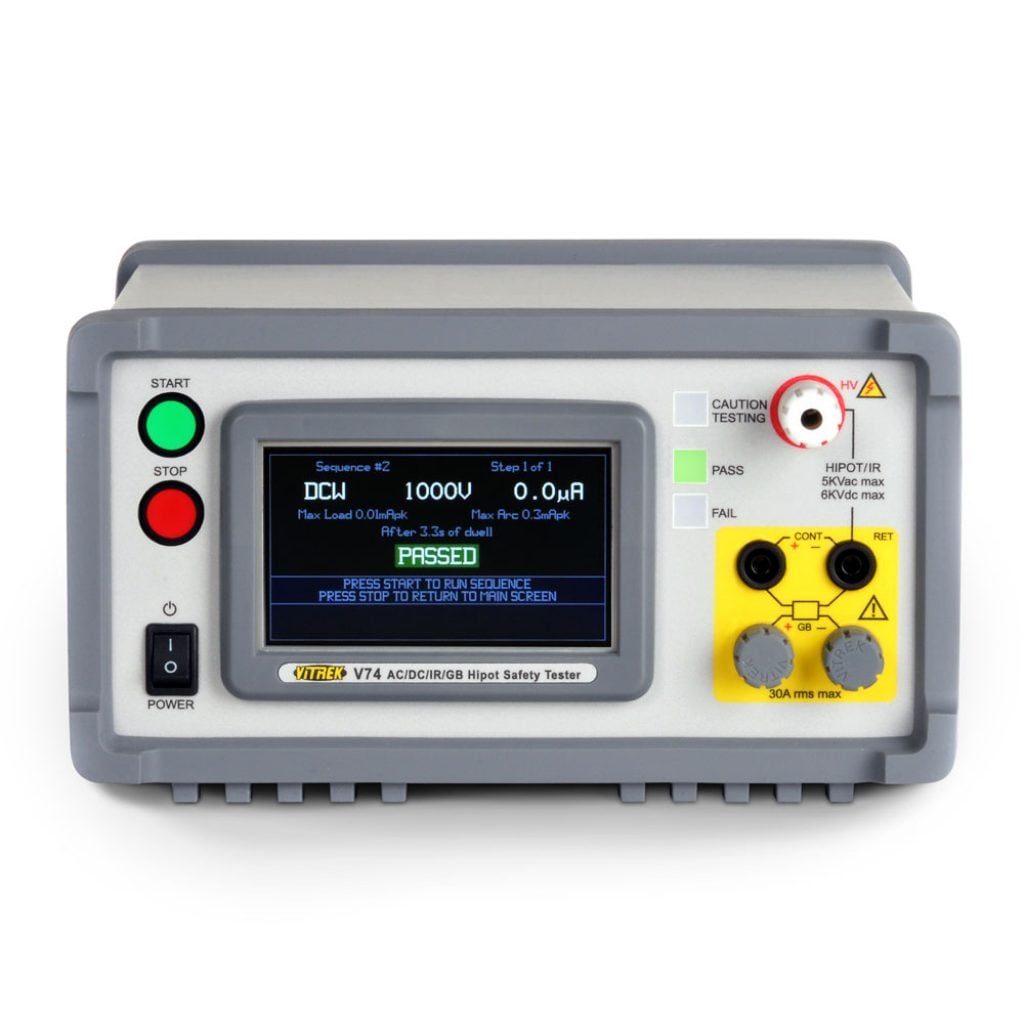
An improperly configured test is one of the fastest ways to produce false failures. Common errors include applying AC when the procedure calls for DC, selecting the wrong voltage range, using an excessive dwell time, or entering a leakage limit that does not account for expected capacitive current.
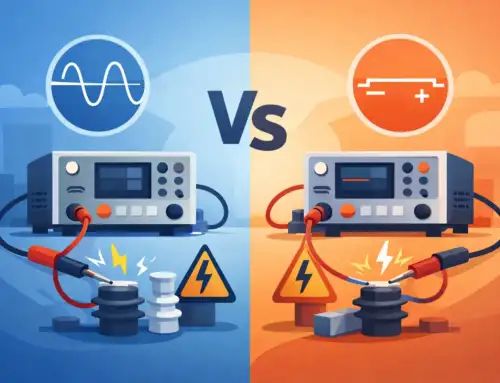
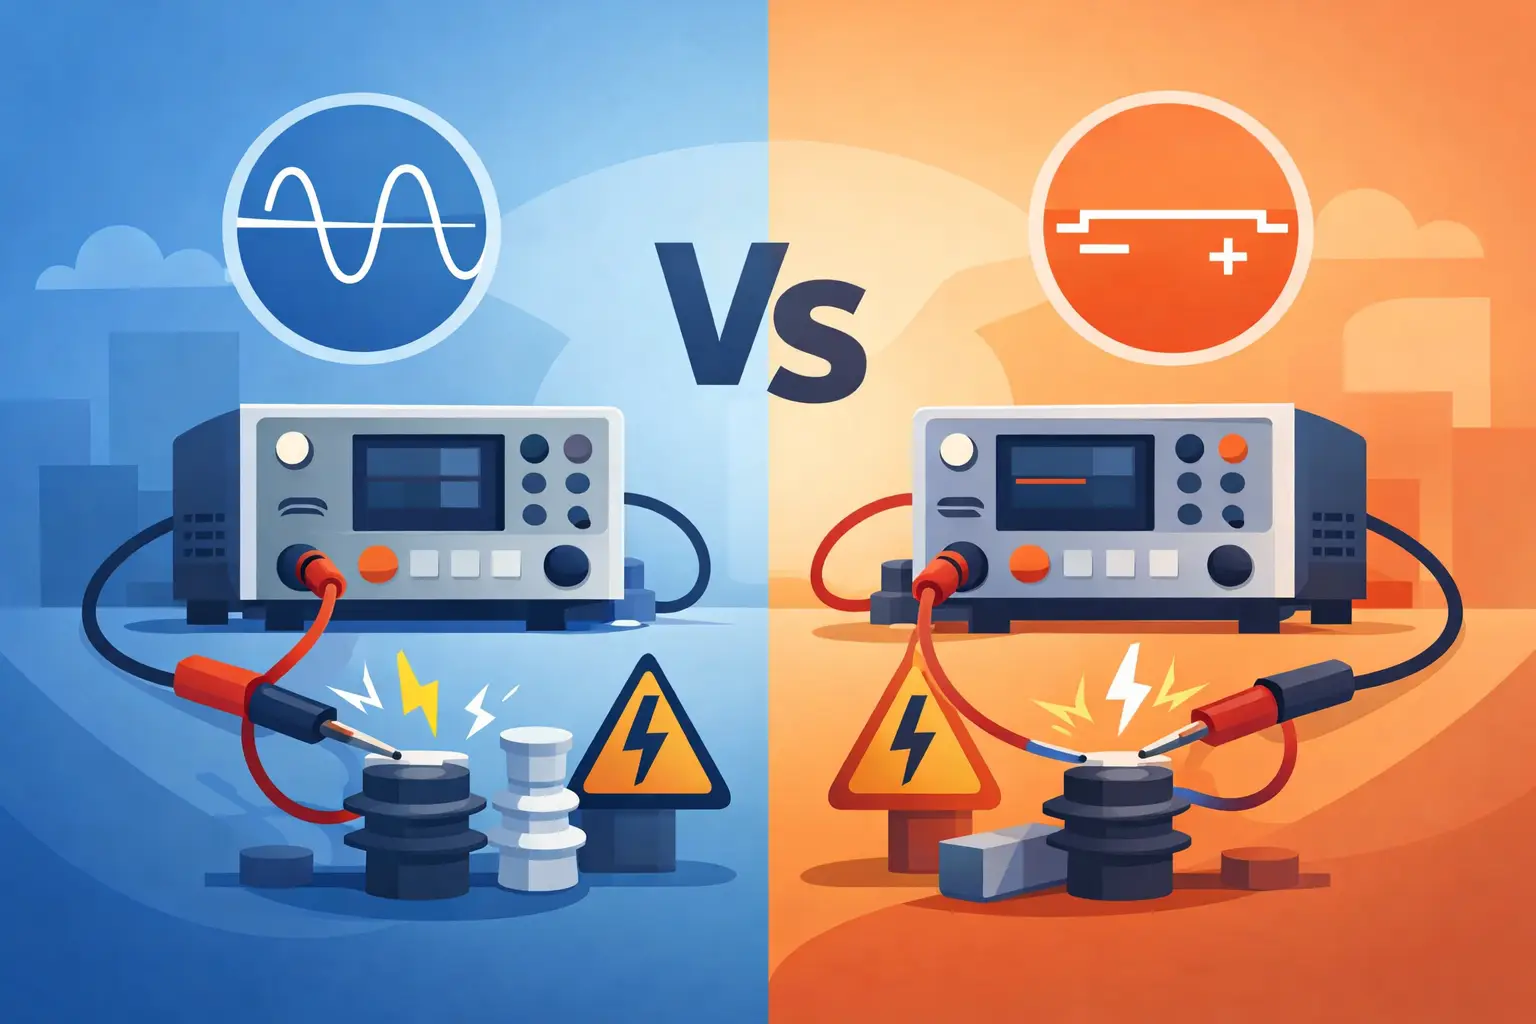
The distinction between AC and DC is especially consequential. Under AC hipot, capacitive current continues throughout the test and rises with voltage, frequency, and capacitance. Under DC hipot, the initial charging current should decay as the capacitance charges, leaving a lower steady-state leakage current if the insulation is sound. A product with filters, long cable assemblies, motors, transformers, or substantial conductive area may therefore require different limits and timing for AC and DC methods.
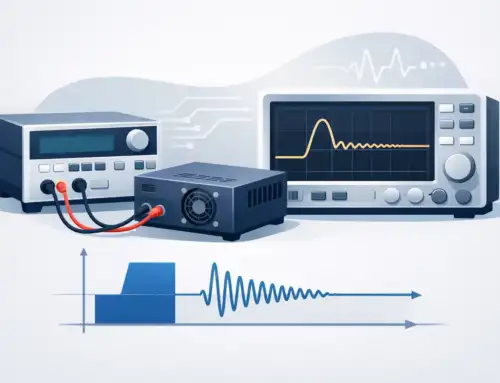
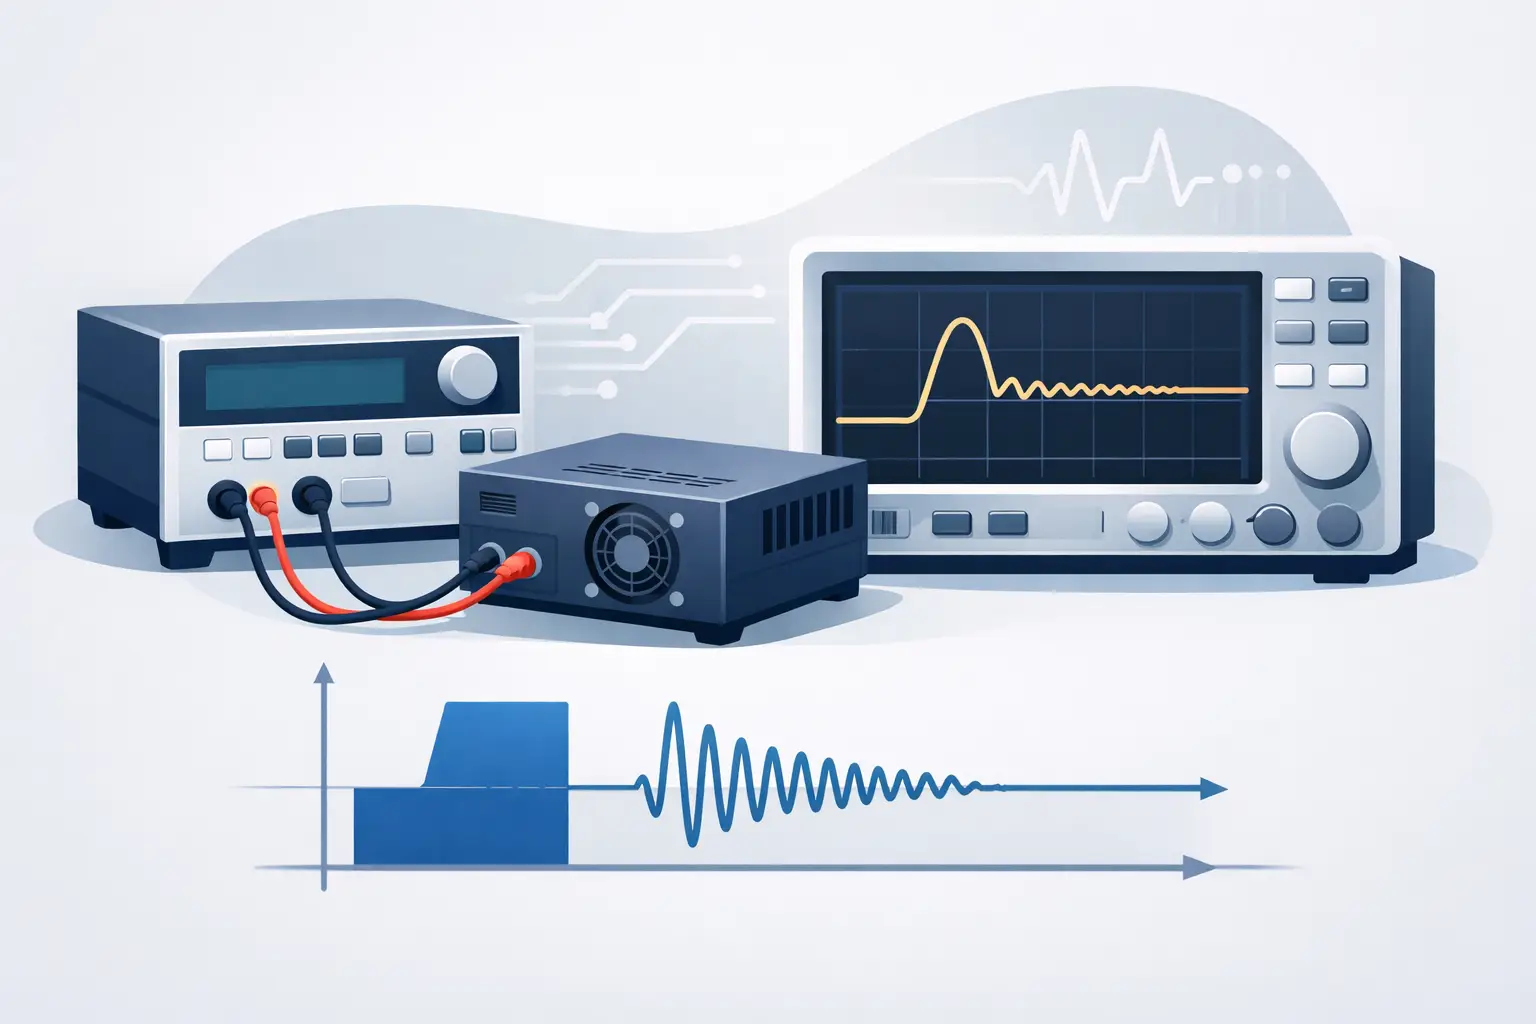
Ramp time matters as well. A rapid ramp can cause a charging-current peak that trips a low current limit. A controlled ramp and appropriate measurement delay can distinguish transient charging behavior from sustained leakage. The right settings depend on the standard, product capacitance, and approved test procedure.
The fixture, leads, or test environment are leaking
Not every leakage path belongs to the product. Worn leads, cracked insulation, contaminated fixtures, damaged high-voltage connectors, and poorly routed conductors can add measurable leakage or arc to nearby grounded hardware. This becomes more likely as fixtures age or when they are exposed to residue, humidity, and repeated mechanical handling.
A fixture should provide adequate spacing, clean insulating surfaces, secure connections, and controlled routing away from grounded structures. High-voltage cables should be inspected for abrasion and strain damage. If an enclosure, probe, or fixture can move during the test, intermittent results are likely.
Environmental conditions can compound the problem. High humidity, condensation, airborne contamination, and temperature extremes affect surface leakage and dielectric behavior. If the product specification requires testing over a defined environmental range, document those conditions. If it does not, maintain a controlled test environment so that results remain comparable from shift to shift.
Grounding, return paths, or interlocks are incorrect
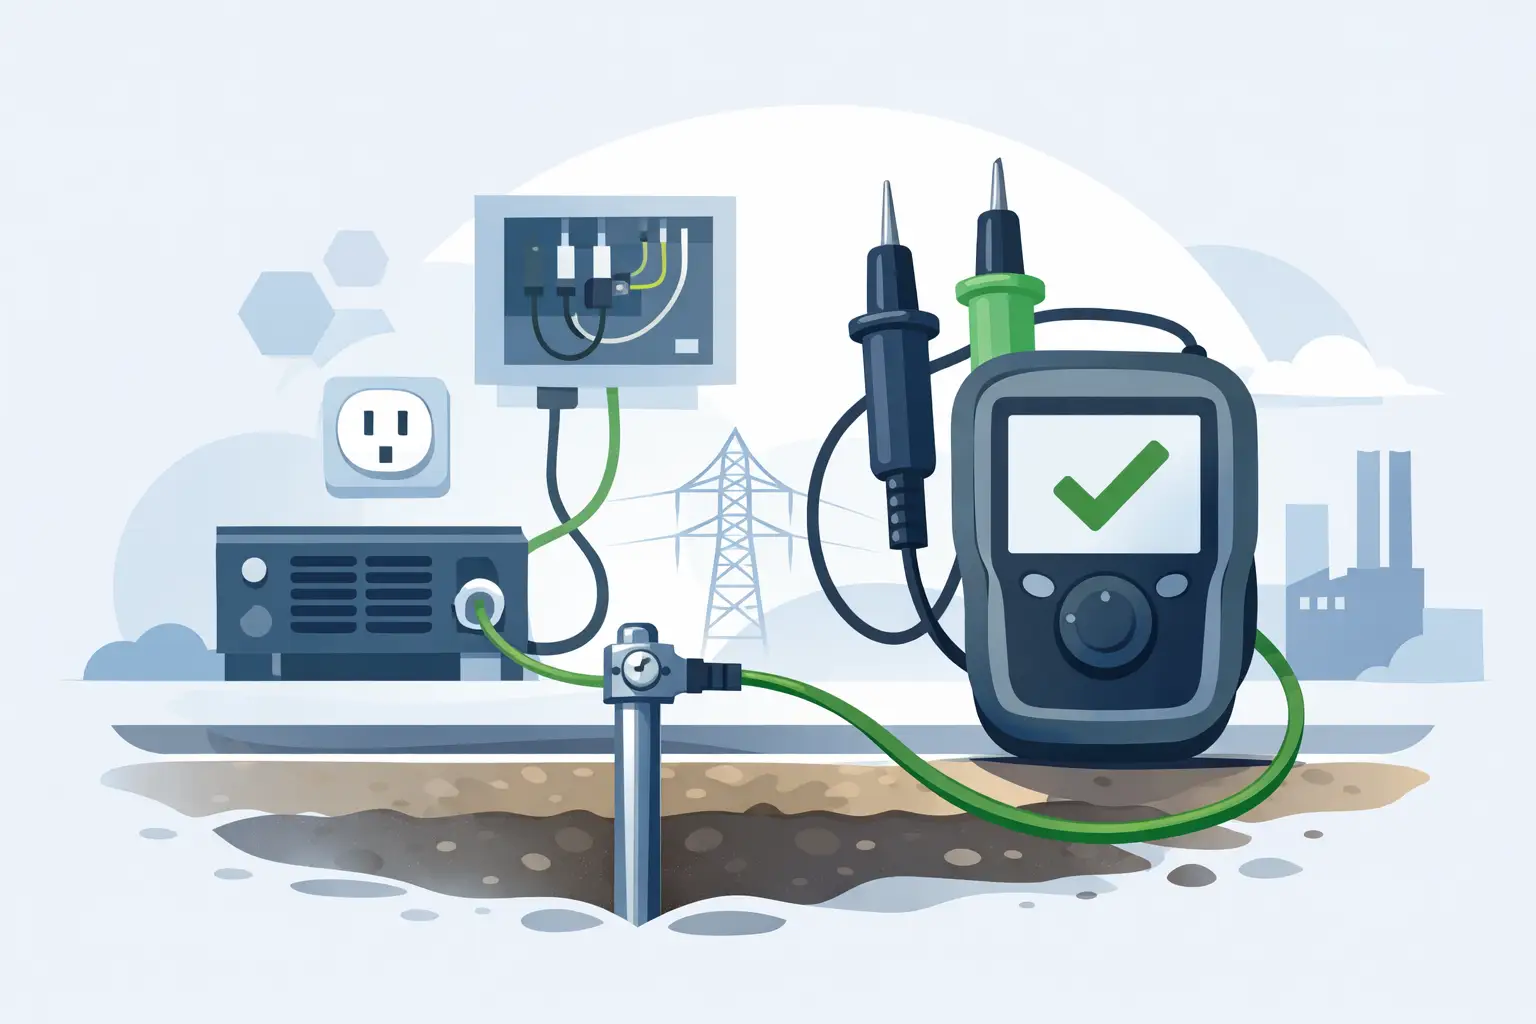
Hipot testing depends on an intentional and complete return path. A loose return connection can create unstable readings, while an unintended ground path may cause current to bypass the expected measurement route. Shield connections, chassis bonds, cable braid terminations, and fixture grounding all deserve review.
Interlock failures are also meaningful. They may indicate an open enclosure, an improperly connected safety circuit, or a fixture that does not meet the test station’s required operating state. Bypassing an interlock to keep production moving is not an acceptable corrective action. It defeats a safety control designed for an energized high-voltage test.
A Disciplined Troubleshooting Sequence
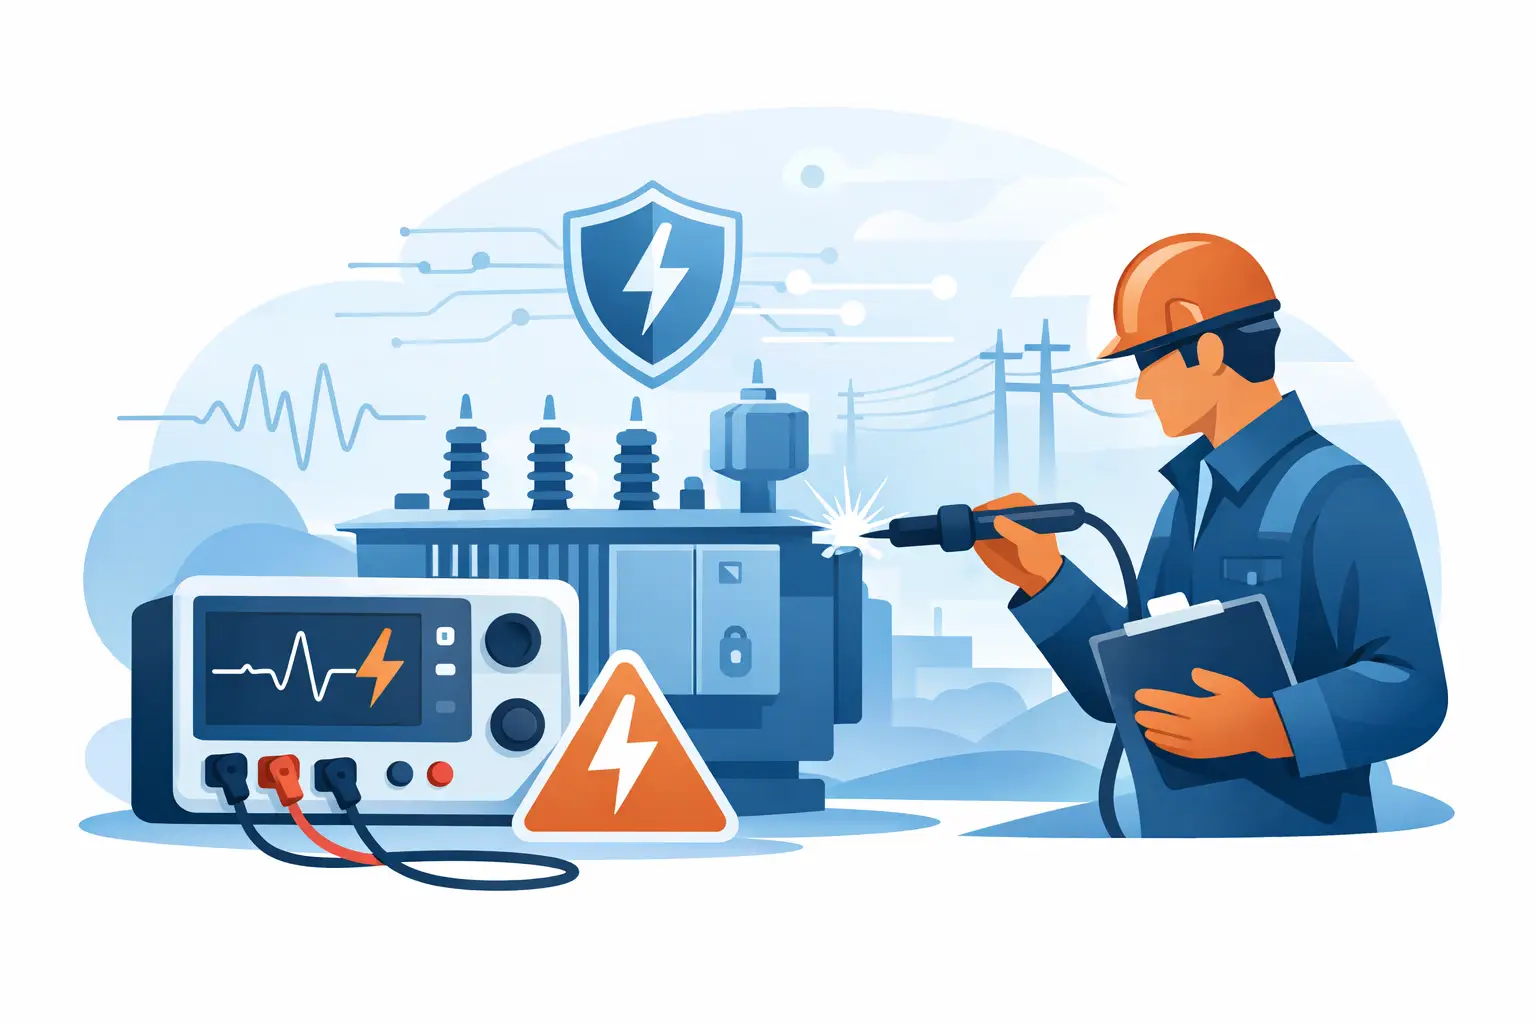
Before handling the unit, follow established lockout, discharge, and verification practices. Test objects can retain hazardous charge, particularly after DC testing of capacitive assemblies. Only trained personnel using appropriate procedures should troubleshoot energized test systems.
Start by confirming the failure mode and capturing the raw data. Record the test voltage, current at failure, ramp and dwell settings, polarity where applicable, AC frequency, arc detection status, serial number, fixture identifier, operator, and environmental conditions. A pass/fail screen alone is rarely sufficient for root-cause analysis.
Then isolate the source methodically:
- Verify the approved test recipe against the applicable drawing, standard, and revision-controlled procedure.
- Perform a controlled open-circuit and fixture check according to the tester and fixture procedures.
- Inspect leads, probes, fixtures, grounding points, and high-voltage connections for damage or contamination.
- Retest a known-good reference unit under the same conditions.
- Segment the product, where the design and safety procedure allow, to localize the insulation path or subassembly involved.
A known-good unit is particularly useful. If it fails in the same fixture using the same program, focus on the test system or environment before initiating a product nonconformance. If it passes while suspect units fail at a repeatable condition, the evidence shifts toward the product or process.
Do not use repeated testing as a substitute for diagnosis. High-voltage stress can worsen a marginal defect, alter moisture-dependent behavior, or damage sensitive components. Retesting should be controlled, documented, and limited to the approved investigation plan.
Use the Failure Signature to Narrow the Cause
Failure timing often provides the most useful clue. A trip immediately at the start of an AC test may point to capacitive current, an overly aggressive ramp, or a low current threshold. A current value that declines during a DC test but initially exceeds the limit often points to normal charging behavior that has not been accommodated in the recipe.
A sustained current increase during the dwell period is more concerning. It can indicate insulation degradation, moisture migration, thermal effects, or surface tracking. A sudden arc event, especially at a repeatable voltage, often directs attention to sharp edges, inadequate spacing, damaged insulation, or contamination near a high-field region.
Intermittent failures require extra discipline. Correlate results with fixture position, cable movement, humidity, manufacturing lot, operator shift, cleaning process, and product temperature. A failure that appears random often becomes repeatable once one of those variables is controlled.
Preventing Repeat Hipot Failures
The strongest corrective actions connect design, manufacturing, and test engineering. Design reviews should evaluate insulation coordination, component ratings, spacing, and field concentration at real assembly interfaces. Manufacturing controls should address material handling, cleaning, curing, torque, routing, and visual inspection at high-risk locations.
At the test station, use revision-controlled programs, validated fixtures, scheduled calibration, and defined verification checks. Calibration establishes measurement traceability, but it does not confirm that a fixture is clean, intact, and correctly connected on every shift. Both instrument performance and system-level verification matter.
For high-volume manufacturing, trend leakage current rather than tracking only pass/fail outcomes. A gradual shift that remains below the reject limit can reveal a deteriorating process before it produces yield loss. Engineering-grade data acquisition and test records make it possible to distinguish isolated defects from lot-level or process-level change.
A hipot failure should be treated as evidence, not a verdict. When the test method is controlled and the failure signature is preserved, the result can lead directly to a safer product, a more stable process, and a test system that produces defensible data when it matters most.