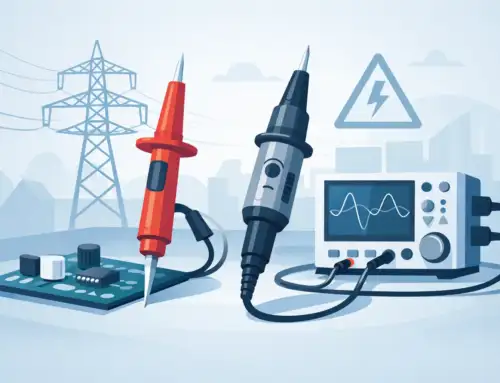
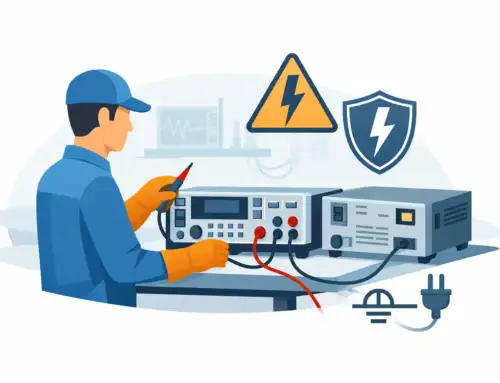
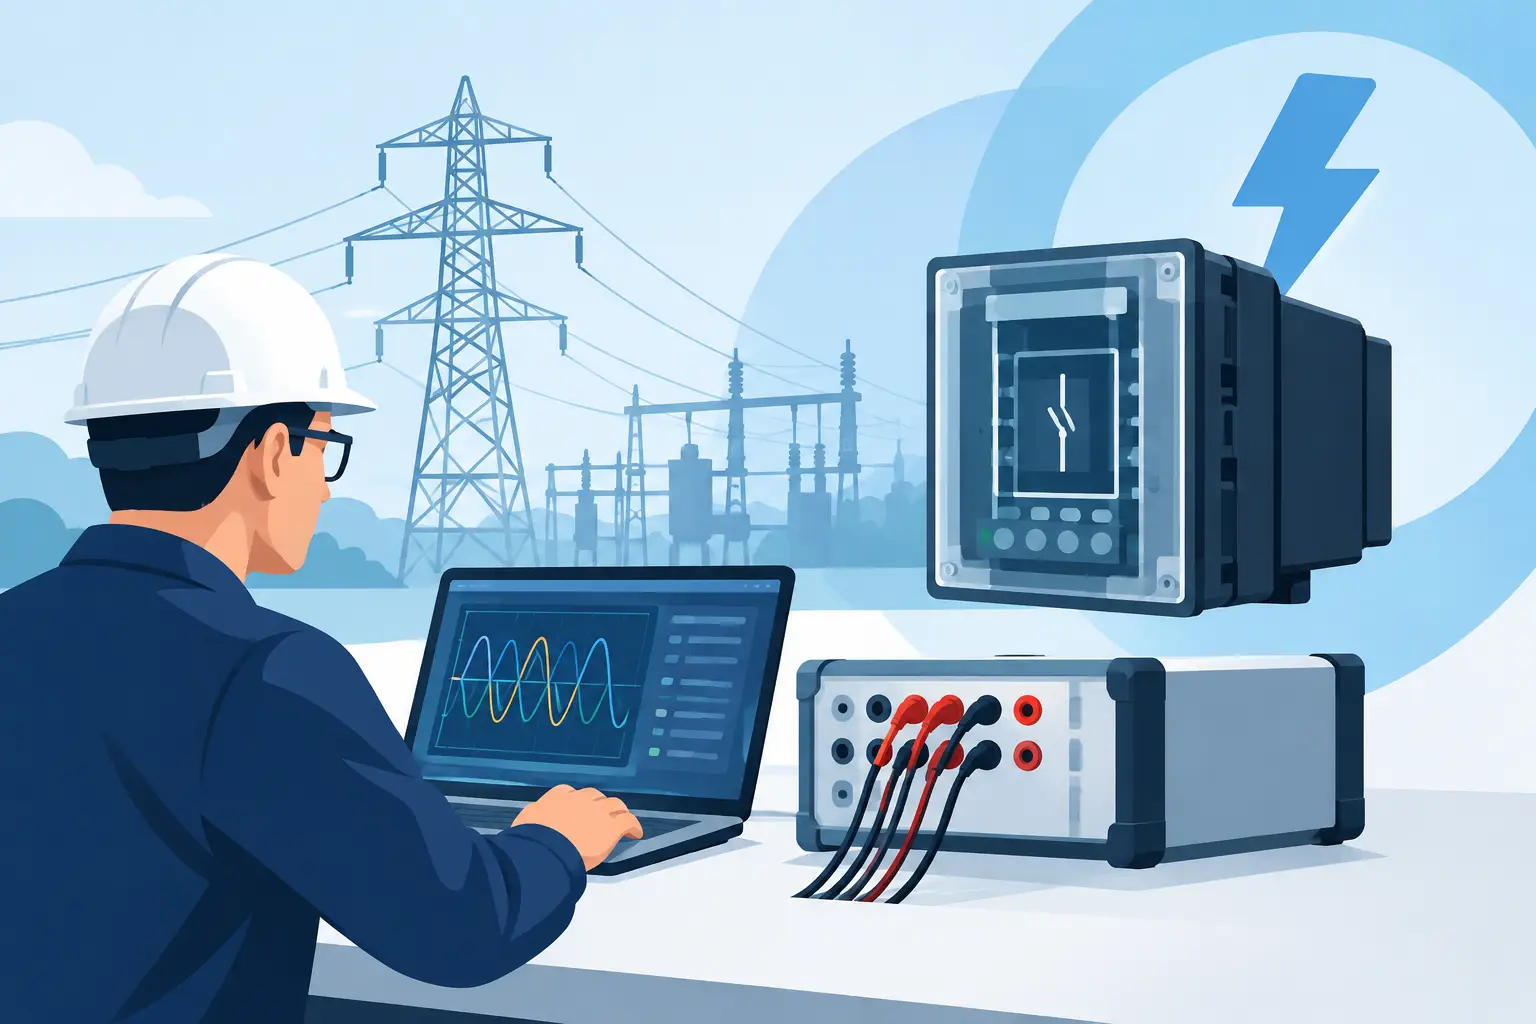
A wiring fault that appears only during climb, after a temperature change, or when a flight-control actuator is energized is rarely solved by a basic continuity check alone. Aircraft wiring diagnostics require a disciplined measurement process that distinguishes an open circuit from excessive resistance, insulation degradation, intermittent contact, shielding failure, and noise induced by adjacent systems. The objective is not simply to find a defect. It is to isolate it with evidence that supports a safe, repeatable maintenance decision.
For maintenance organizations, OEMs, modification centers, and aerospace test teams, wiring diagnostics must protect both the aircraft and the integrity of the result. That means following approved maintenance data, controlling test energy, documenting measurement conditions, and selecting instruments with suitable accuracy, input protection, and calibration traceability.
Why Aircraft Wiring Faults Are Difficult to Isolate
Modern aircraft wire harnesses operate in an environment that is mechanically demanding and electrically crowded. Vibration, thermal cycling, moisture, hydraulic-fluid exposure, chafing, connector wear, and repeated maintenance access can all affect circuit performance. A conductor can pass a low-current continuity test and still fail under operational current, vibration, or temperature.
The fault location may also be physically remote from the symptom. A voltage drop at an avionics rack can originate at a connector pin, a splice, a ground termination, a circuit breaker interface, or a damaged segment buried within a bundle. Shared return paths and shields add another layer of complexity. When a fault is intermittent, the diagnostic system must capture the condition while it exists rather than infer it after the fact.
This is why diagnosis should begin with a defined failure mode and circuit boundary. A report that says a wire is “good” or “bad” is not sufficient. Test personnel need to identify what was measured, between which points, at what test level, under what environmental or mechanical condition, and against which acceptance criterion.
Build the Diagnostic Plan Around the Failure Mode
The most effective workflow starts before any instrument is connected. Review the aircraft maintenance manual, wiring diagrams, equipment interface documentation, and prior discrepancy history. Confirm whether the circuit is power, signal, data, shield, grounding, ignition, sensor, or high-voltage related. The circuit category determines both the appropriate test method and the level of test energy that can be safely applied.
A reported open circuit calls for a different approach than nuisance tripping, intermittent data errors, or electromagnetic interference. For an apparent open, connector engagement, pin retention, splices, and conductor continuity may be the first priorities. For a suspected high-resistance connection, four-wire resistance measurement or controlled-load voltage-drop testing can provide more useful information than continuity alone.
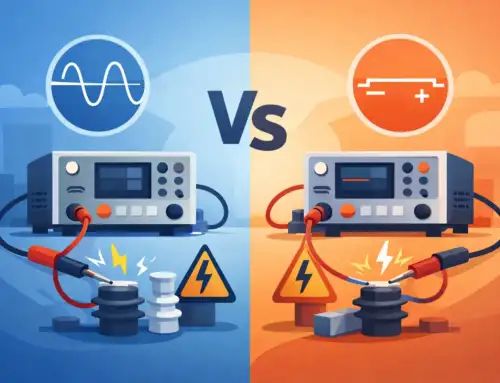
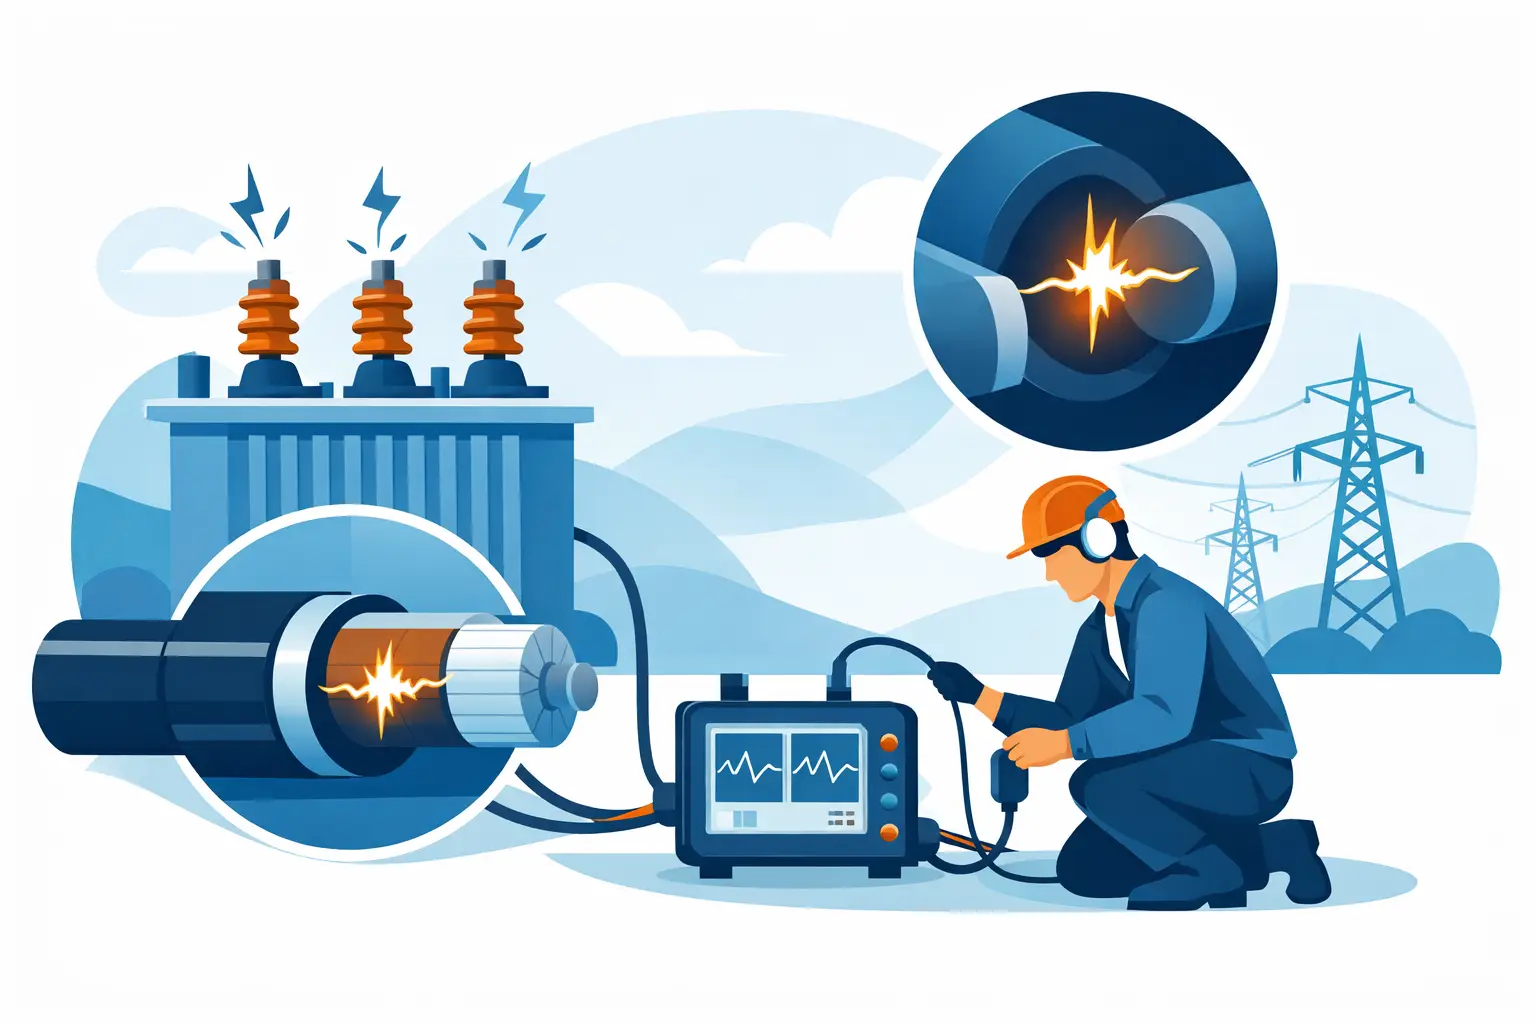
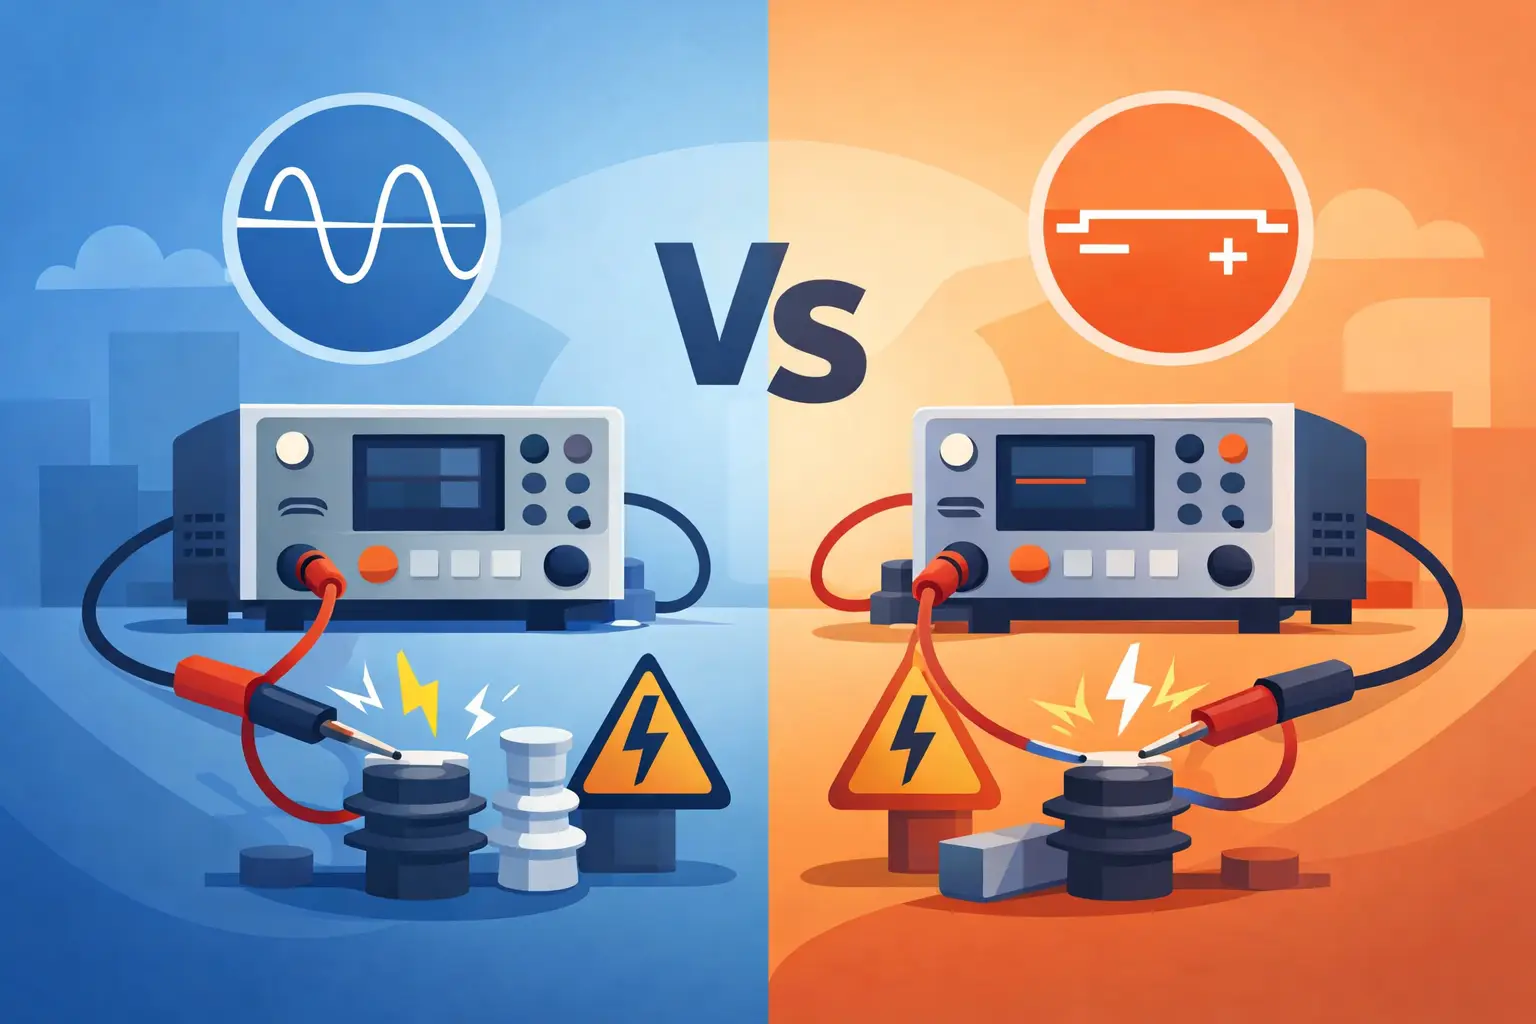
When insulation damage is suspected, insulation resistance testing may be appropriate, provided the circuit has been isolated and the approved procedure permits the applied voltage. A low insulation resistance value can indicate moisture, contamination, damaged insulation, or unintended coupling to structure or another conductor. The measured value must be interpreted in context. Harness length, material, temperature, humidity, and connected equipment all influence results.
Start With Inspection, Then Establish a Measurement Baseline
Visual inspection remains one of the highest-value diagnostic steps. Look for abrasion near clamps, inadequate stand-off distance, heat discoloration, unsupported bundles, fluid contamination, improper bend radius, damaged backshells, and evidence of prior repair. Inspect connector cavities for recessed pins, fretting corrosion, damaged seals, and incomplete locking. These conditions often explain intermittent behavior that cannot be recreated on the bench.
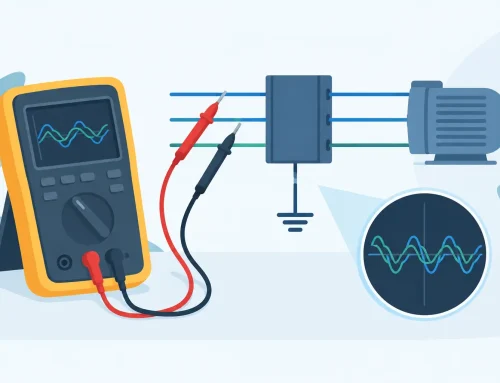
After inspection, establish baseline electrical measurements with the circuit de-energized and properly isolated. Continuity verifies a conductive path, but its limitations should be understood. A low-current continuity function may not reveal a partially fractured conductor, corrosion at a termination, or a connection that becomes resistive under load.
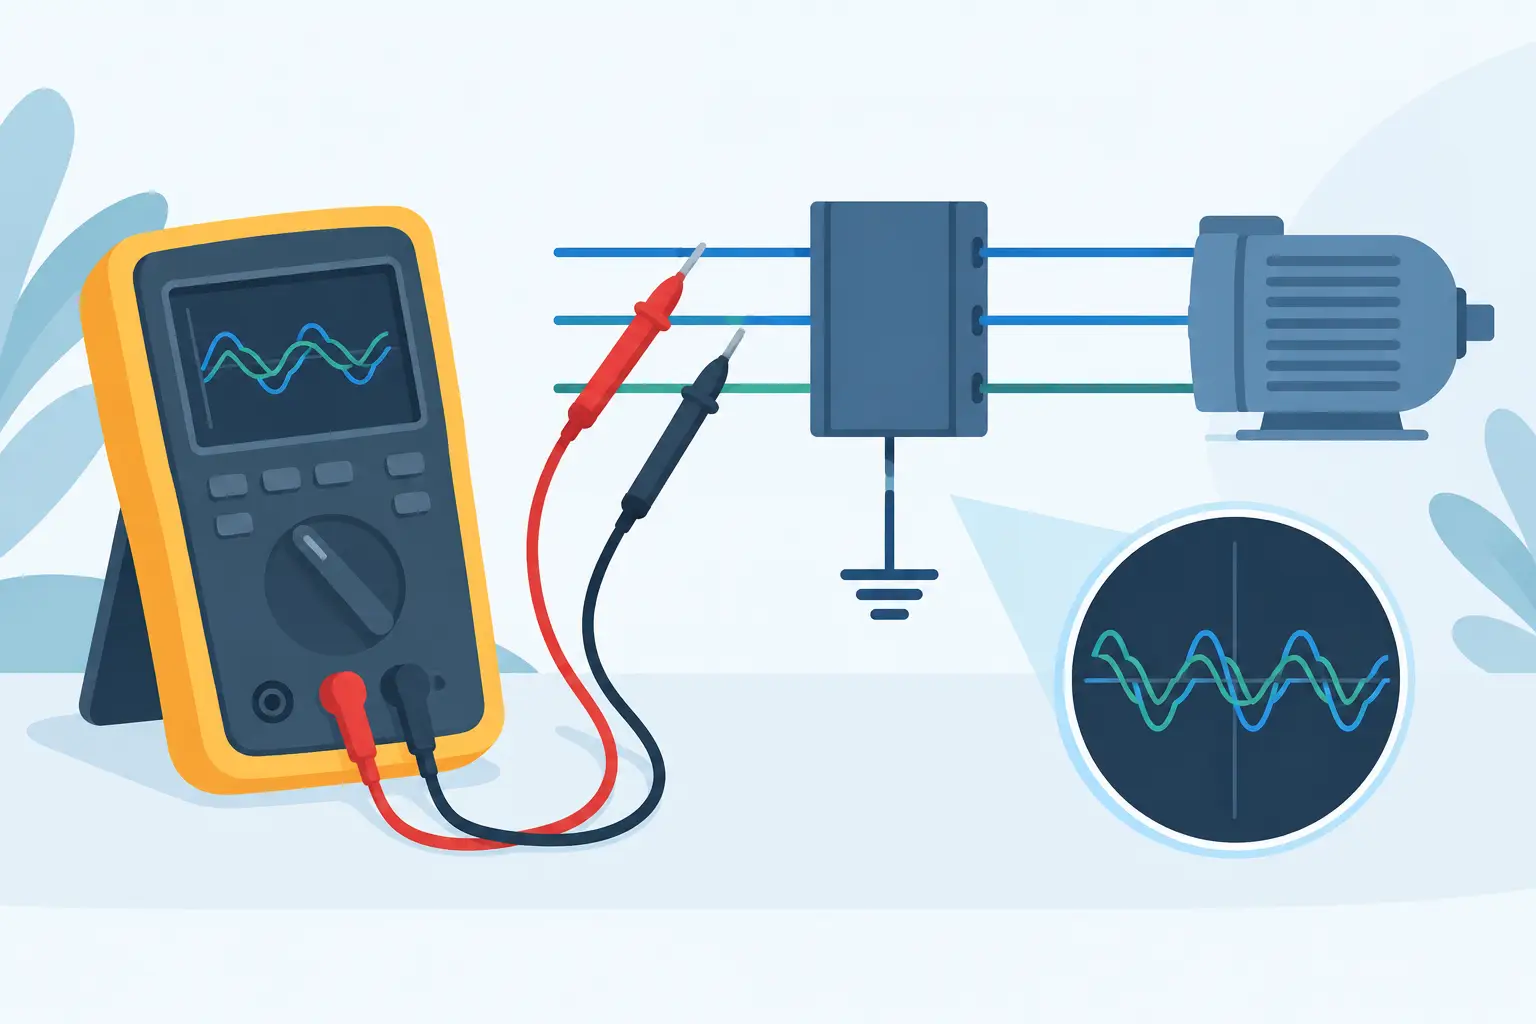
Resistance testing adds resolution, particularly when performed with a four-wire method. By separating the current-carrying leads from the voltage-sensing leads, a four-wire measurement reduces the effect of lead and contact resistance. This is valuable when evaluating low-resistance conductors, bonding paths, grounds, and critical connections where milliohm-level changes may matter.
Repeatability is essential. Use documented test points, stable connections, and controlled lead compensation. If a result is near the maintenance limit, repeat the measurement and inspect the test setup before treating the reading as a confirmed defect. A measurement system with known accuracy and current calibration supports a more defensible decision than an undocumented handheld reading.
Use Insulation Testing With Deliberate Control
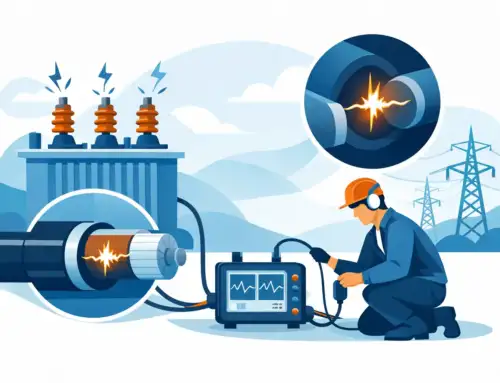
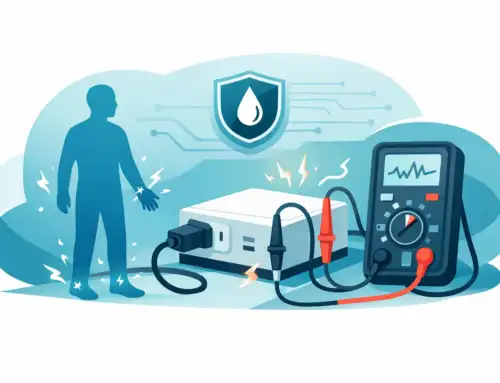
Insulation resistance testing can reveal defects that a continuity check cannot see, but it is not a universal test. Applying test voltage to connected avionics, sensors, solid-state controls, or surge-sensitive equipment can cause damage. The test plan must specify isolation requirements, voltage level, dwell time, discharge procedure, and acceptance criteria.
For suitable disconnected harnesses and components, insulation resistance measurements can be made conductor-to-conductor and conductor-to-structure. Trending is often more informative than a single reading. A harness that meets a minimum requirement but has declined significantly from prior measurements may warrant closer inspection, especially if the change corresponds with moisture exposure or a recurring discrepancy.
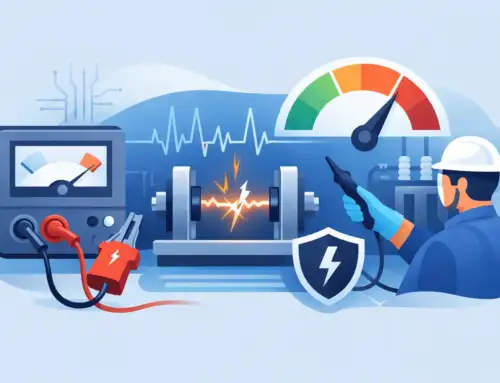
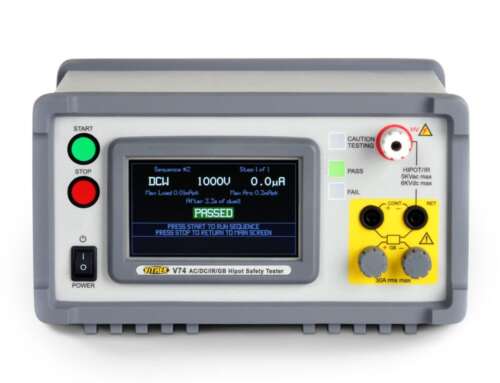
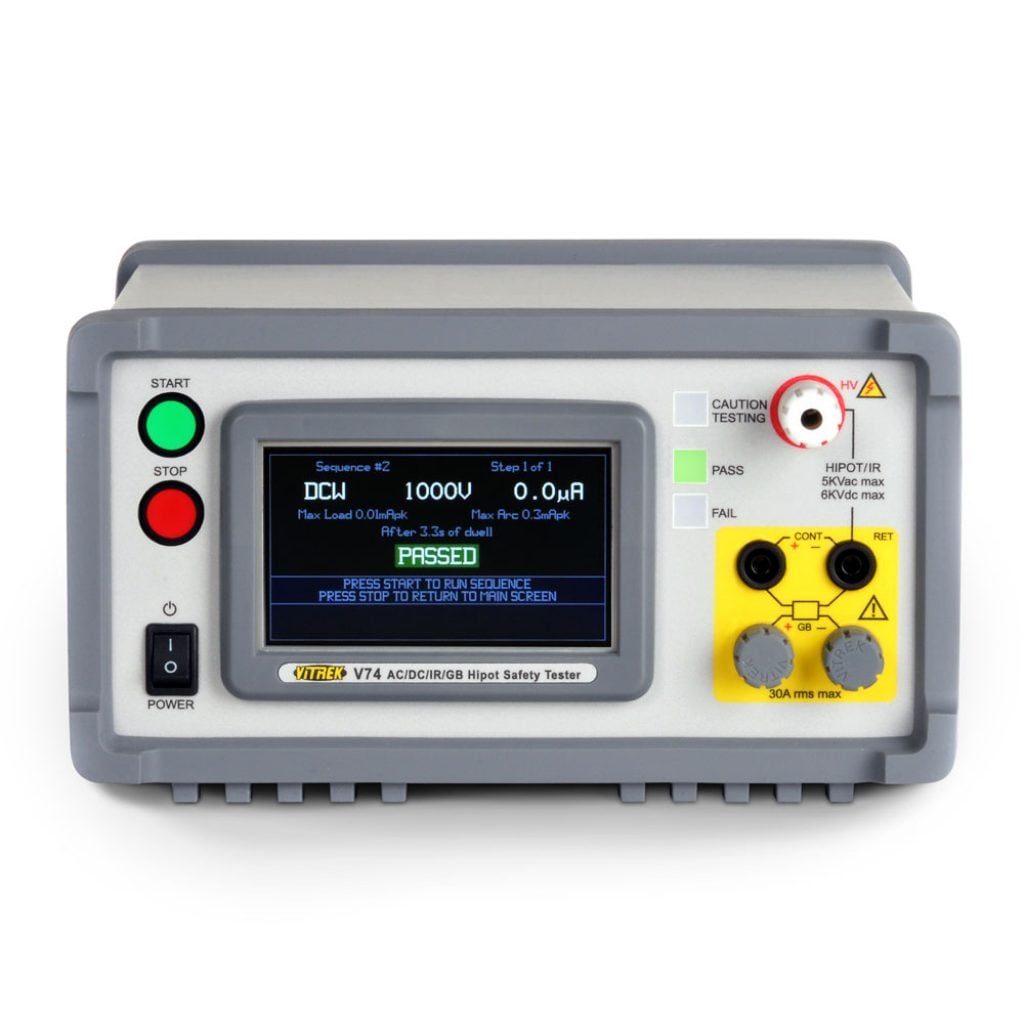
High-voltage dielectric withstand testing, commonly called hipot testing, is a separate and more demanding evaluation. It verifies that insulation can tolerate a specified voltage without breakdown under controlled conditions. In aircraft applications, it should only be performed where required by the applicable approved procedure, product specification, or manufacturing test plan. More test voltage is not automatically better. Excessive or improperly applied voltage can stress insulation and connected equipment, creating a problem rather than diagnosing one.
Locate Intermittent and Hidden Faults
Intermittent faults demand a test strategy that reflects real operating conditions. If the fault occurs during vibration, temperature change, or actuator operation, static bench testing may produce no evidence. Controlled stimulation can be more revealing: flexing a harness within permitted limits, monitoring connector movement, applying vibration in a qualified test environment, or recording electrical behavior while the associated system operates.
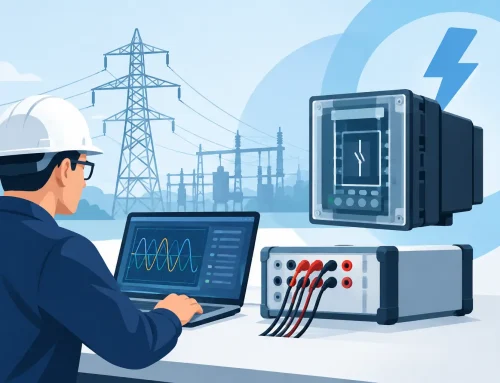
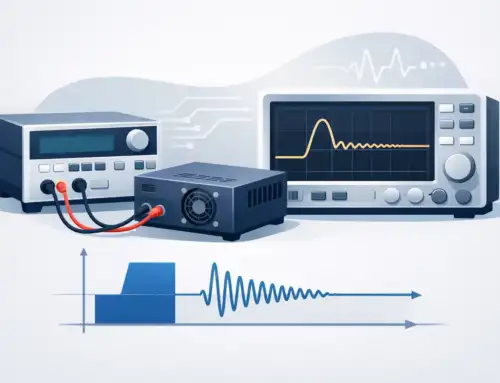
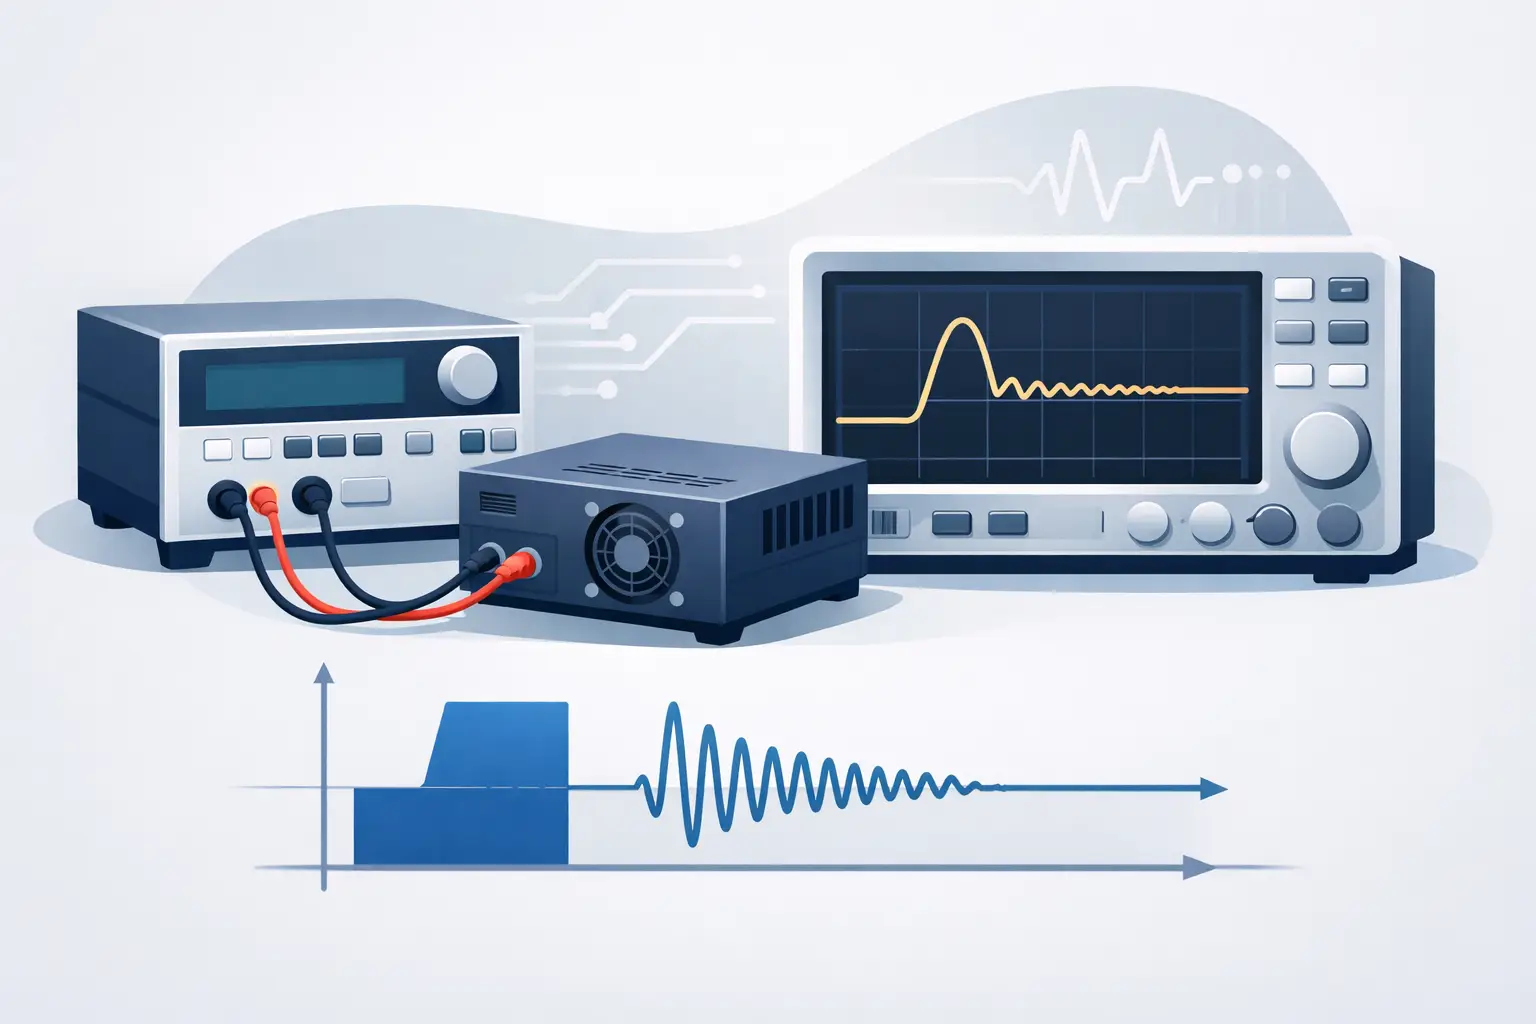
Time-domain methods can help locate opens, shorts, and impedance discontinuities in longer cable runs. A reflected pulse can indicate a change in impedance and provide an estimated distance to the anomaly. The result is useful for narrowing the inspection area, not for replacing physical confirmation. Wire gauge changes, splices, branches, connector transitions, and harness geometry can create reflections that require experienced interpretation.
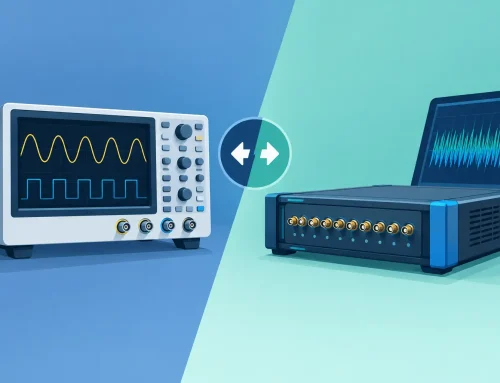
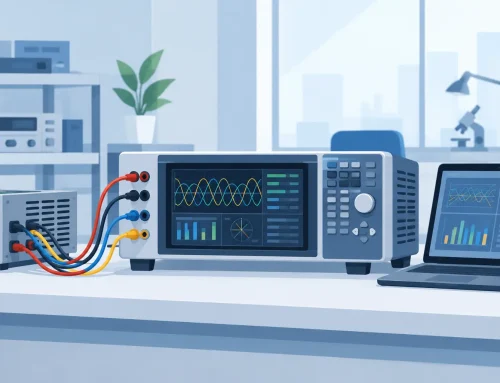
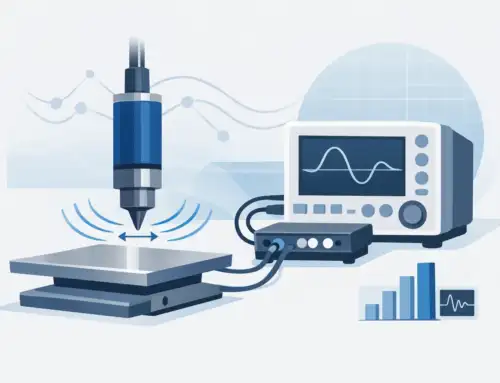
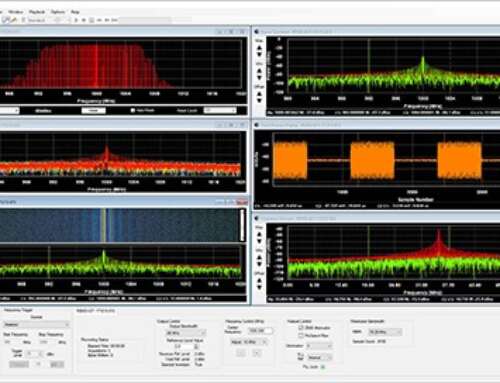
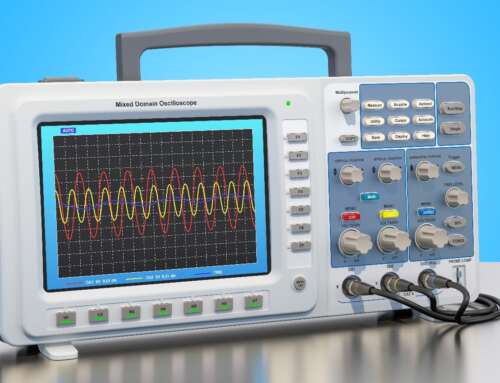
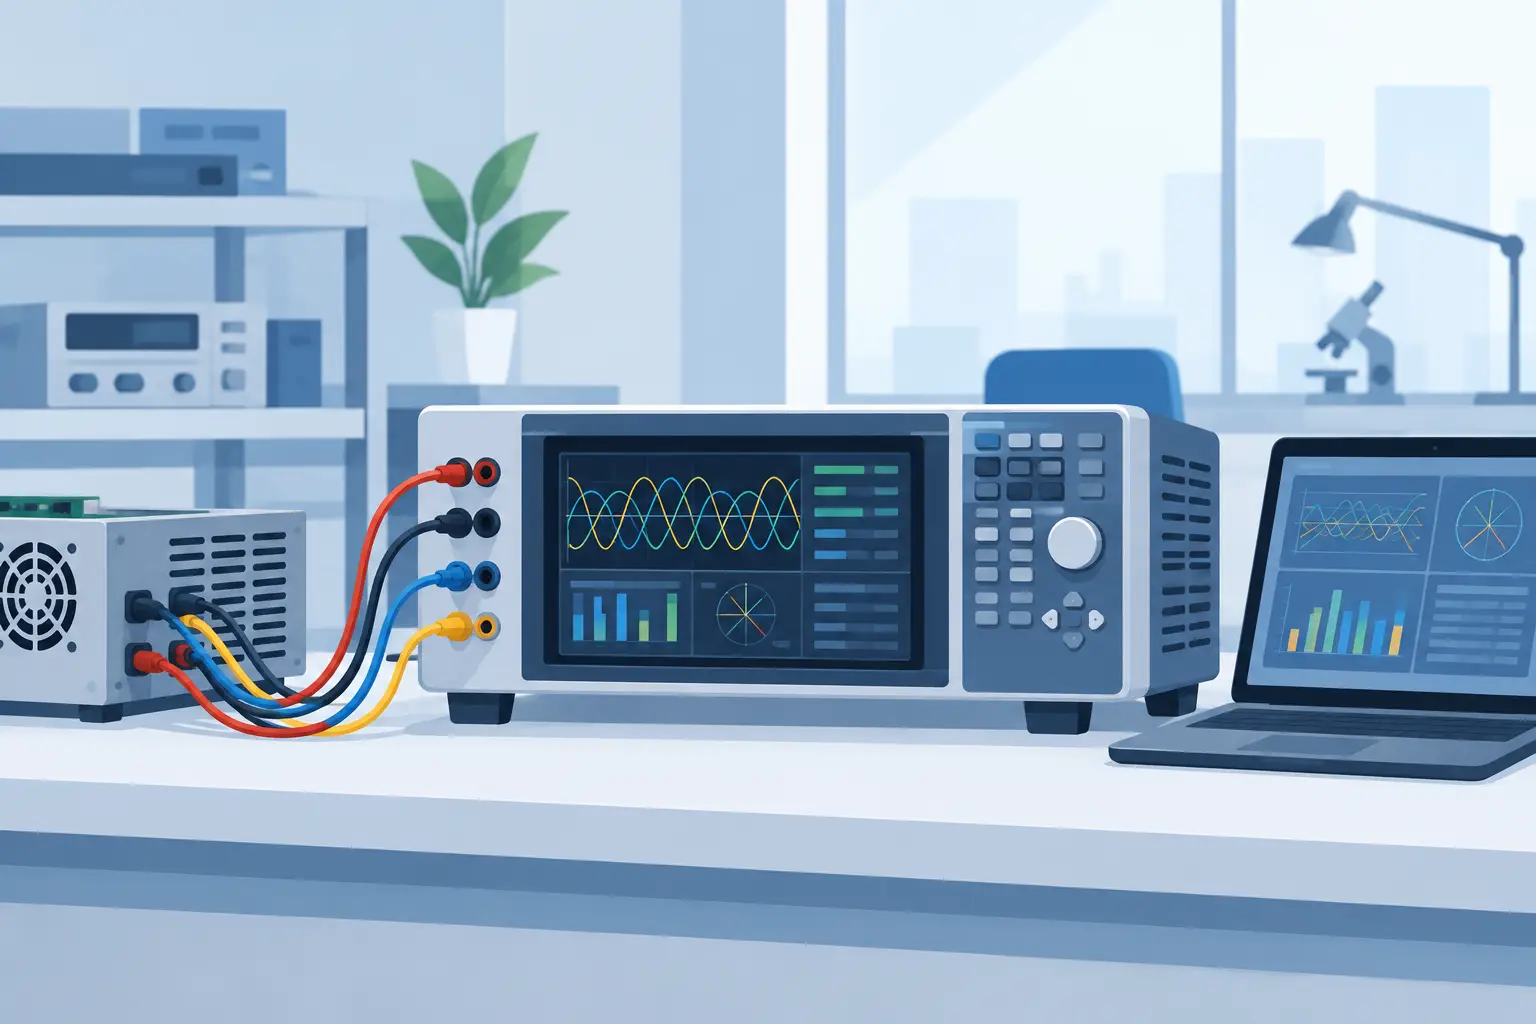
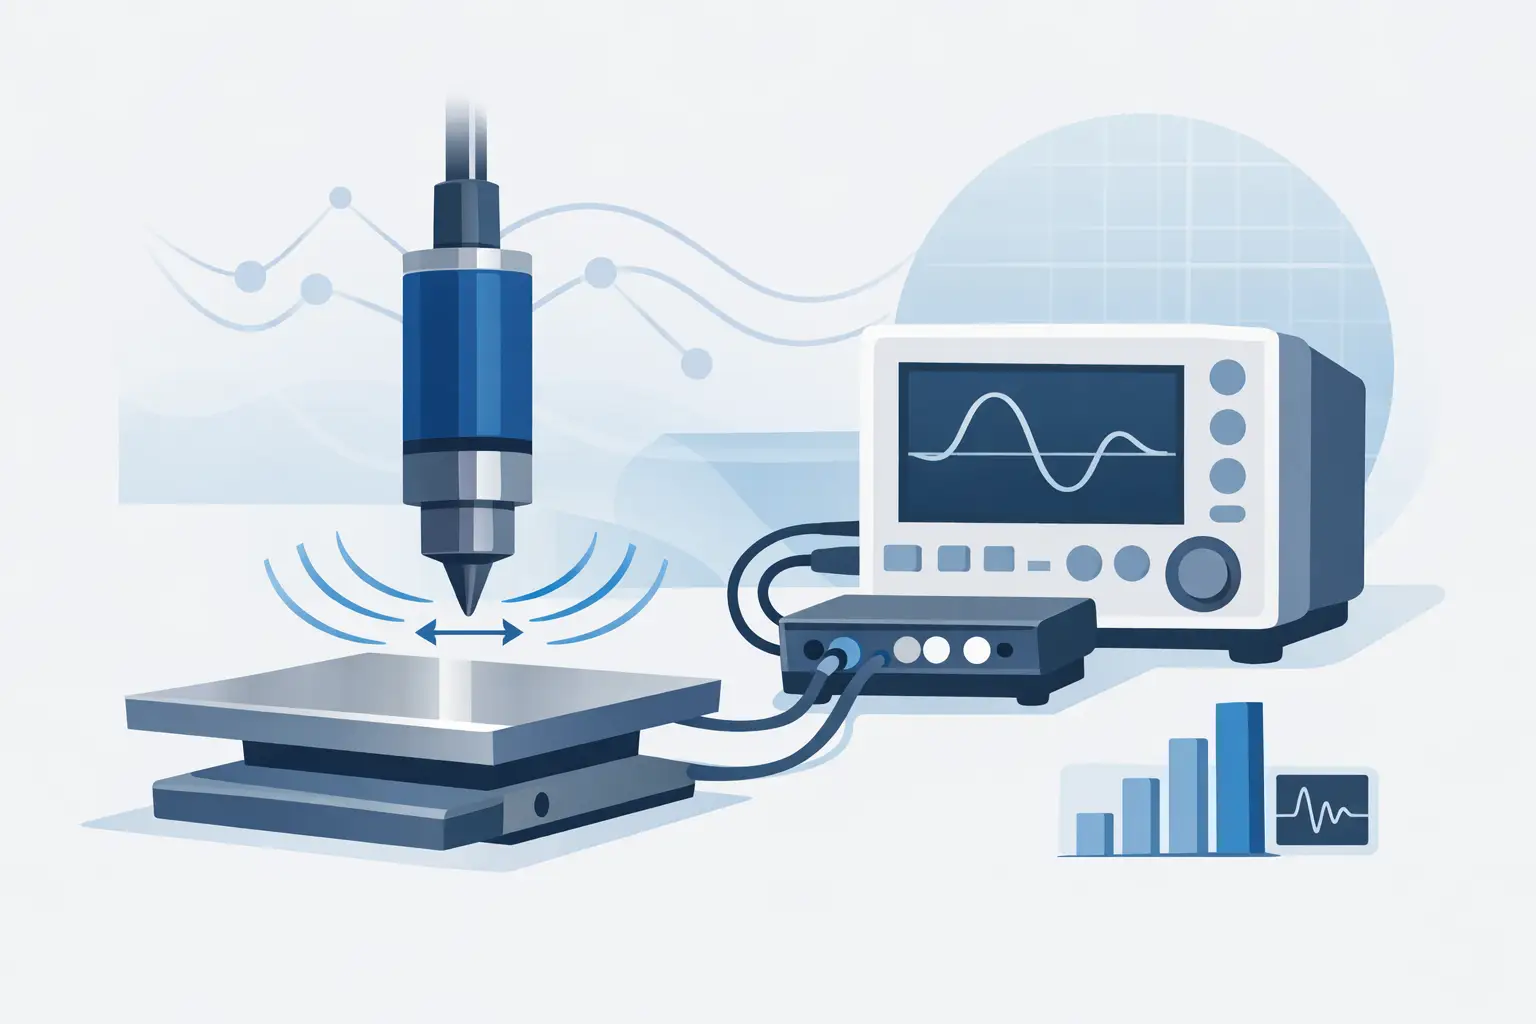
High-speed digitizers and data acquisition systems are particularly useful when the complaint involves transient voltage, intermittent power loss, relay chatter, or signal corruption. Capturing the event with synchronized channels can show whether the disturbance began at the power source, ground return, command signal, or load. The correct sampling rate, trigger strategy, input range, and isolation configuration depend on the event duration and circuit voltage.
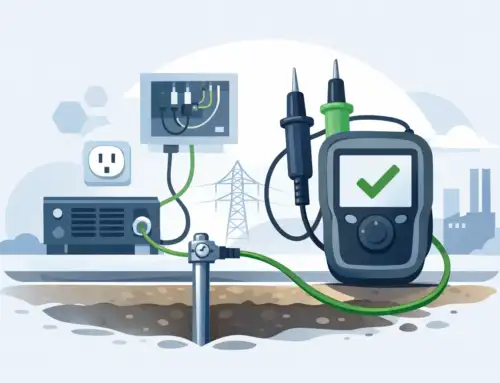
For EMI-related problems, evaluate shield continuity, shield termination practice, bonding, grounding architecture, and cable routing. A shield may appear continuous while providing poor high-frequency performance because of an improper termination or excessive pigtail length. The diagnostic question must match the failure mechanism. DC resistance alone does not characterize every shield or bonding concern.
Protect Measurement Integrity and Personnel
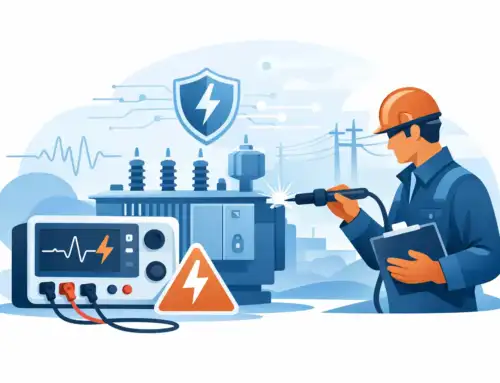
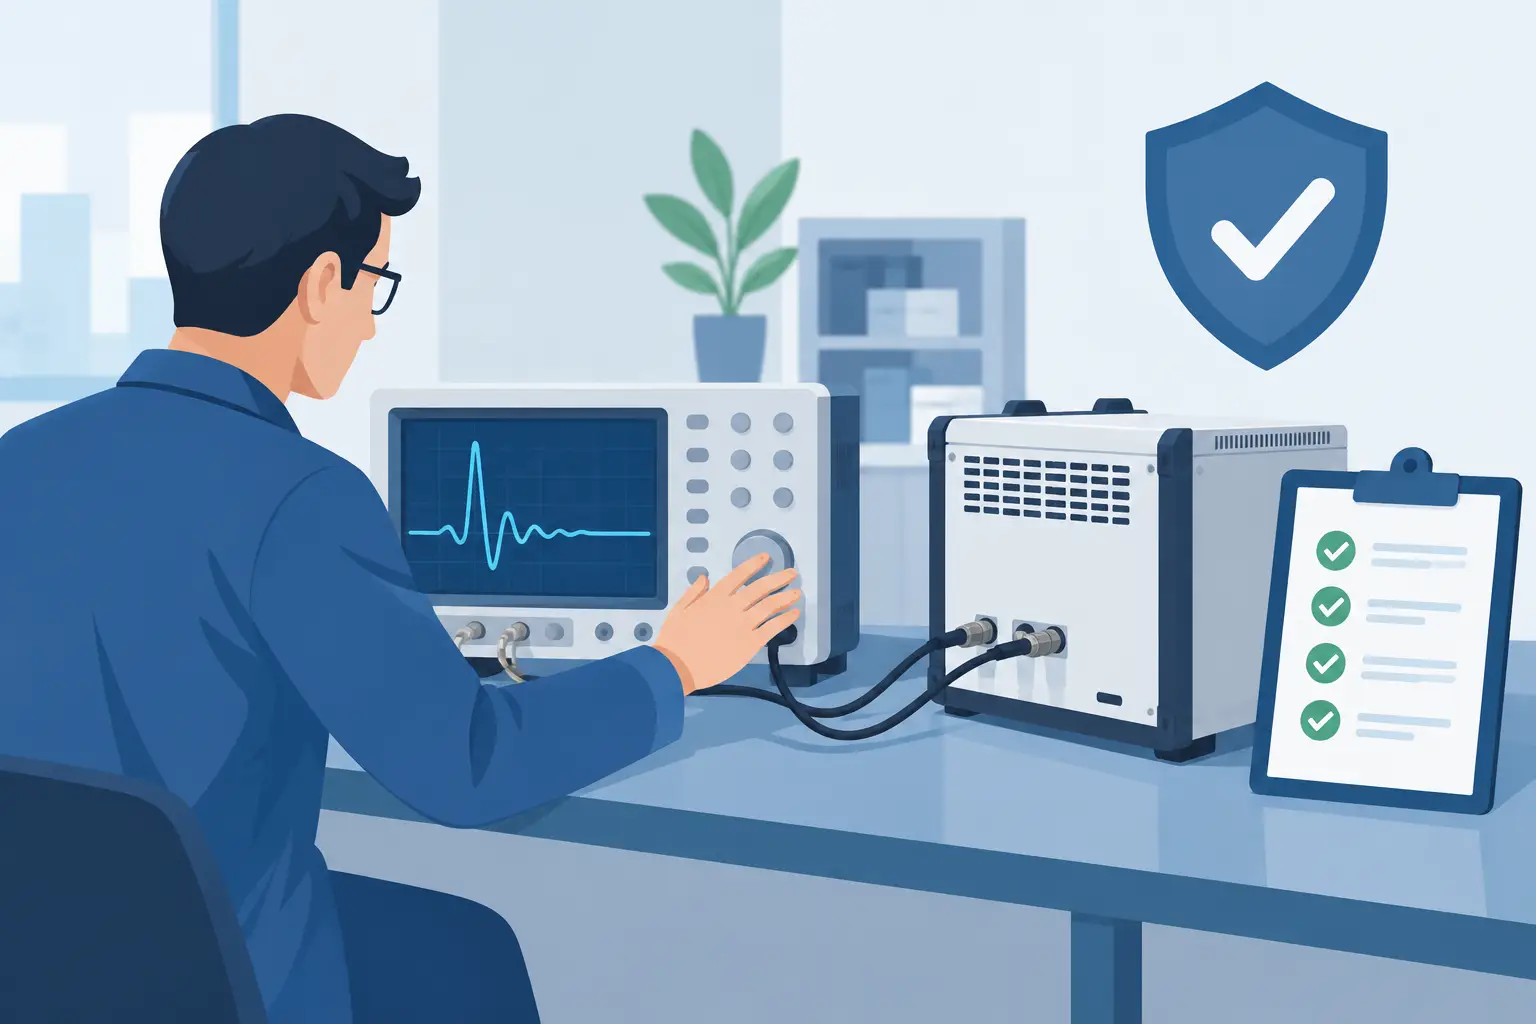
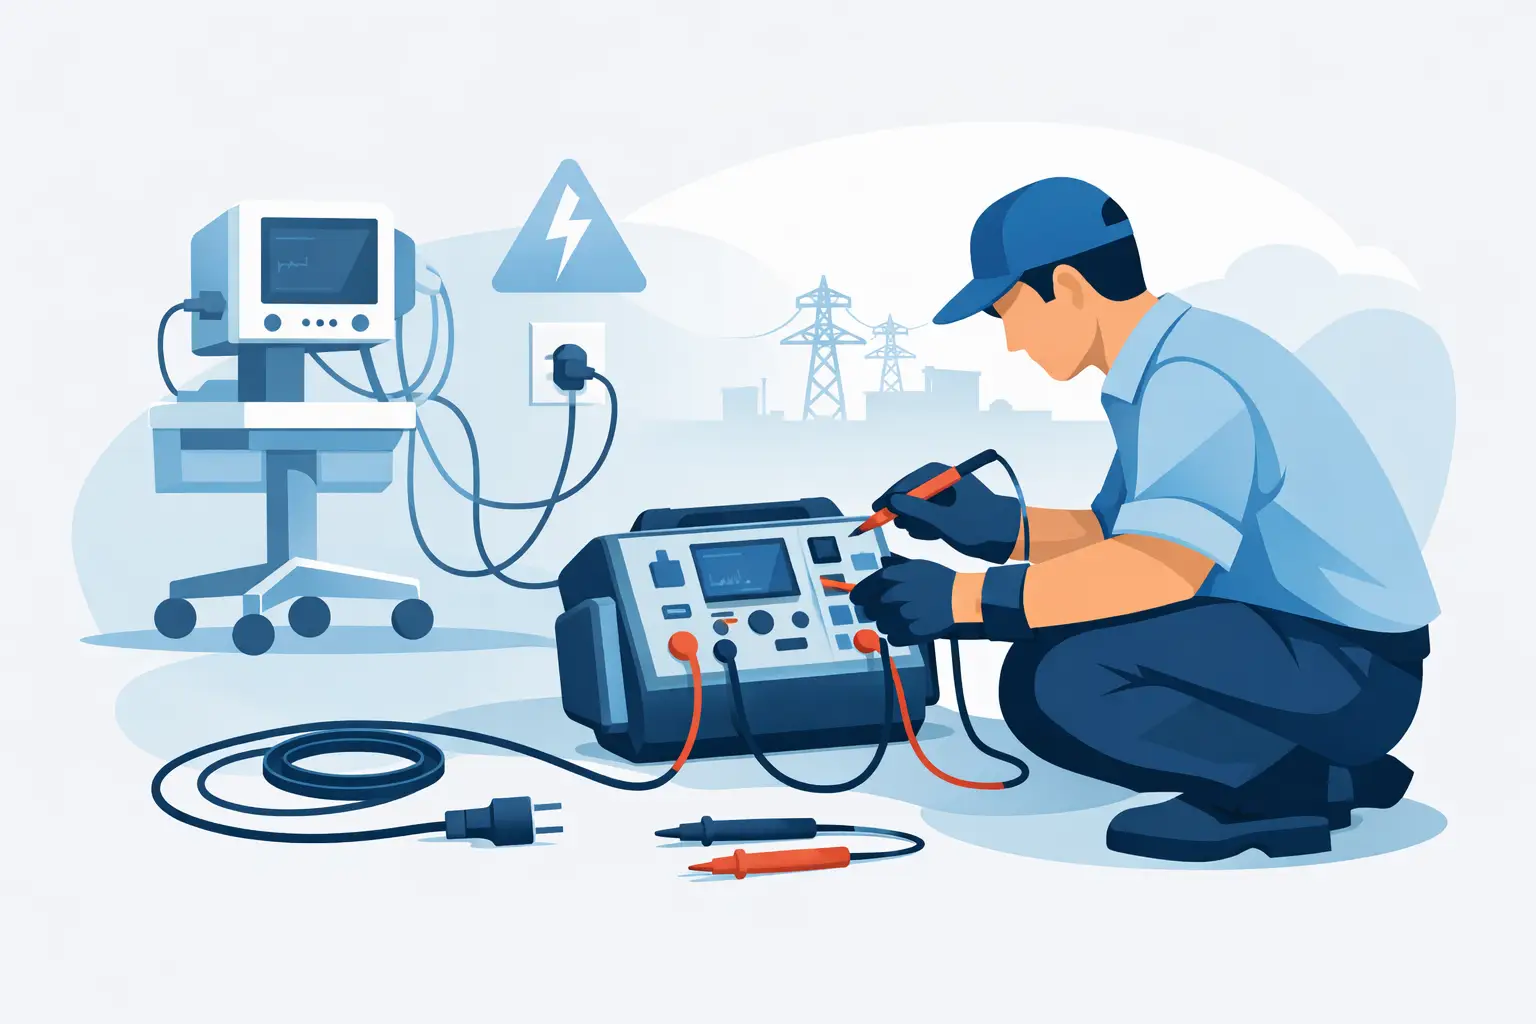
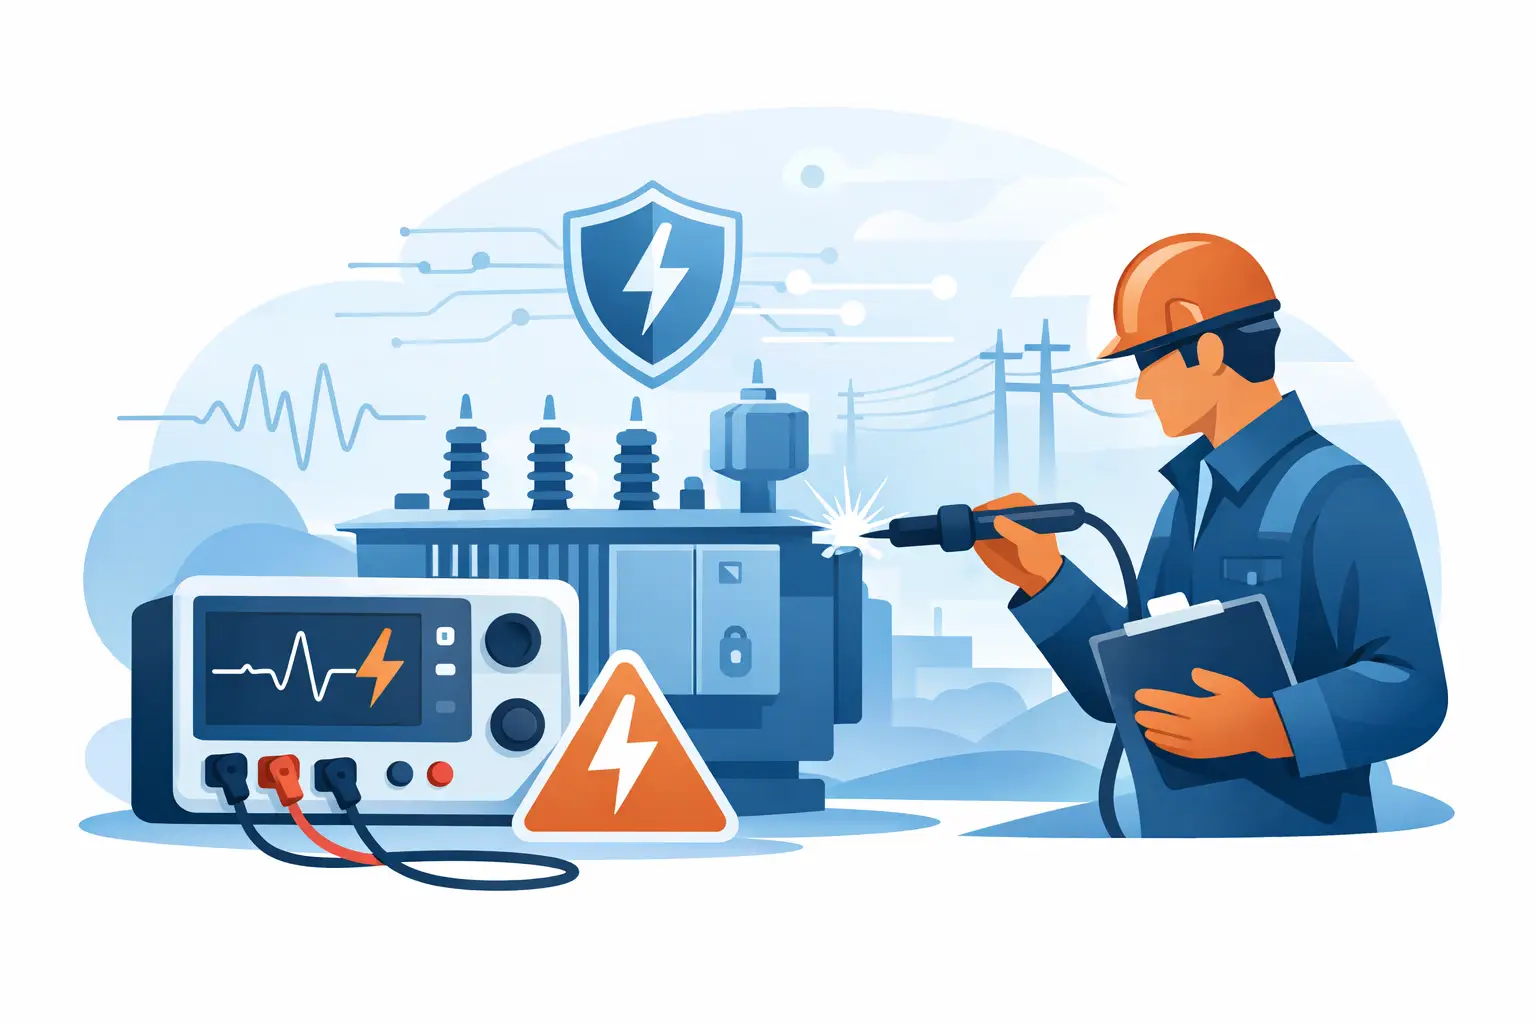
Aircraft electrical testing is a safety-critical activity. Before testing, verify lockout and tagging requirements, stored-energy hazards, circuit isolation, and the presence of external power sources. Confirm that the test instrument, leads, adapters, and switching hardware are rated for the expected voltage and fault energy. Follow the approved maintenance procedure and observe required discharge intervals after insulation or high-voltage tests.
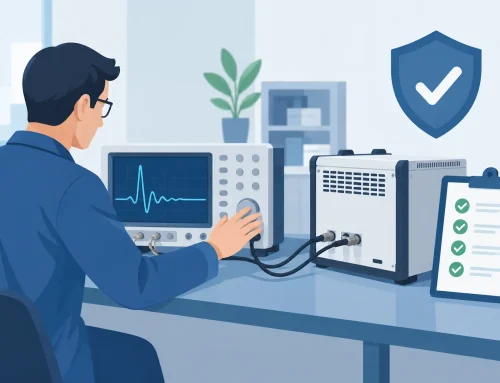
The instrumentation should also be appropriate for the required evidence. Accuracy specifications, resolution, input impedance, common-mode limits, lead compensation, and calibration status all affect confidence in the result. A test setup that is adequate for general troubleshooting may not be adequate for production acceptance, failure analysis, or compliance documentation.
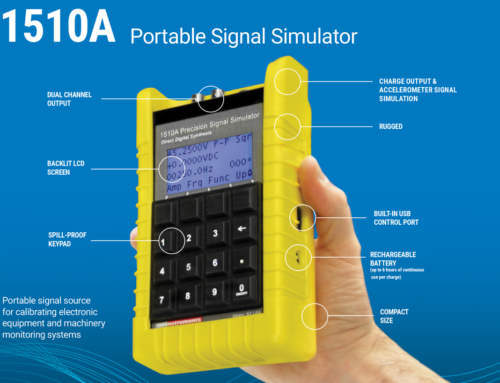
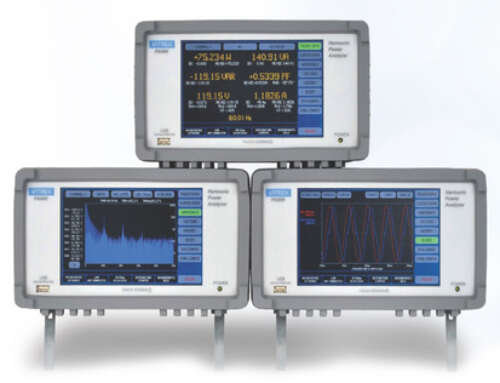
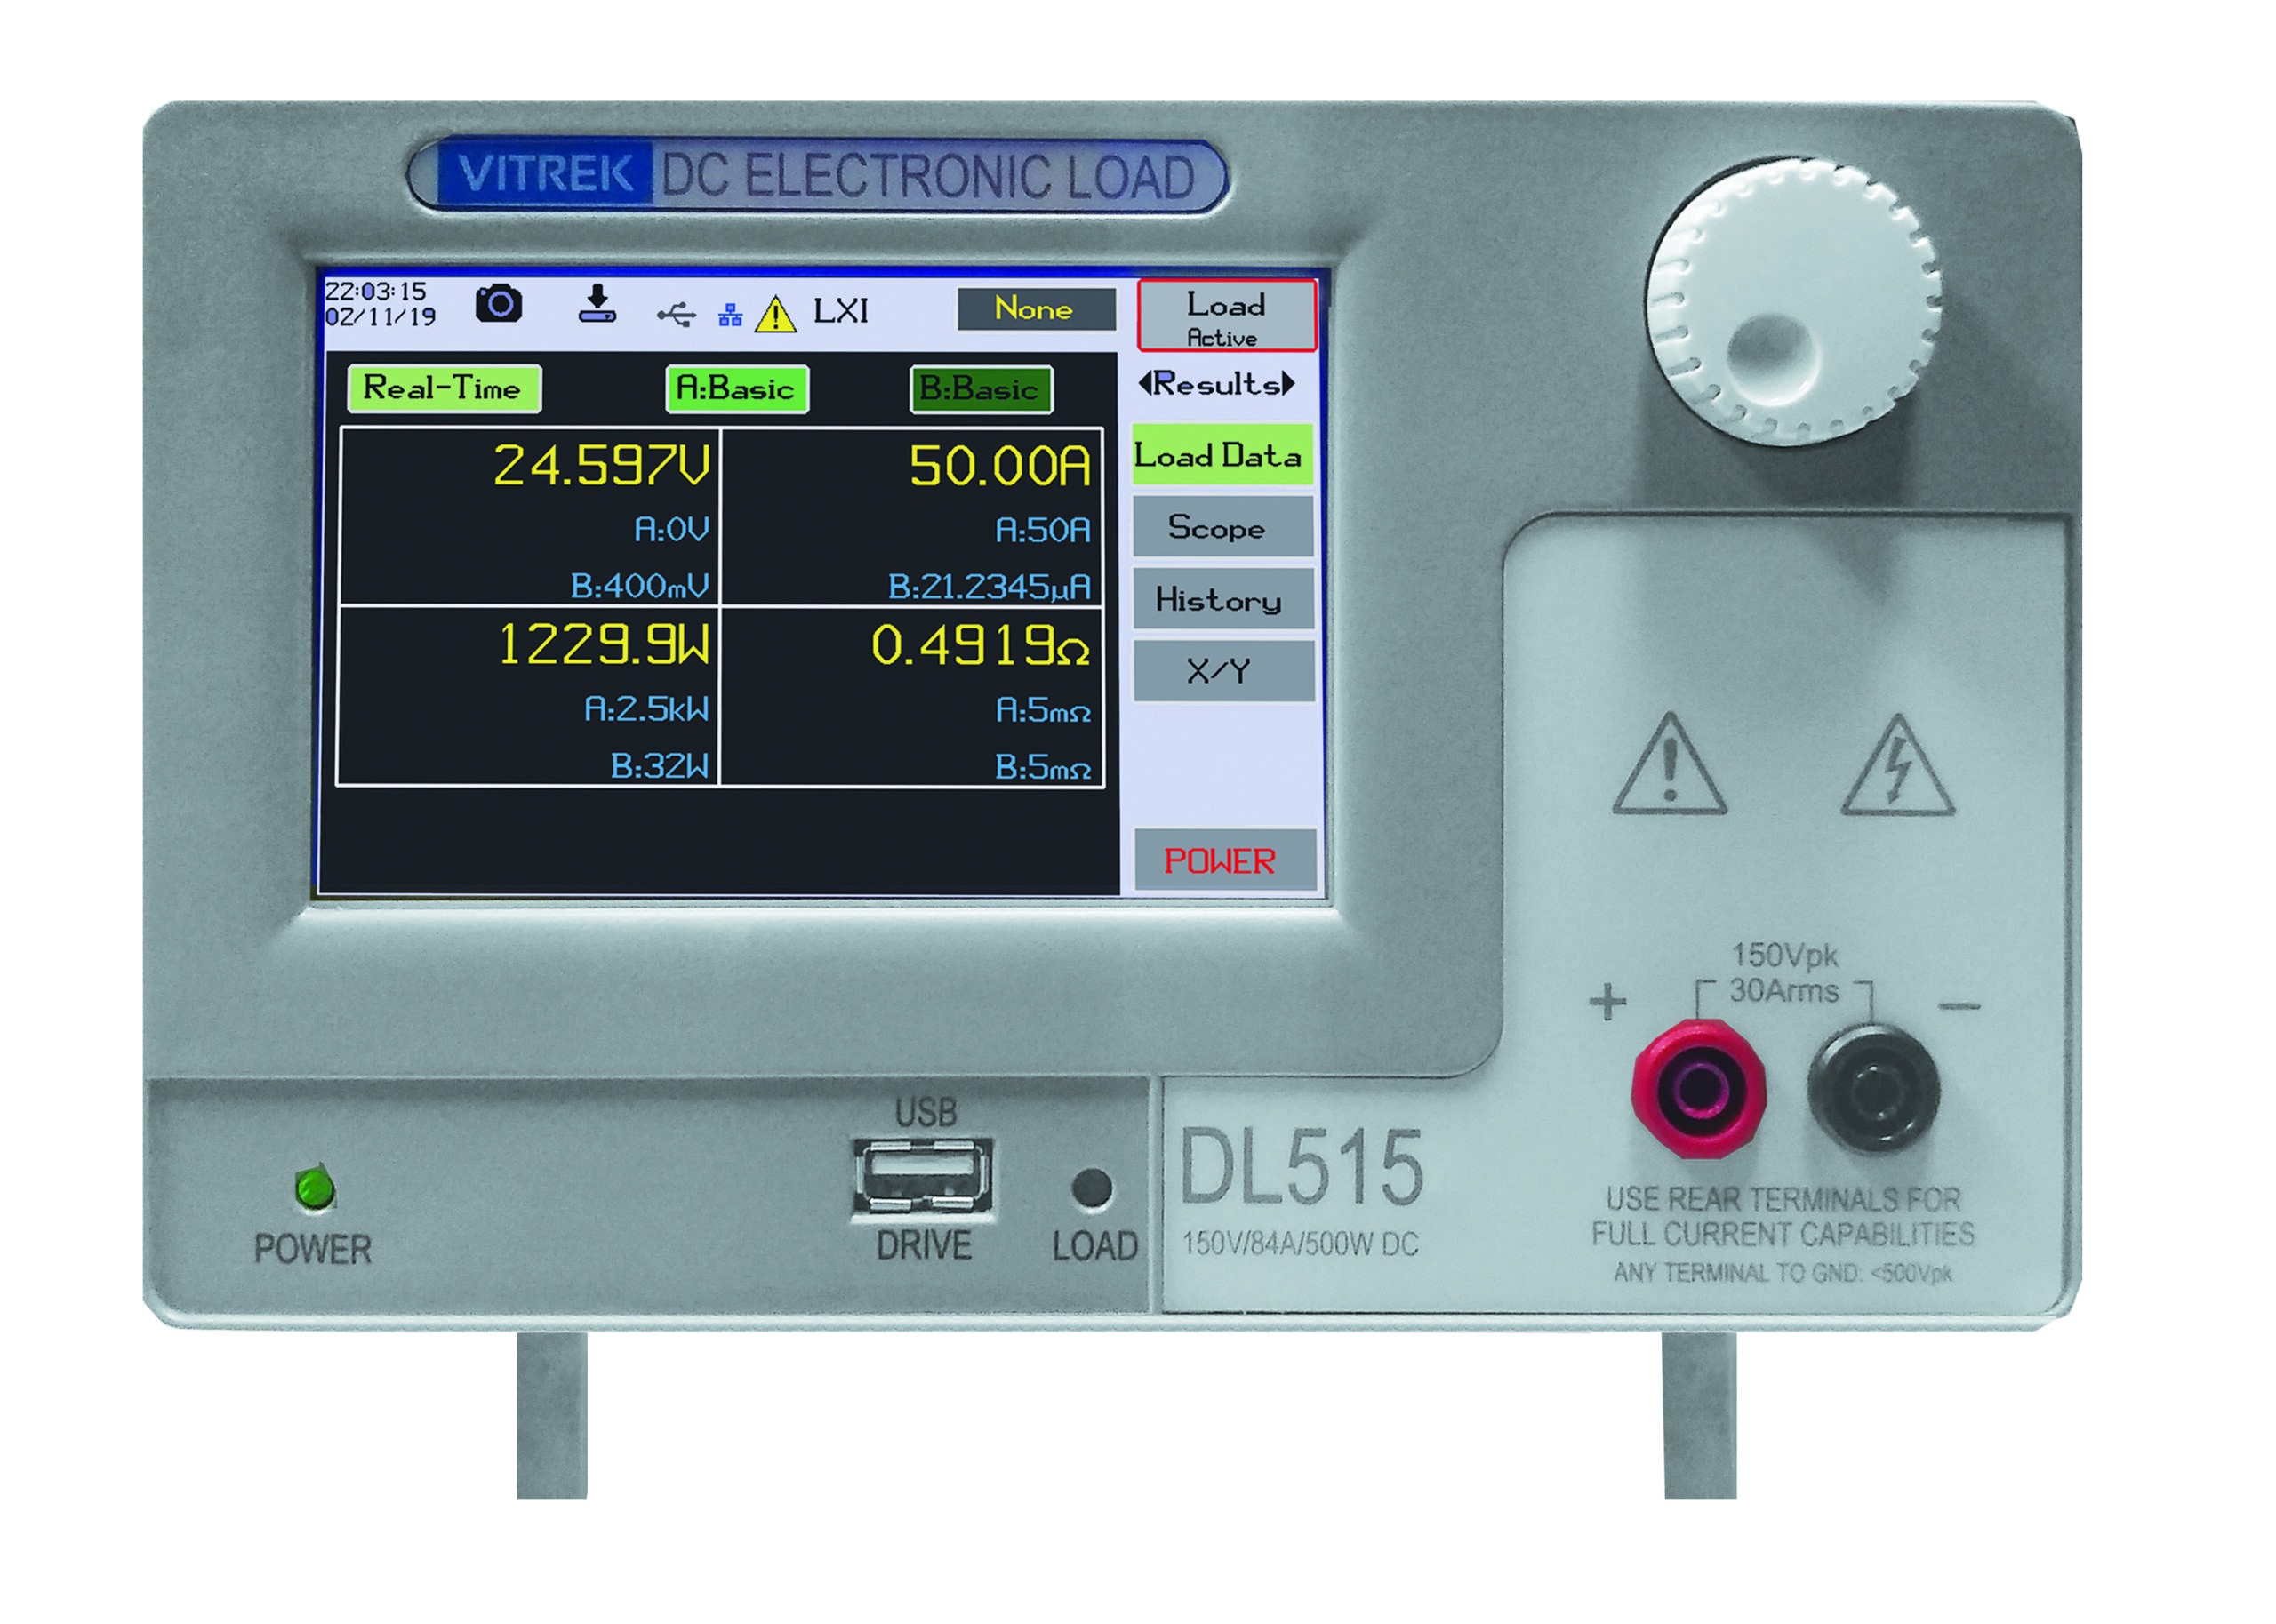
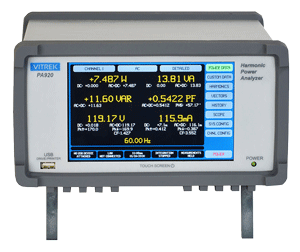
Automated systems can improve consistency when the same harnesses or assemblies are tested repeatedly. They can enforce test sequence, control switching, capture results, flag out-of-limit values, and preserve traceable records. For aerospace manufacturing and depot-level work, this reduces dependence on manual transcription and makes it easier to compare results across units, shifts, and facilities. Vitrek test instrumentation can support these workflows where precise electrical safety, insulation, or high-voltage measurements are required.
Turn Findings Into Corrective Action
A diagnostic result should lead to a specific, verifiable corrective action. If a connector pin shows elevated resistance, repair or replace the applicable termination in accordance with approved data, then repeat the relevant measurement. If insulation resistance is low, identify whether the cause is contamination, moisture ingress, mechanical damage, or a connected device before replacing an entire harness.
Documentation should preserve the original discrepancy, circuit identification, test points, instrument identification, test settings, environmental conditions when relevant, measured values, corrective action, and post-repair verification. This record supports quality control and can reveal patterns across a fleet or production lot. Repeated failures near the same clamp location or connector family may indicate a design, installation, or maintenance-process issue rather than isolated workmanship.
The strongest diagnostic programs treat wiring measurements as engineering data, not merely pass-fail checks. When test methods match the failure mode and results are traceable, teams can isolate defects faster, avoid unnecessary harness replacement, and make maintenance decisions with the confidence required for aircraft service.