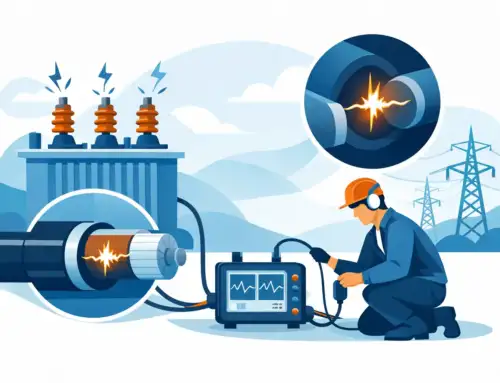
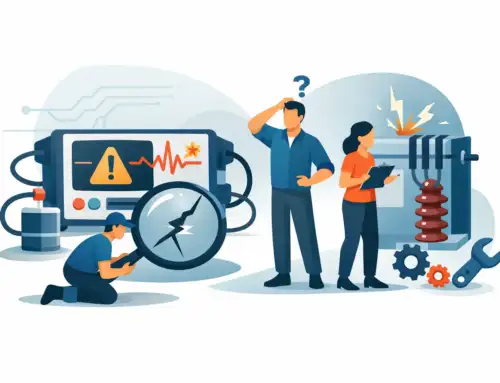
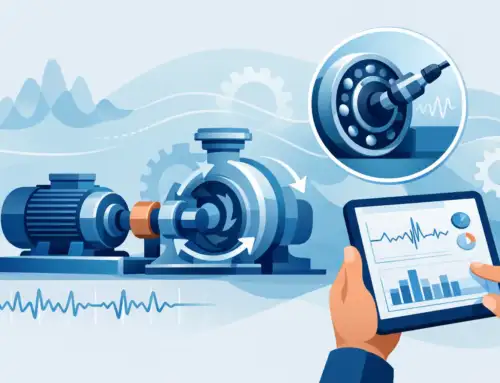
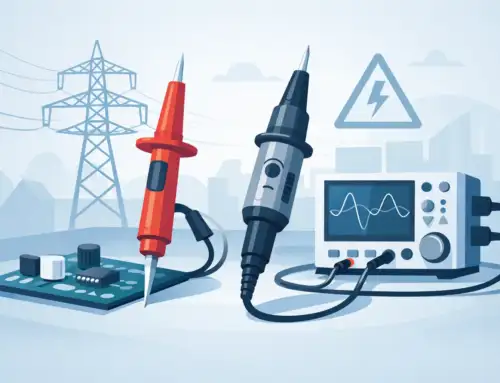
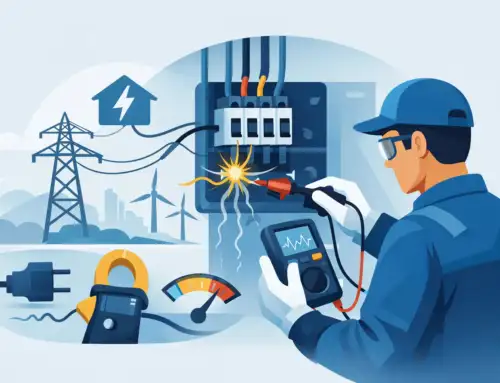
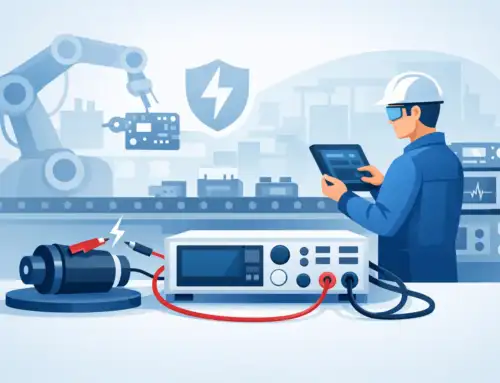
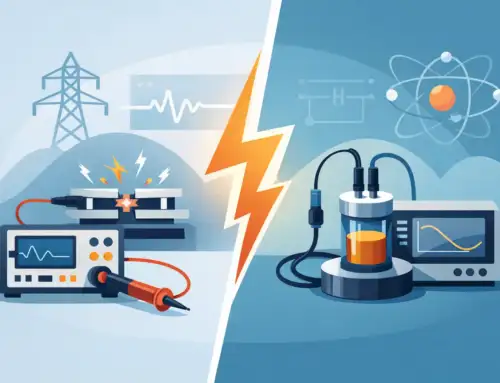
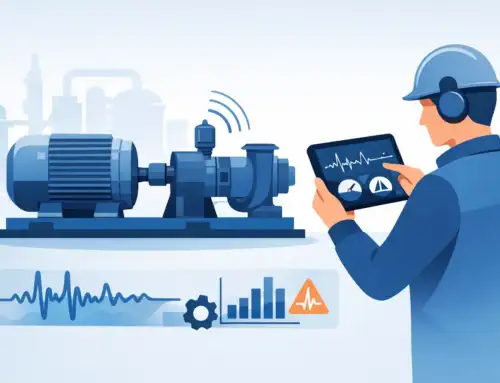
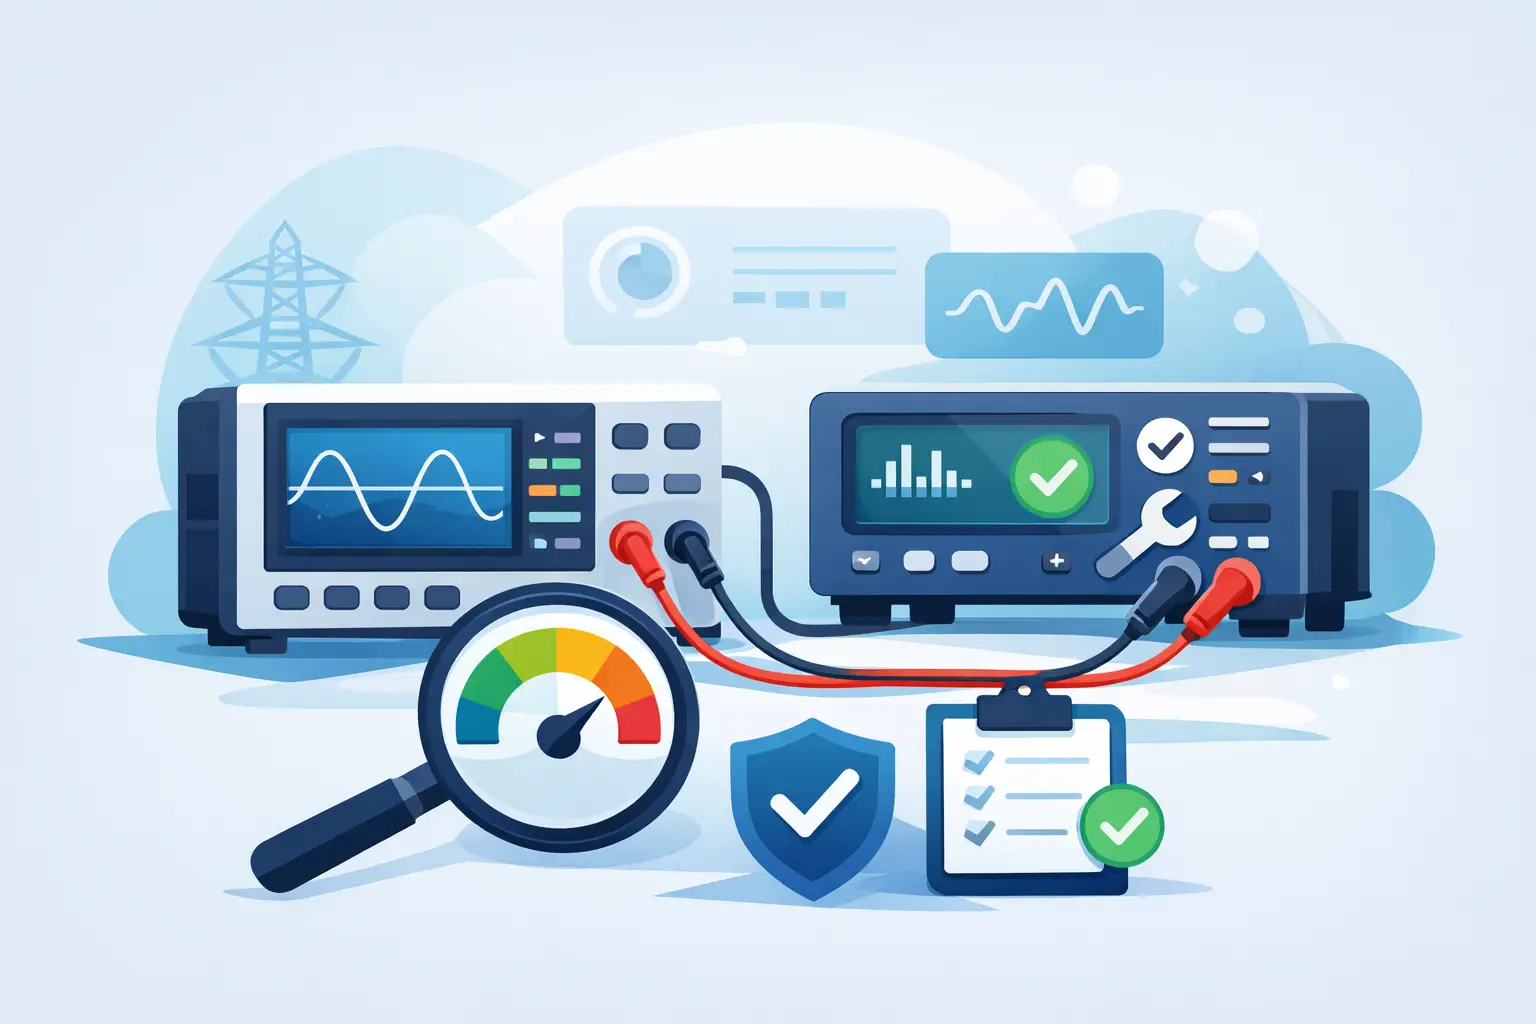
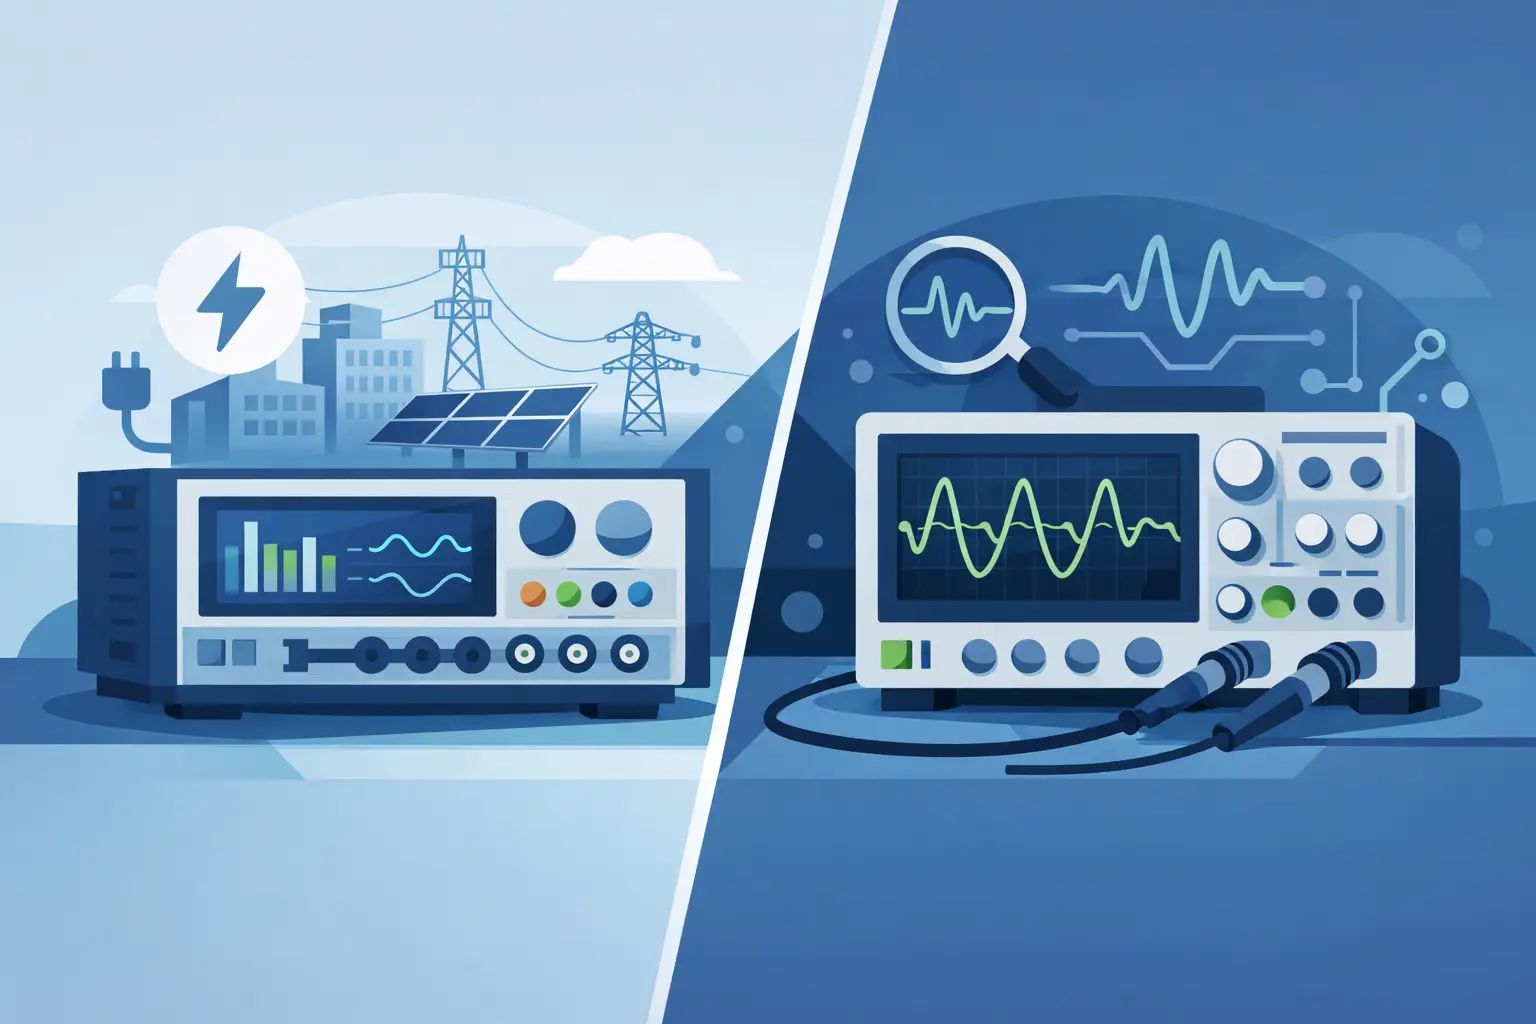
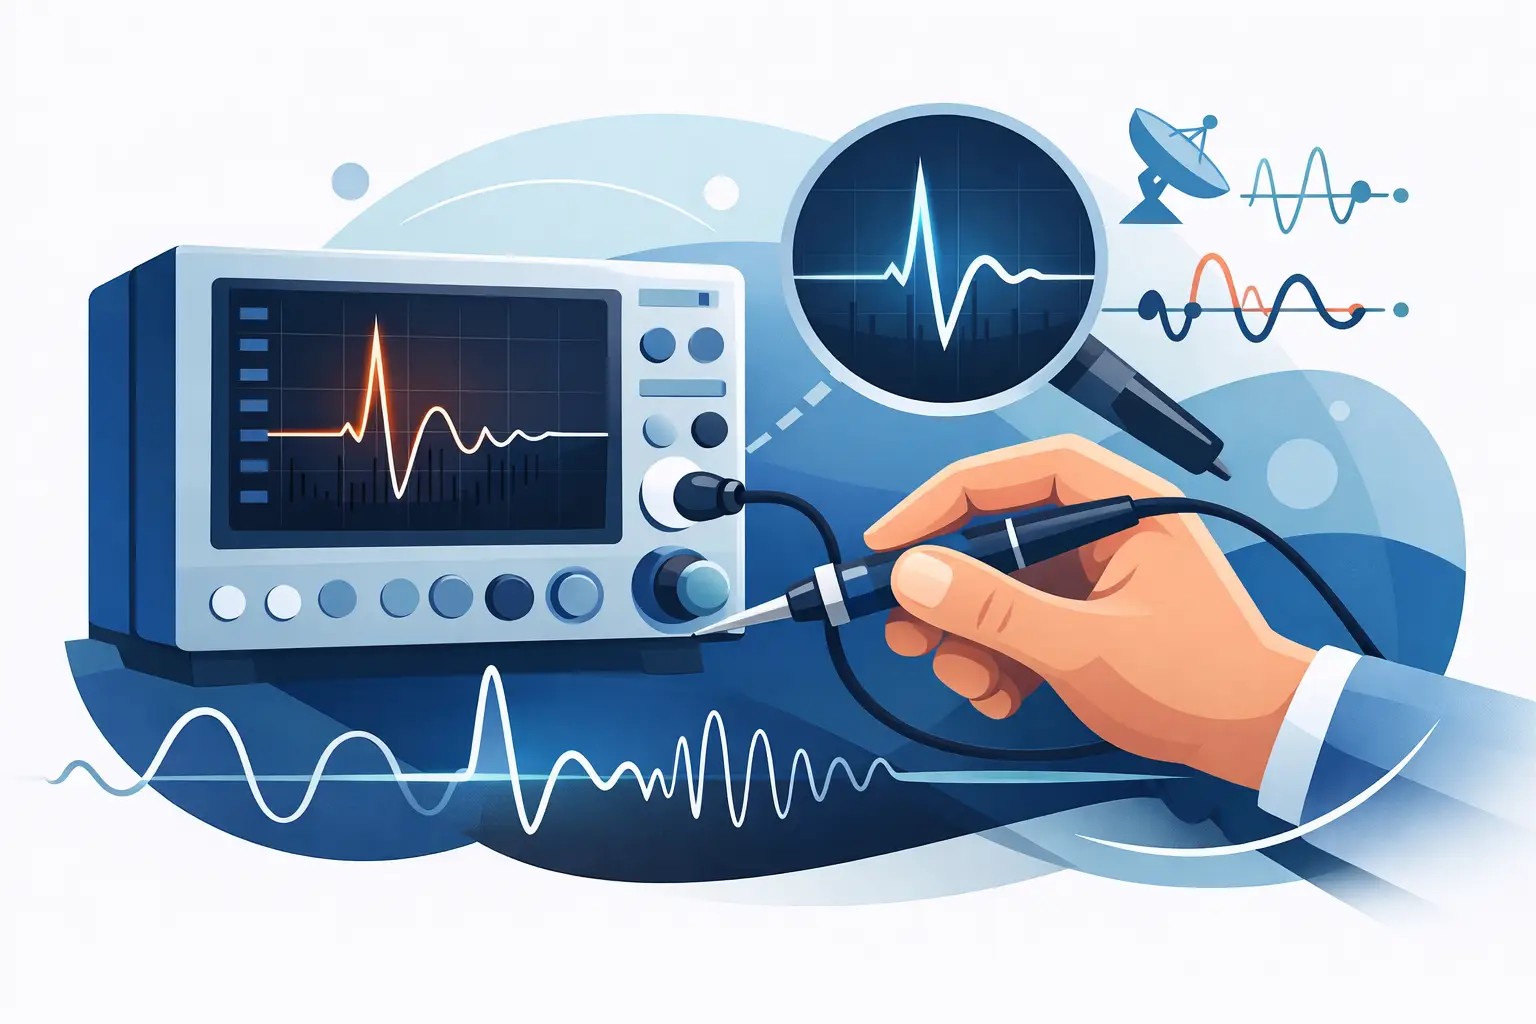
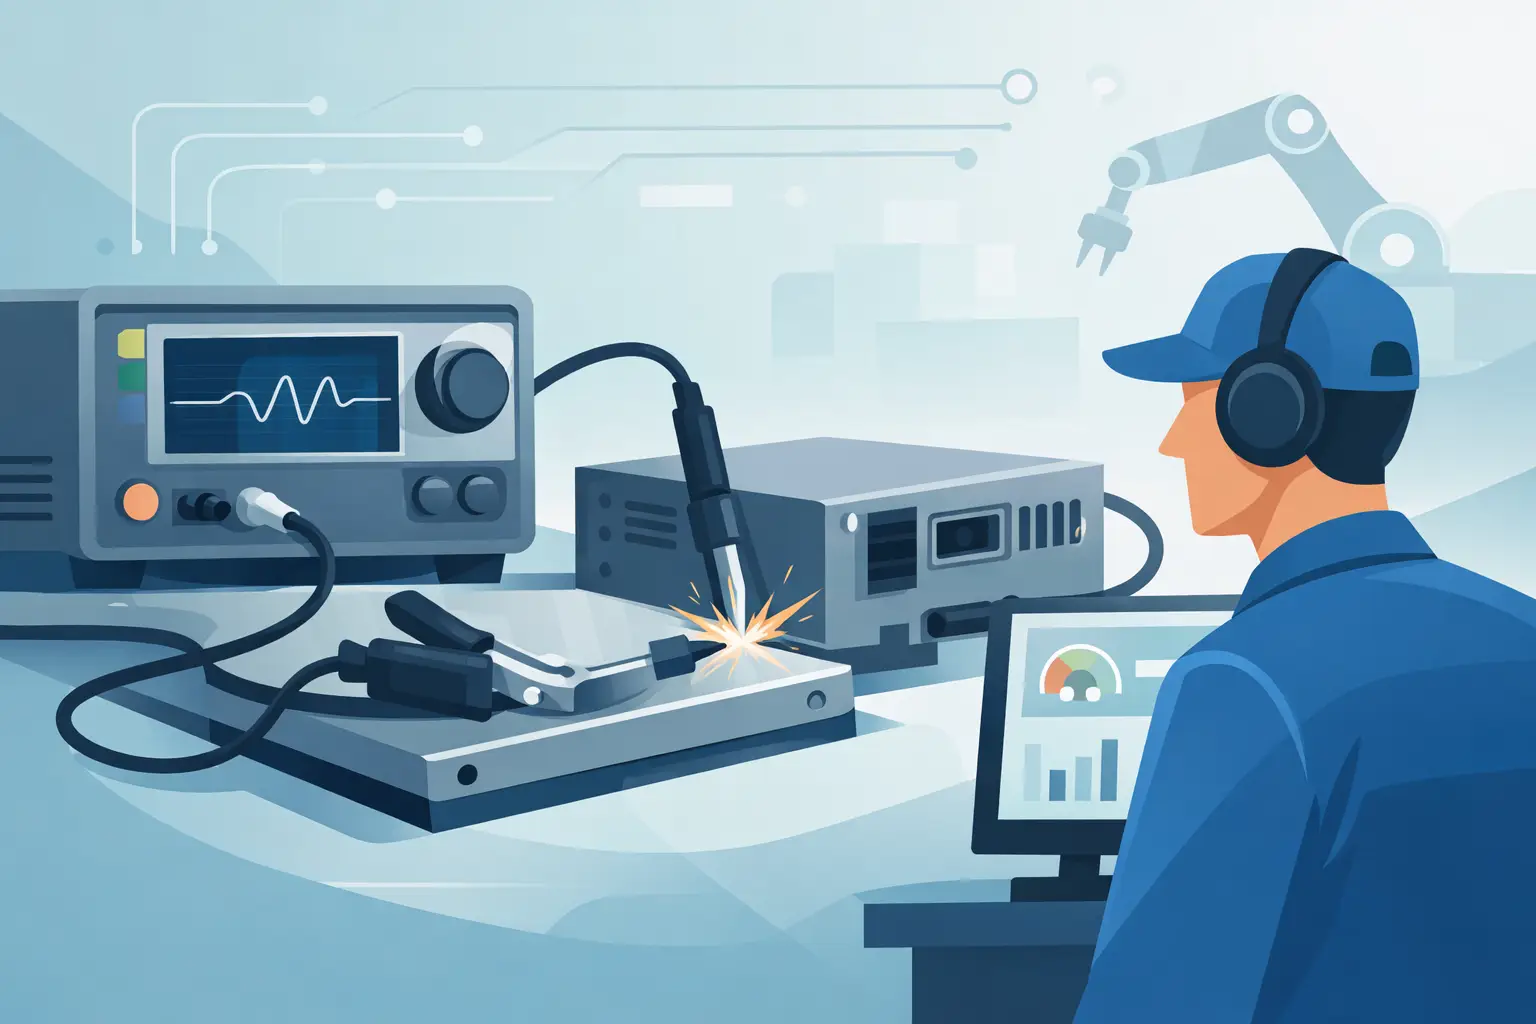
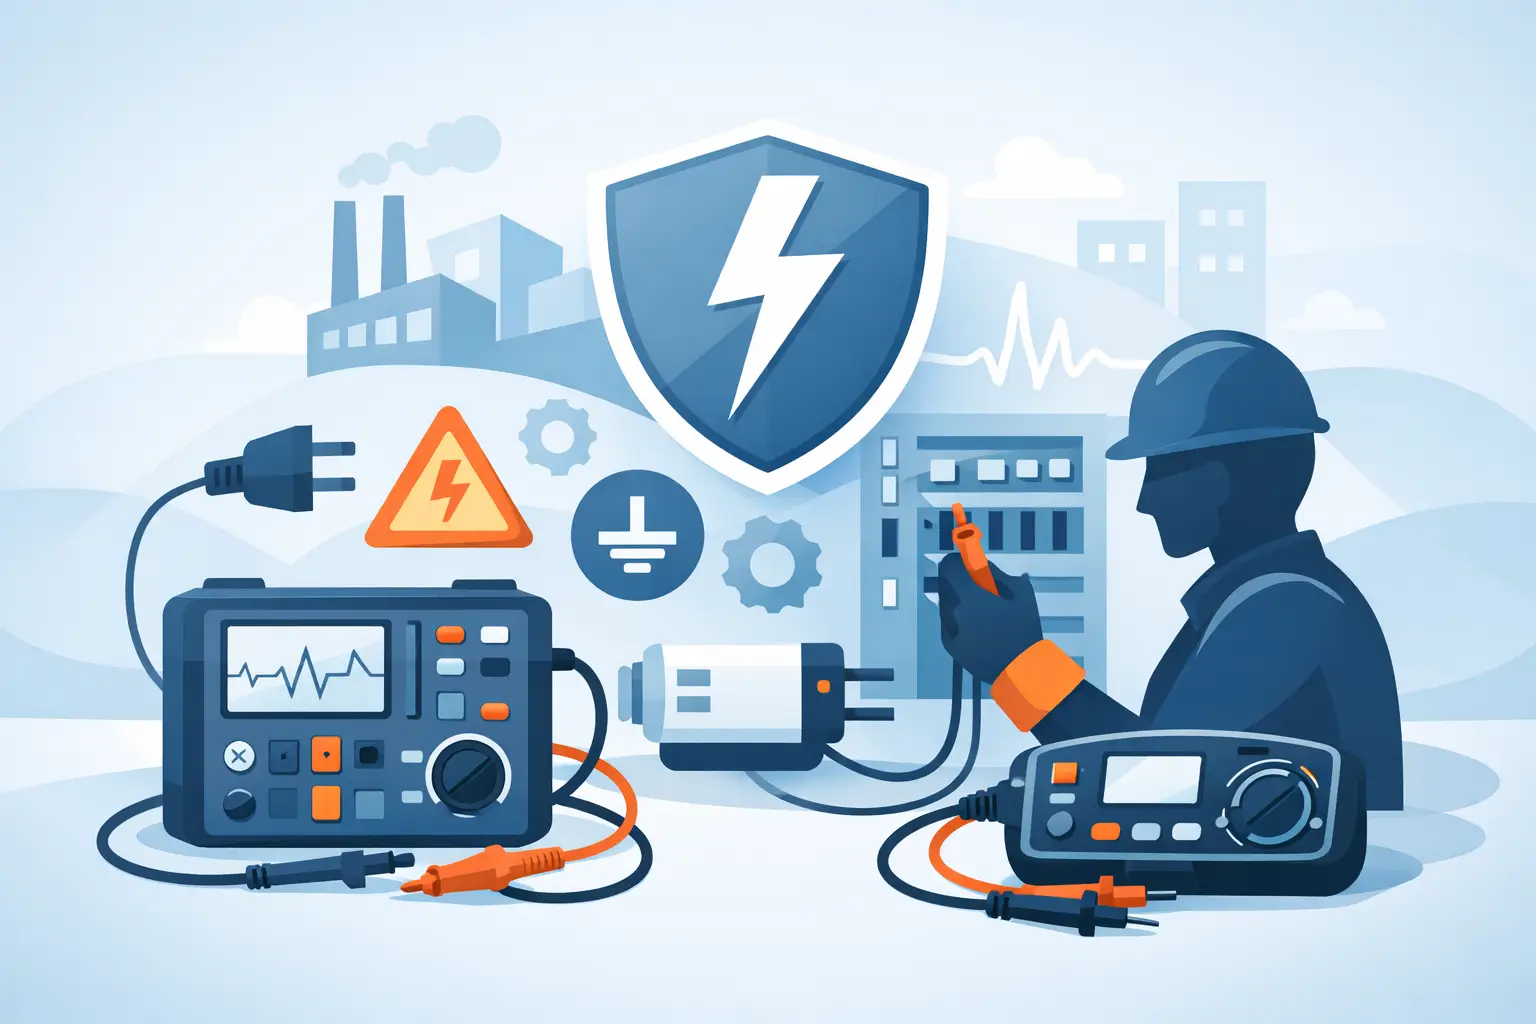
A switching inverter can appear stable at its output terminals while placing substantial voltage stress on every measurement input, cable shield, and grounded instrument connected to it. To measure common mode voltage accurately, engineers must define the reference point, use an instrument topology suited to the voltage and bandwidth, and avoid creating an unintended ground path during the test.
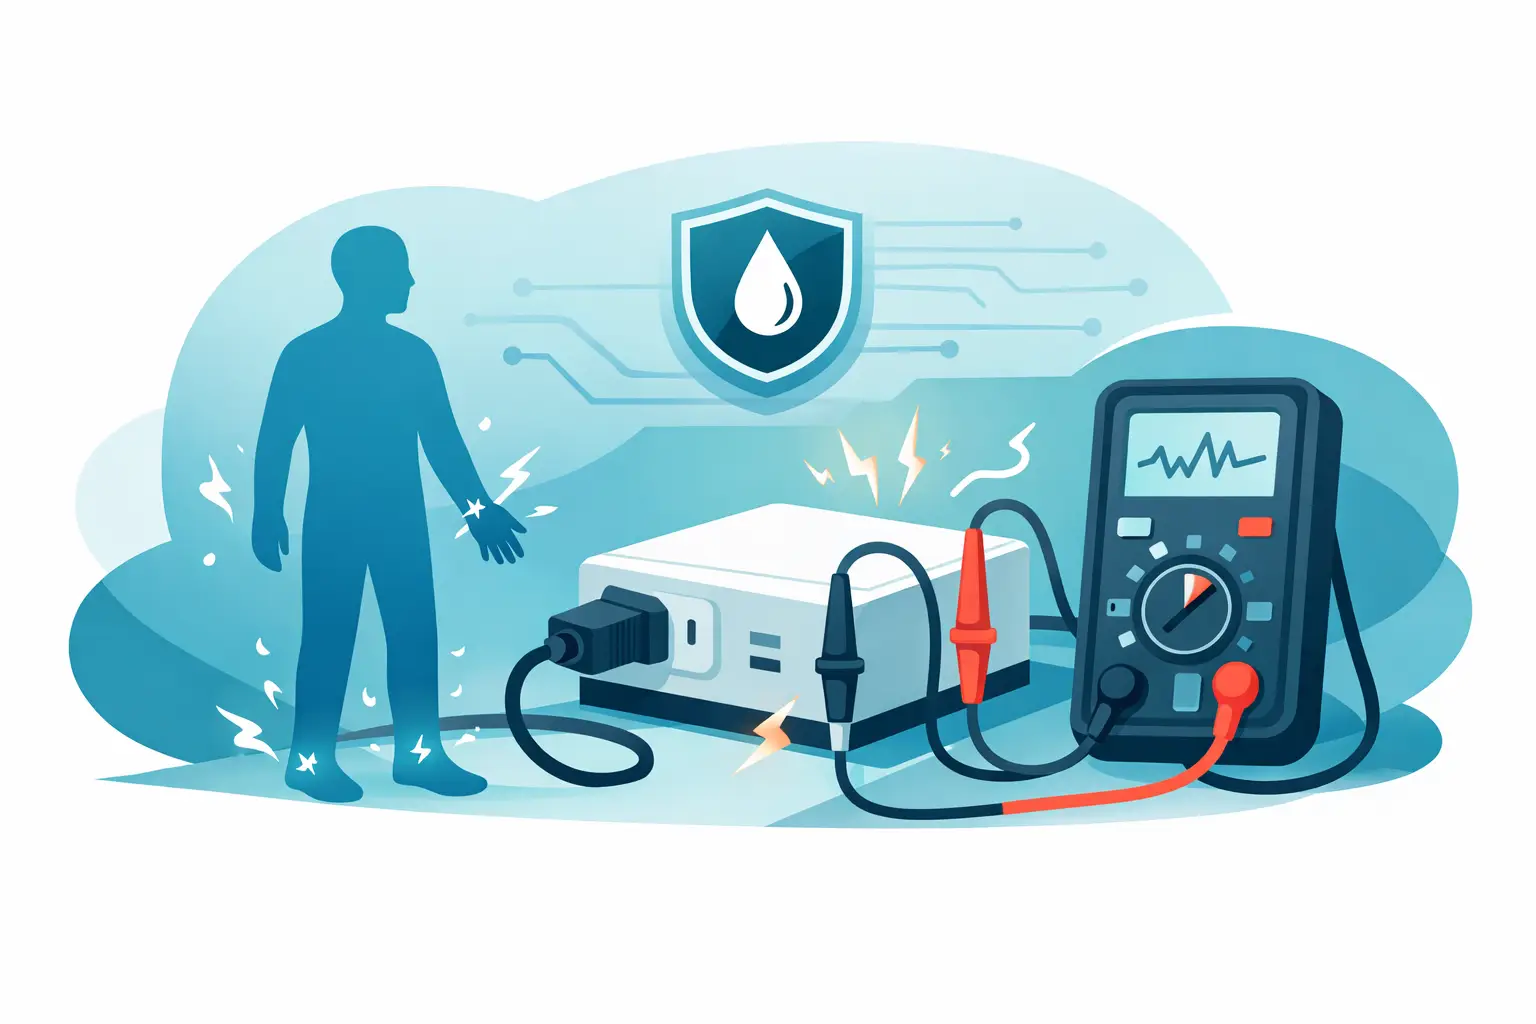
Common mode measurements are especially consequential in EV traction inverters, motor drives, switched-mode power supplies, medical equipment, aerospace power systems, and high-voltage production test. A poor measurement can do more than corrupt data. It can create a safety hazard, damage an oscilloscope input, or mask the source of conducted emissions, insulation stress, and bearing-current problems.
What Common Mode Voltage Represents
For a two-wire signal with conductor voltages (V_A) and (V_B), common mode voltage is commonly expressed as:
[ V_{CM} = frac{V_A + V_B}{2} ]
That equation is useful when both conductors are measured against the same reference. In practical systems, however, the meaningful definition is often simpler: common mode voltage is the voltage shared by one or more circuit conductors relative to chassis, protective earth, a shield, or another specified reference.
Differential voltage is the voltage between two conductors. Common mode voltage is their shared movement relative to the reference. A motor phase pair may have a controlled differential voltage, for example, while both conductors swing hundreds of volts relative to chassis because of inverter switching. The differential measurement can look correct even when the common mode behavior is severe.
This distinction matters because common mode voltage drives effects that differential measurements may not reveal: leakage current through parasitic capacitance, electromagnetic interference, insulation stress, current through cable shields, and damage to bearings in rotating machinery.
Define the Reference Before You Measure Common Mode Voltage
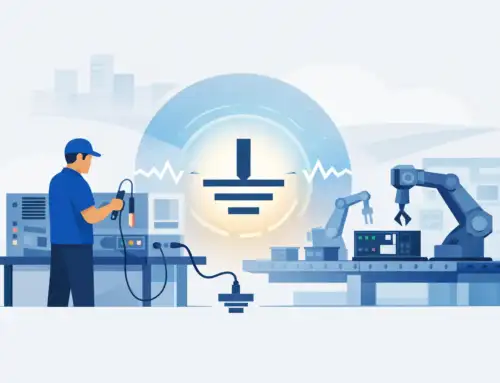
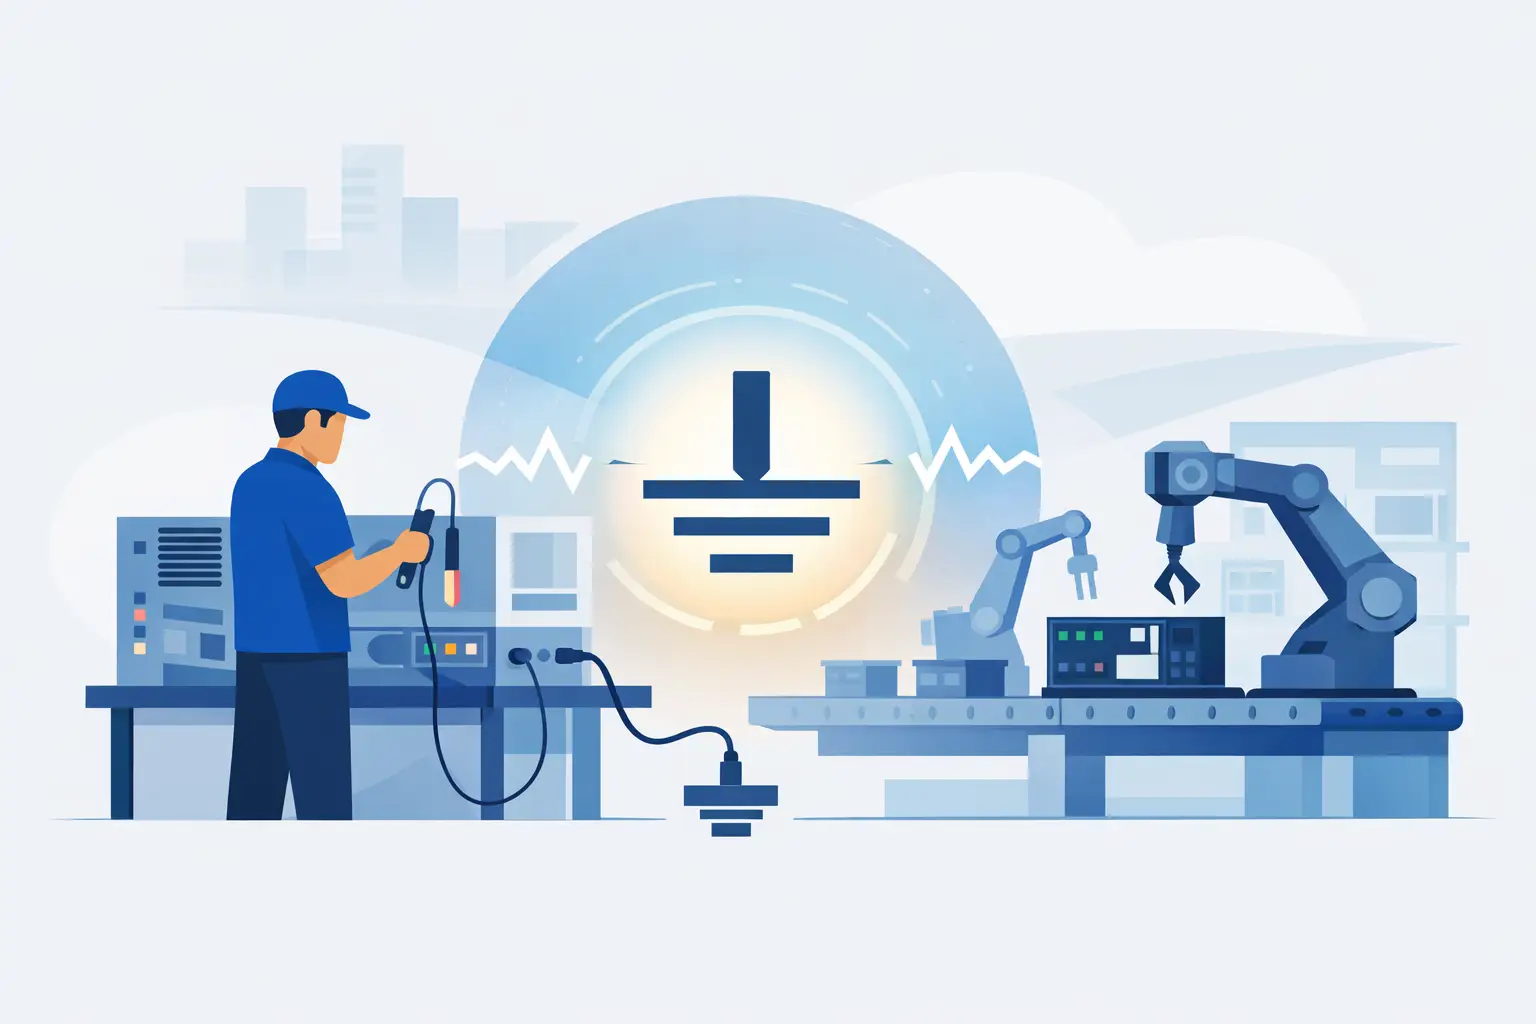
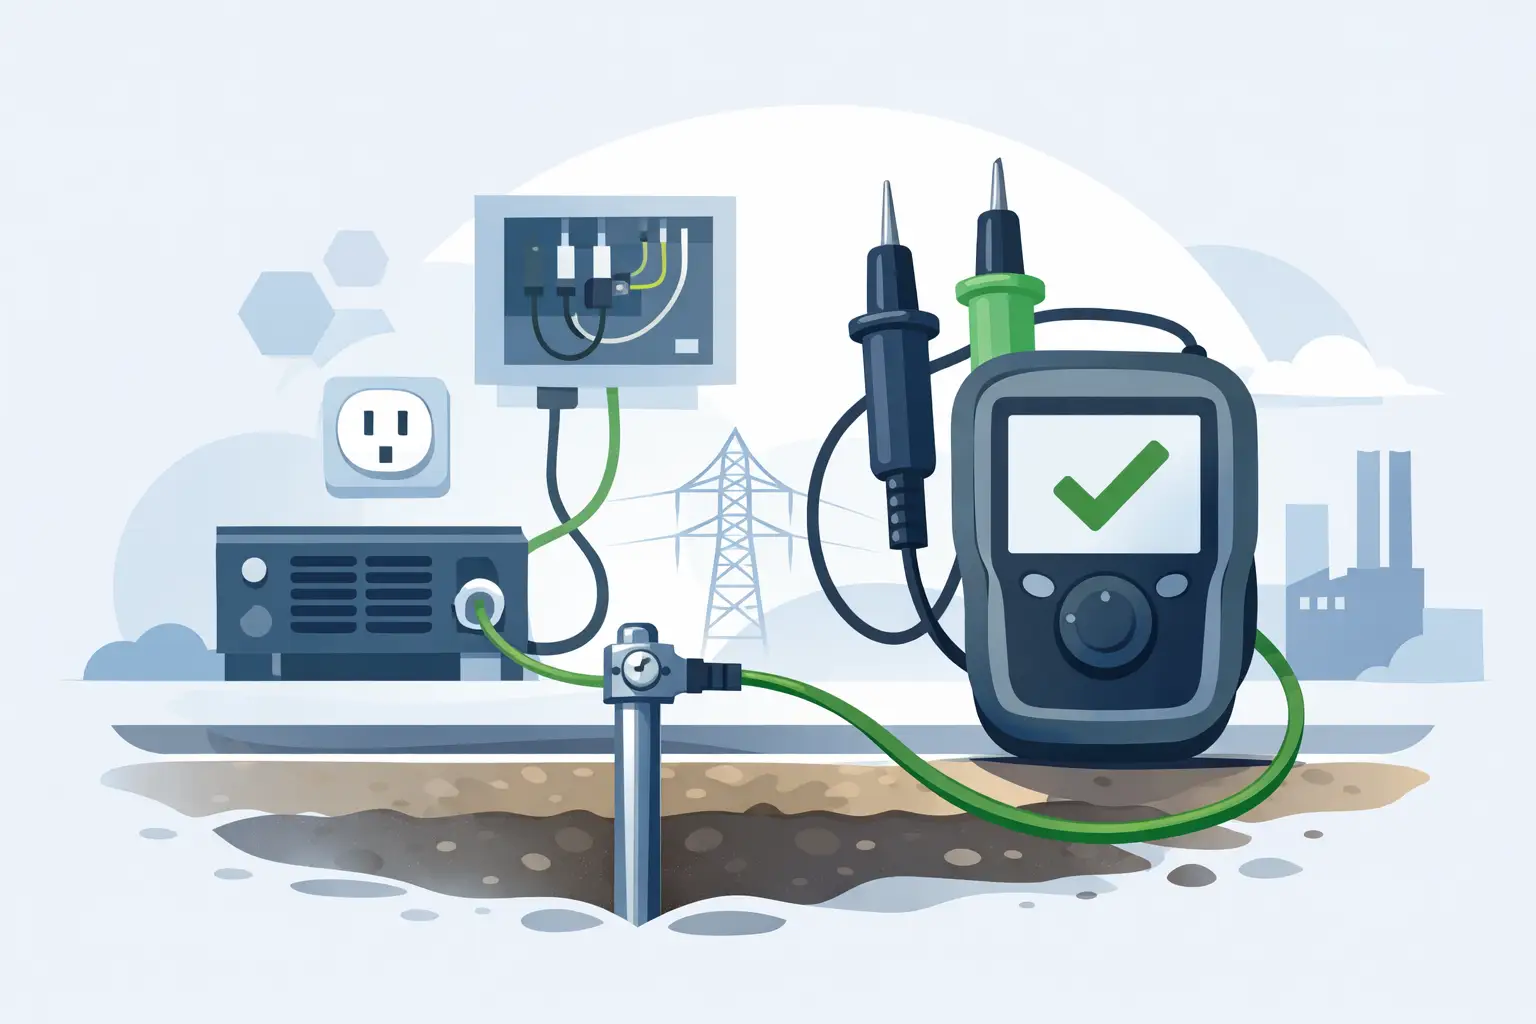
The first engineering decision is not the probe selection. It is the reference definition. “Ground” can mean protective earth, equipment chassis, DC bus midpoint, signal return, cable shield, or a floating local reference. Those points may differ materially during switching events.
Document the intended reference and measure at the location relevant to the failure mode. For conducted EMI investigation, the chassis or protective-earth relationship may be the priority. For a gate-drive or isolation-barrier assessment, the relevant reference could be the local secondary return. For motor bearing-current investigations, the inverter output or motor frame may be more meaningful.
Also define the expected voltage range, waveform type, switching frequency, rise time, and repetition rate. A 600 V peak, 10 kHz waveform with slow edges is a different measurement problem than a 600 V peak PWM waveform with nanosecond-scale transitions. The latter places far greater demands on probe bandwidth, common mode rejection, insulation rating, and physical setup.
Select an Instrument Configuration That Preserves Safety and Fidelity
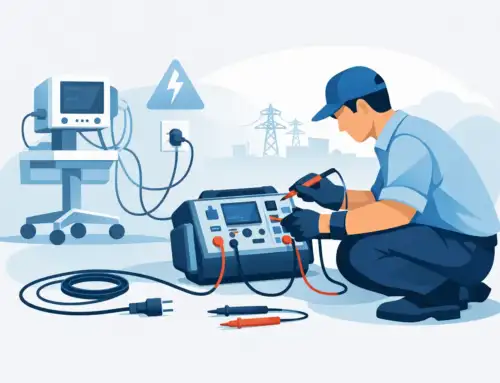
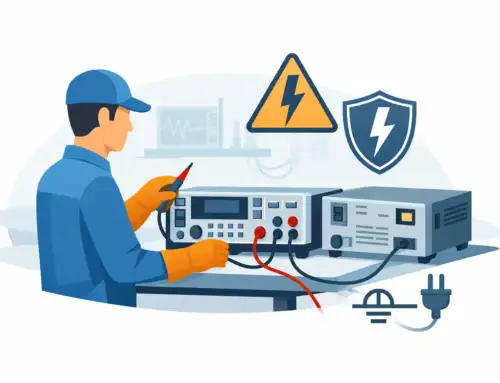
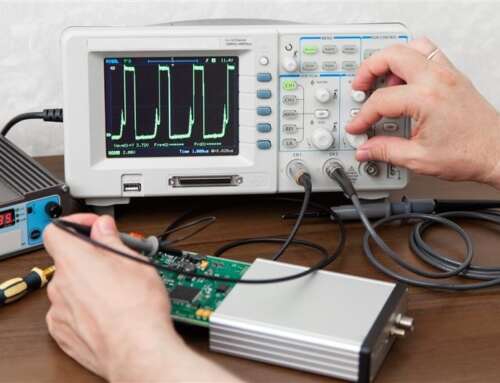
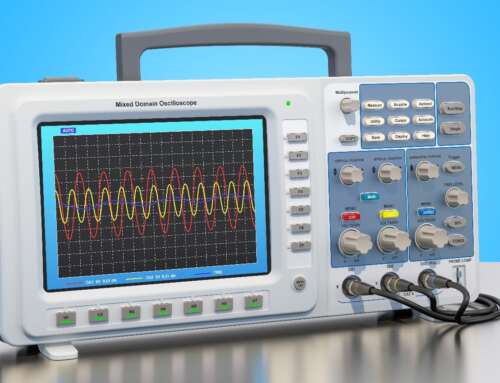
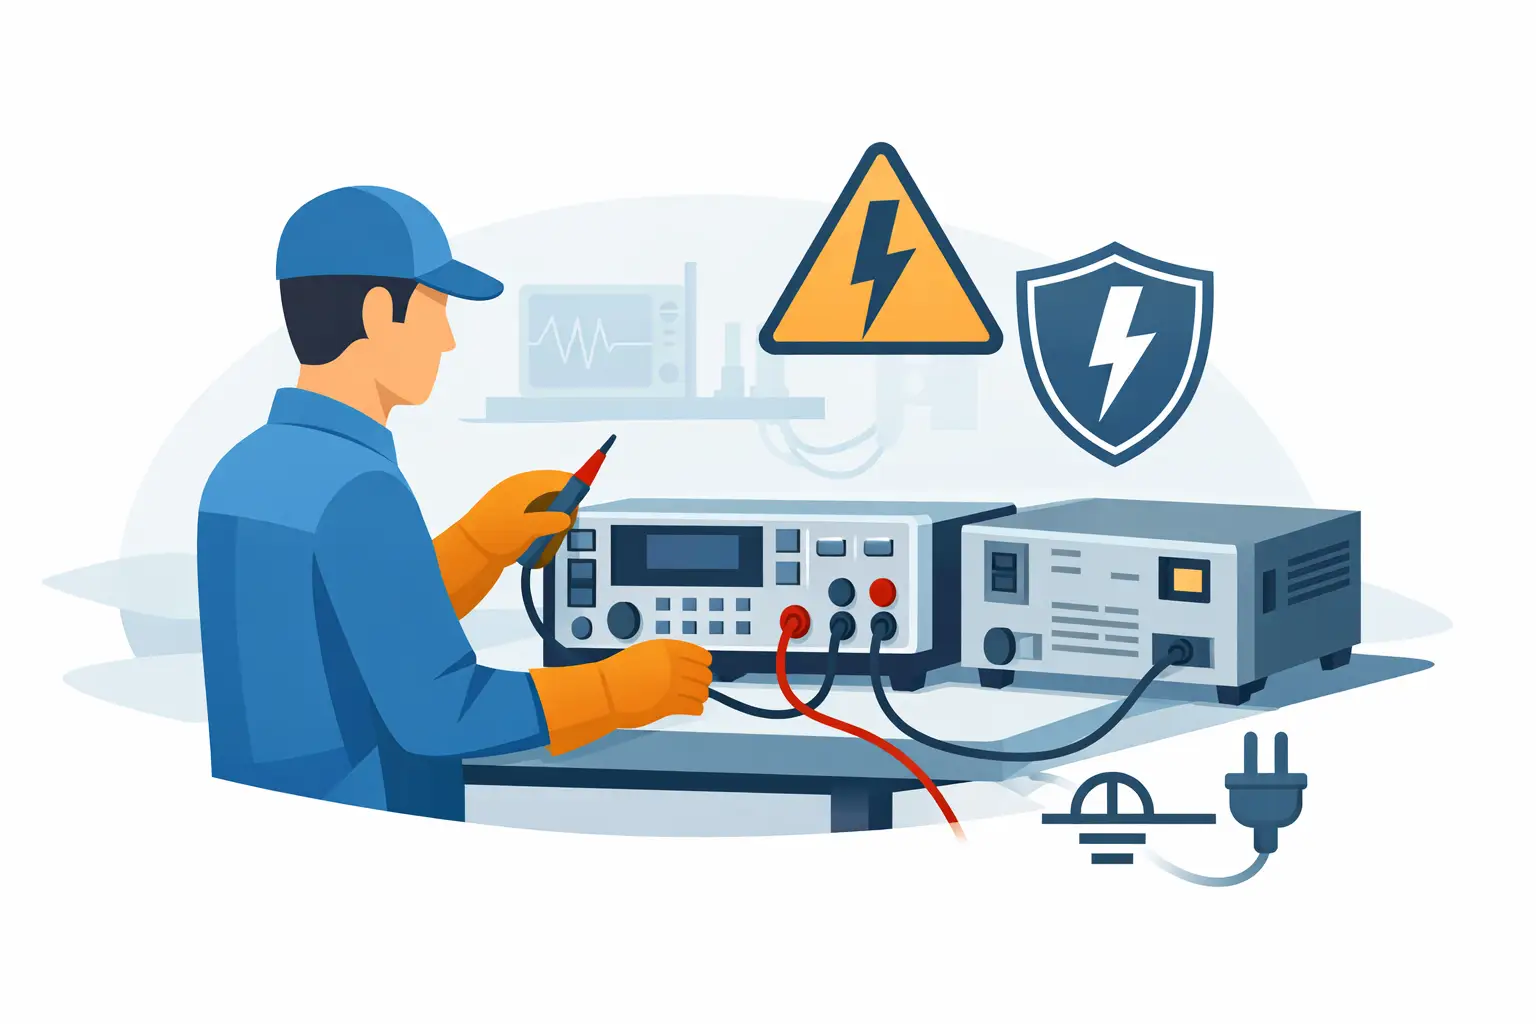
A standard earth-referenced oscilloscope channel measures its probe tip relative to the scope’s protective earth. Connecting a conventional ground clip to a floating high-voltage node can short that node to earth through the instrument. This is a common and serious test setup error.
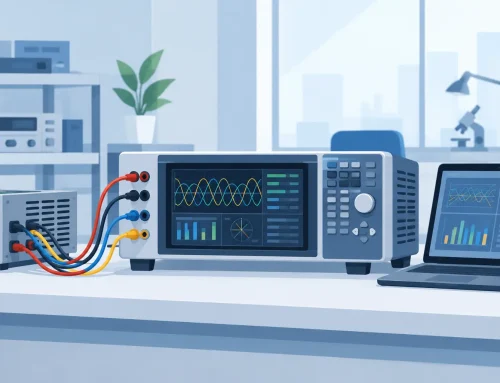
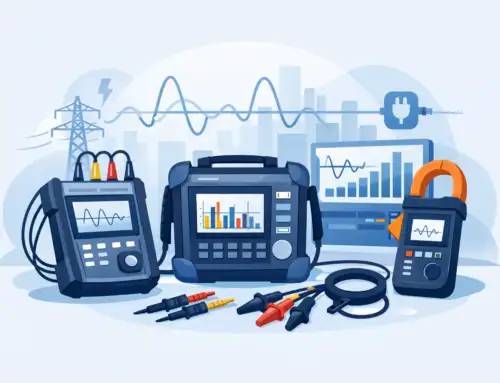
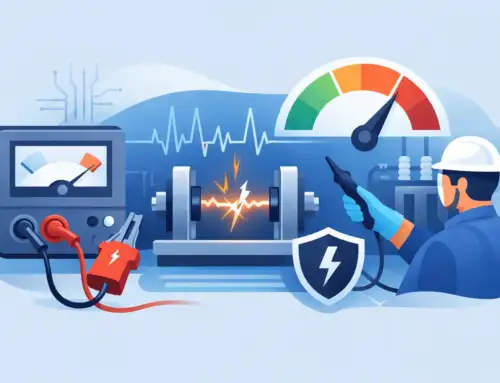
For dynamic common mode waveforms, a properly rated high-voltage differential probe is often the most direct choice. Connect the probe across the circuit point of interest and the defined reference. The probe must be rated for the maximum working voltage and expected transient overvoltage, not merely the nominal DC bus voltage.
The critical probe specification is not only differential range. Review common mode voltage range, common mode rejection ratio (CMRR), bandwidth, attenuation, input impedance, and safety category. CMRR normally degrades as frequency rises. A probe that rejects low-frequency common mode content well may show substantial error at the switching-edge frequencies that matter most.
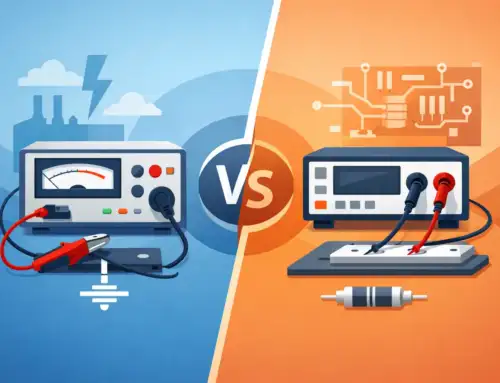
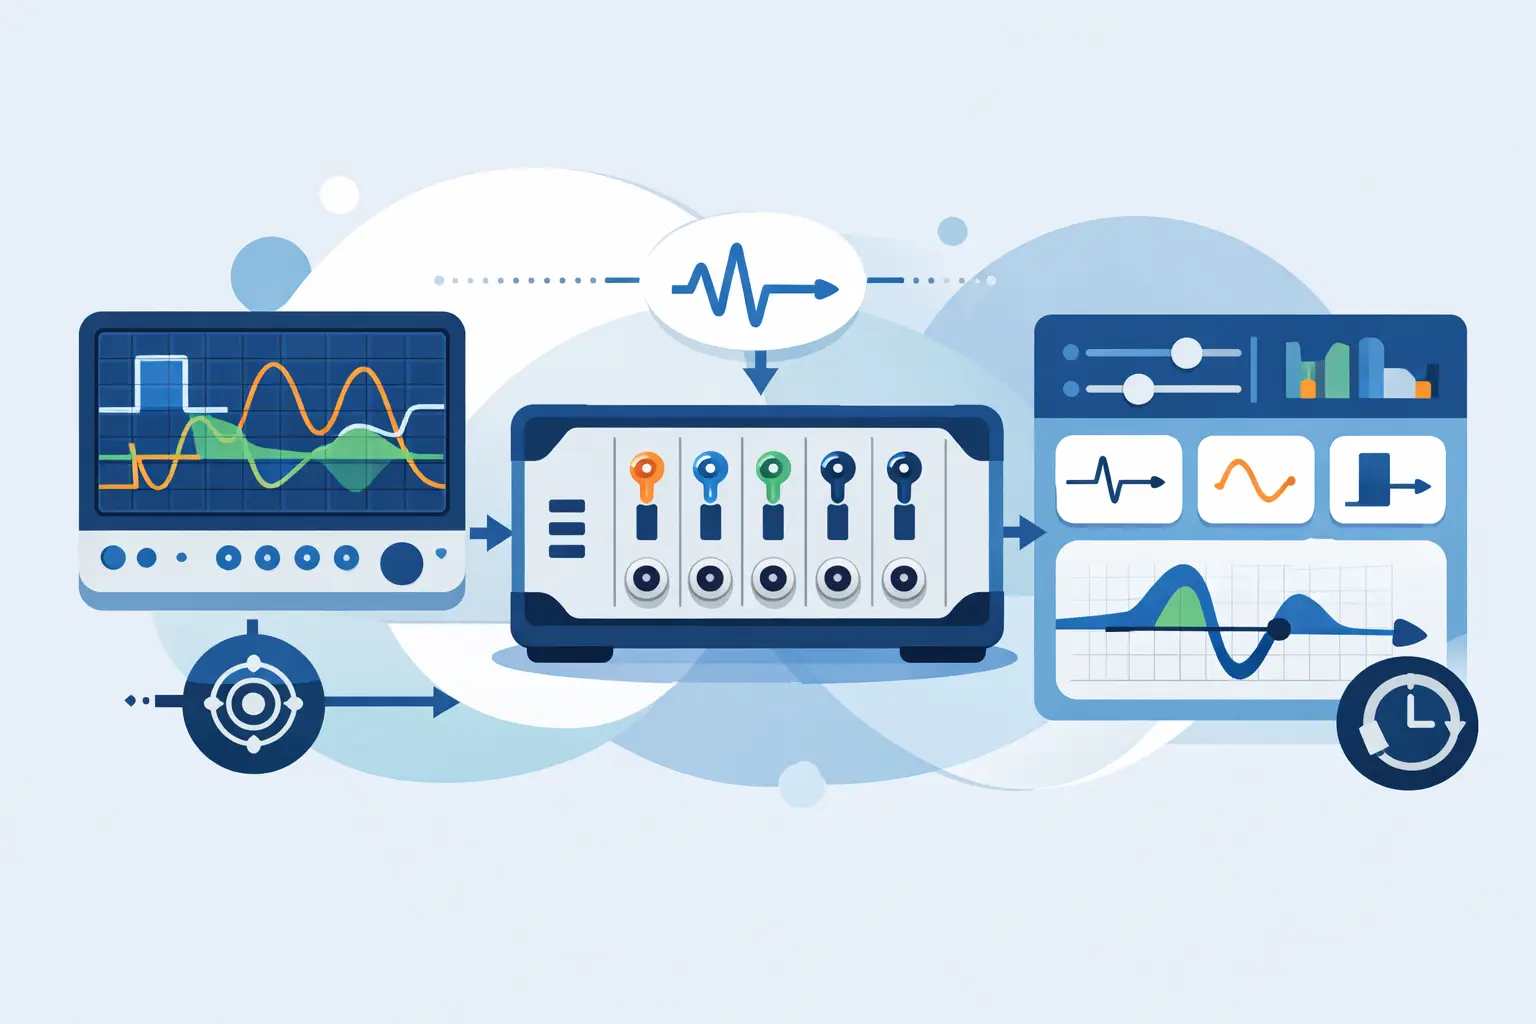
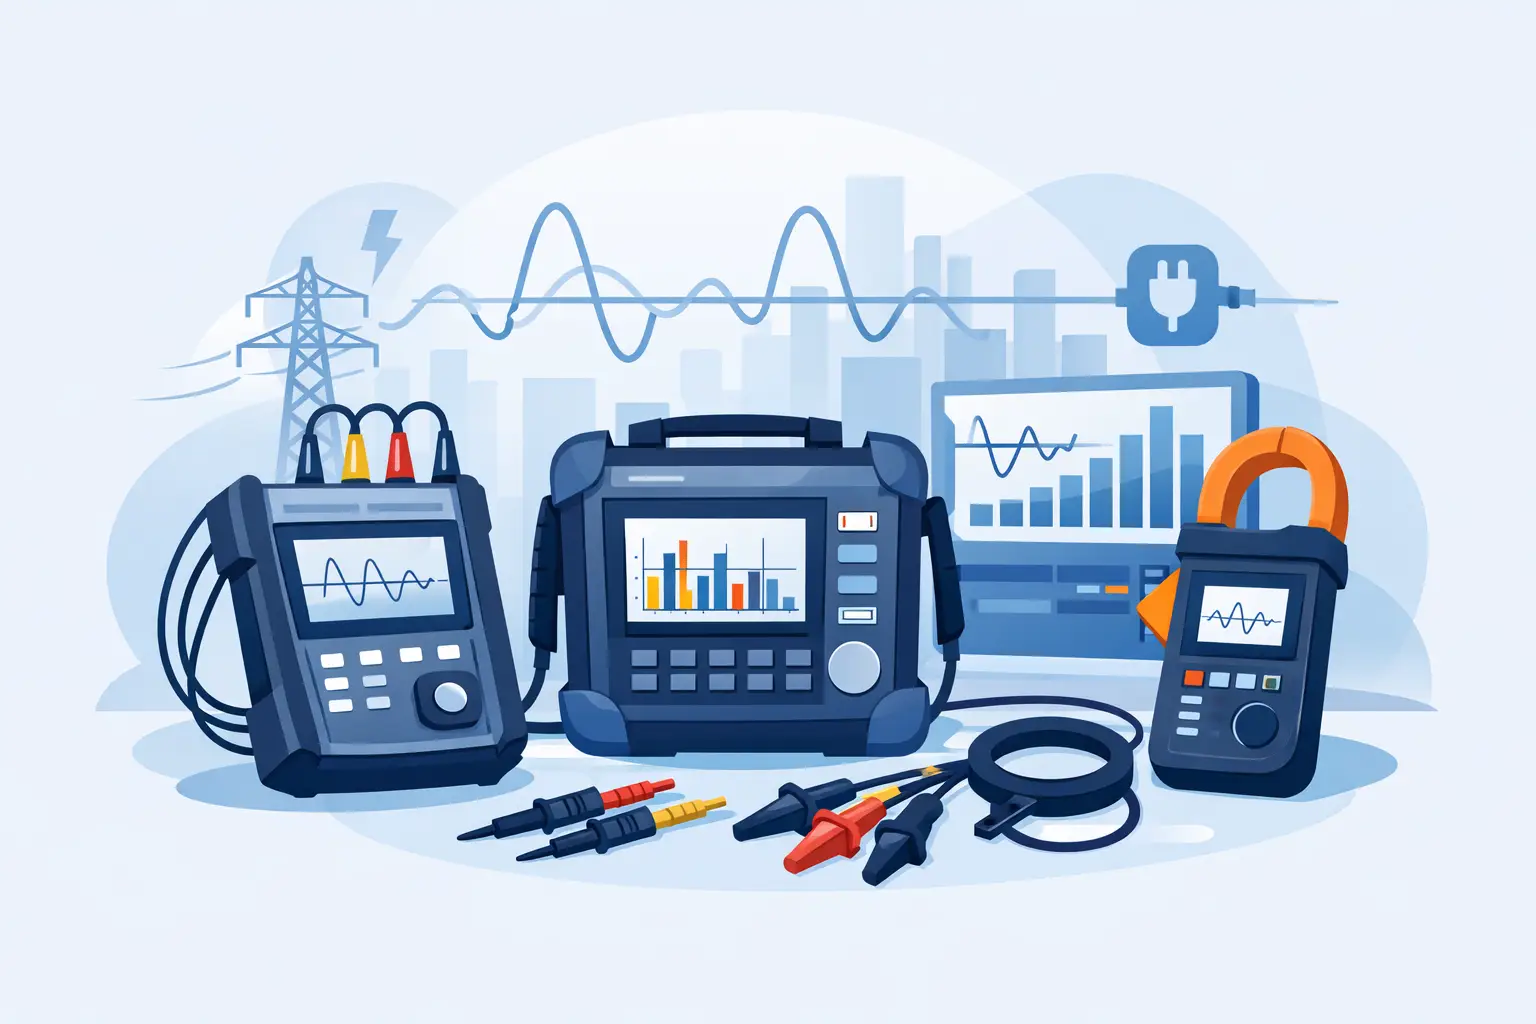
Isolated-input oscilloscopes and isolated digitizers can also be appropriate, particularly when multiple floating nodes must be observed at once. Their channel-to-channel isolation, input-to-earth rating, and synchronization performance must be evaluated as a system. Isolation does not eliminate the need to observe voltage ratings or safe probing practices.
For steady or slowly changing common mode voltage, a high-impedance digital multimeter may be adequate if its input, lead set, and category ratings are appropriate. It will not characterize ringing, overshoot, pulse width, or fast repetitive transients. A meter reading on a PWM node is often an average or RMS representation whose meaning depends on the meter’s bandwidth and measurement method.
A Practical Measurement Procedure
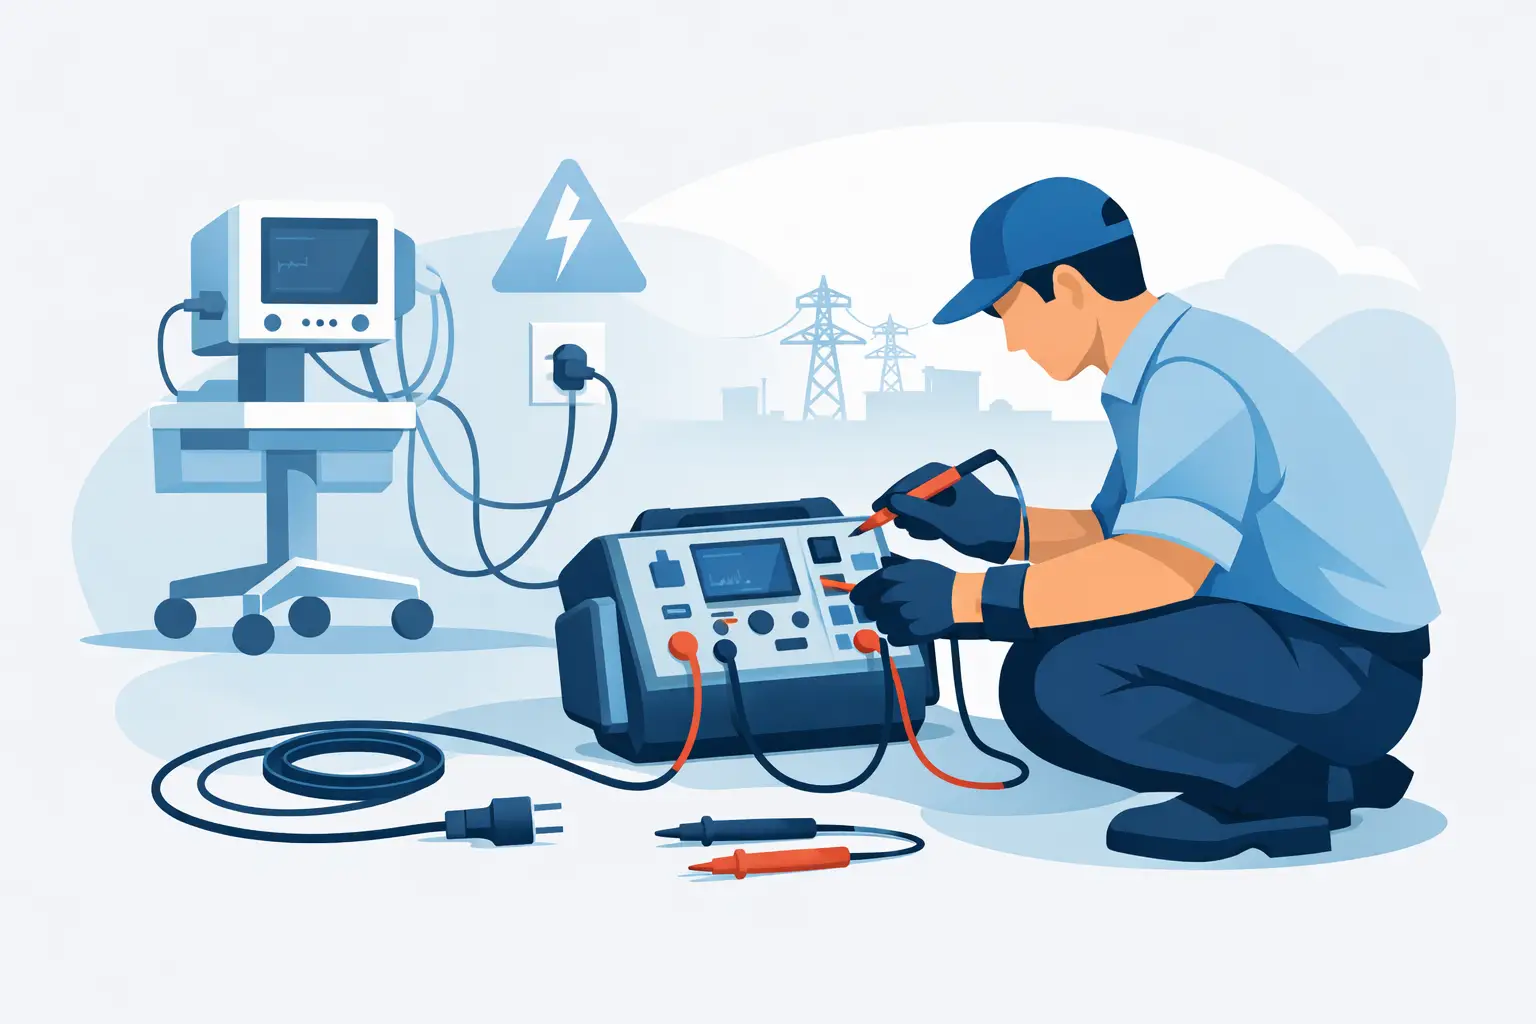
Start with the equipment documentation, test plan, and applicable electrical safety procedures. De-energize the system before changing connections whenever possible. Verify the actual node voltage with an approved method, and use leads and accessories rated for the environment.
Set up the instrument in this order:
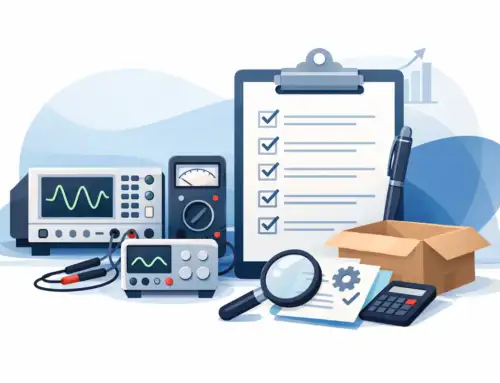
- Identify the measurement node and the physical reference point. Record both in the test procedure.
- Select a probe or isolated input with adequate working-voltage, transient, and frequency ratings.
- Confirm the instrument input configuration, attenuation factor, bandwidth limit, and sampling rate.
- Connect the reference lead first only when the connection method is safe for the circuit topology, then connect the measurement point using insulated techniques.
- Energize the system and begin with a conservative vertical scale and time base.
- Capture normal operation, startup, shutdown, fault transitions, and load changes when those conditions are relevant.
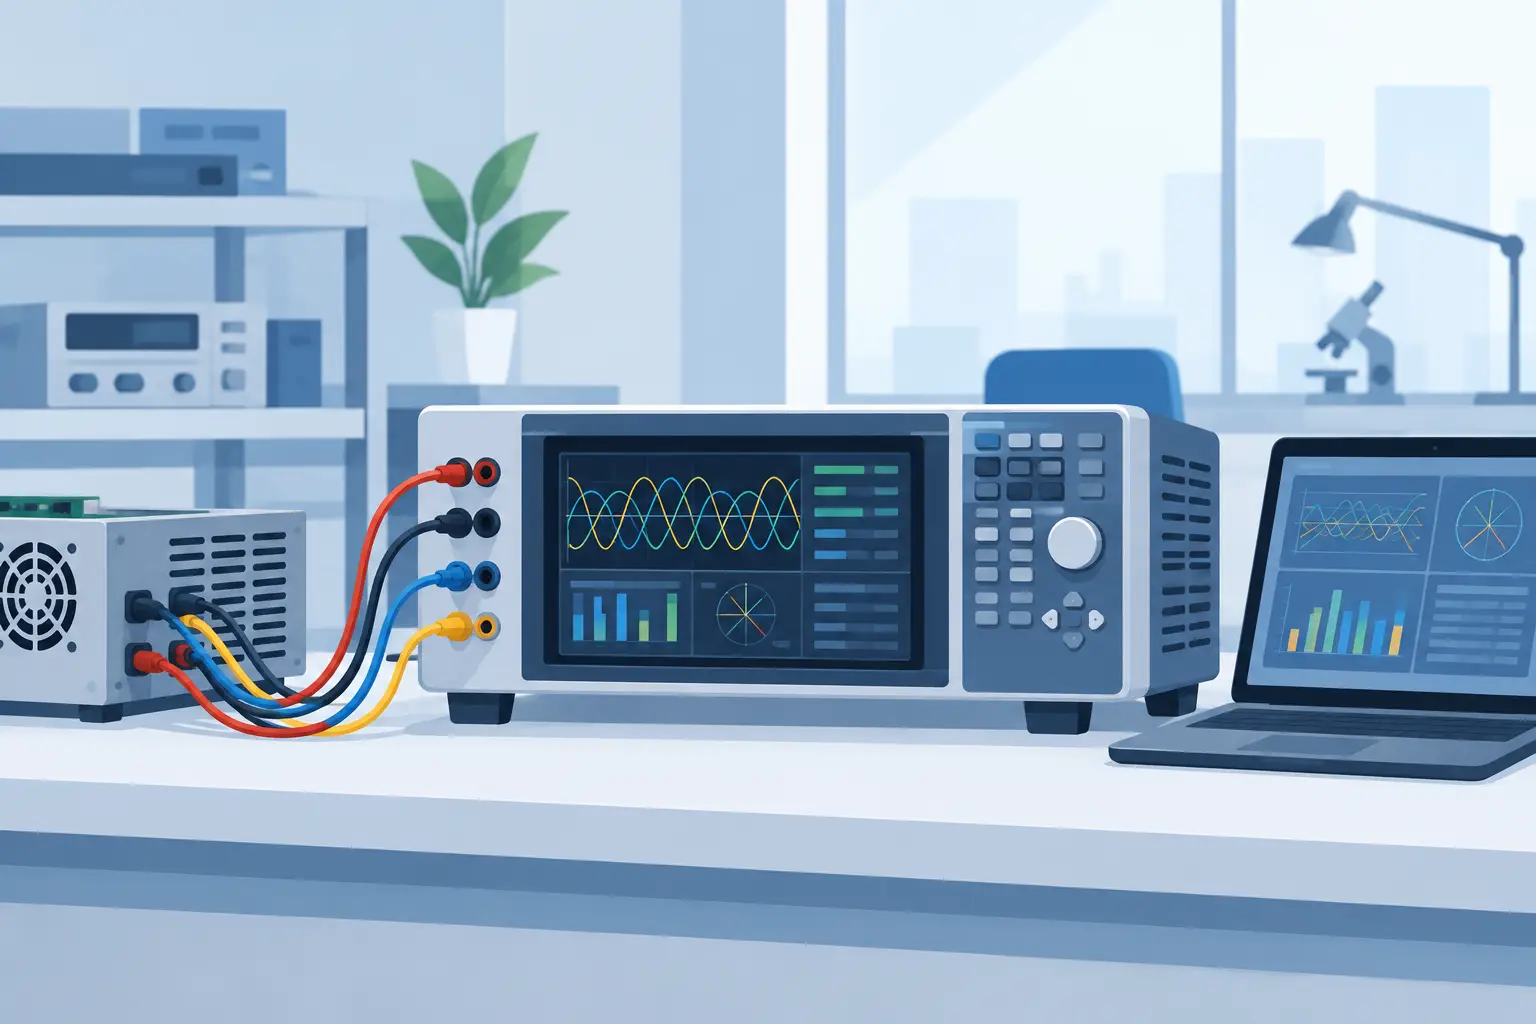
For a two-conductor system where (V_A) and (V_B) are each measured relative to the same reference, calculate common mode voltage with the oscilloscope’s math function or post-processing software. Use matched probes, matched attenuation settings, and synchronized acquisition. Any gain, phase, or timing mismatch between channels will appear in the calculated result.
When possible, make a direct measurement from the common mode node to the reference instead of deriving it from two separate channels. A direct differential-probe measurement removes some channel matching uncertainty. It may not always be physically possible, particularly in multi-phase systems or when the common mode quantity is defined mathematically across several conductors.
Control the Errors That Matter Most
Common mode voltage measurement errors frequently originate in the test fixture rather than the instrument. Long probe leads add inductance and act as antennas. Ground leads and pigtails can create ringing that is not present at the device under test. Keep loop area small, use the probe accessories intended for high-frequency work, and position the probe close to the measurement point.
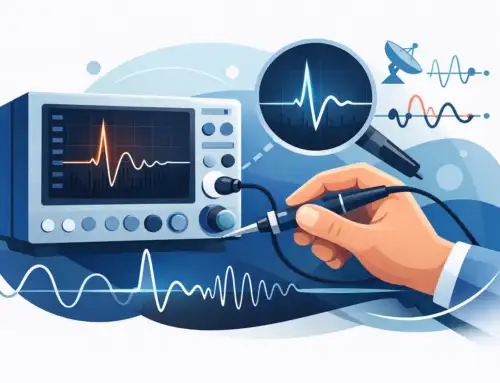
Bandwidth should match the objective. Limiting bandwidth can reduce noise and improve readability when evaluating low-frequency common mode behavior. But applying a 20 MHz limit to a fast inverter edge can hide overshoot and ringing that drive insulation stress and EMI. Capture wideband data first, then apply filtering deliberately and document it.
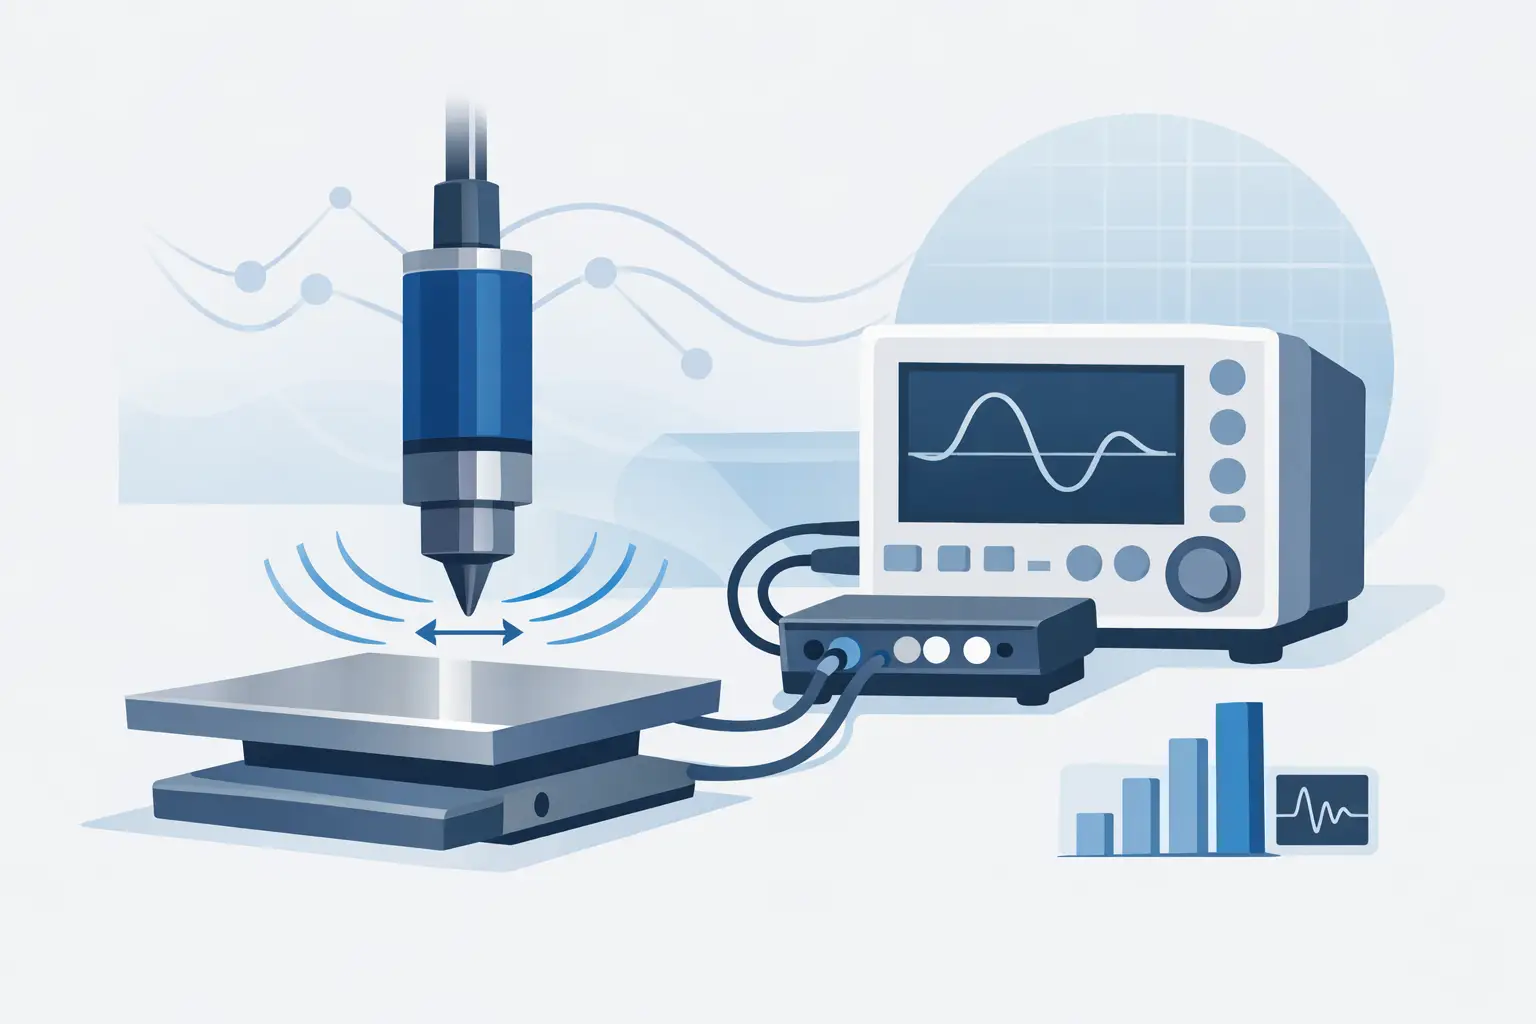
Sampling rate and record length deserve equal attention. Insufficient sampling can distort short-duration peaks, while an inadequate record may miss intermittent events caused by switching-state changes or load transients. For repetitive signals, persistence displays and segmented memory can help reveal infrequent excursions without generating impractically large records.
Probe loading is another trade-off. A probe’s input capacitance can alter a high-impedance node or affect resonant behavior. This is particularly relevant for gate-drive circuits, sensor interfaces, and low-energy isolated domains. If the waveform changes significantly when the probe is connected, investigate the measurement loading before drawing conclusions.
Verify the Measurement Chain
Before using a common mode result for design decisions or compliance evidence, verify the complete measurement chain. Check probe compensation where applicable, inspect connectors and insulation, confirm attenuation settings, and validate the instrument against a known source or reference waveform. For two-channel calculations, verify gain and time alignment between channels.
Calibration status supports traceability, but it does not replace application-level validation. A calibrated oscilloscope and a calibrated probe can still produce misleading data if the probe is outside its voltage or frequency capability, the reference point is poorly chosen, or the physical setup introduces artifacts.
Repeat the measurement after changing probe routing or replacing a probe. If the reported peak changes substantially, the setup may be coupling to the field rather than measuring the intended node. This sensitivity can itself be useful diagnostic information, but it should not be mistaken for confirmed circuit behavior.
Apply Results to the System Decision
A valid common mode measurement should lead to a specific engineering action. Excessive switching peaks may require revised gate-drive timing, snubber design, filter topology, shielding, cable termination, isolation strategy, or layout changes. In a motor-drive application, the result may guide common mode choke selection or a bearing-protection strategy. In safety-critical equipment, it may identify where insulation coordination and leakage-current performance require further review.
The right measurement is not necessarily the one with the highest bandwidth or the most complex instrument configuration. It is the one that is safely acquired, traceable to a defined reference, and accurate enough for the design or compliance decision at hand. Treat the probe, instrument, fixture, and grounding arrangement as one measurement system, and common mode voltage becomes a defensible engineering result rather than an ambiguous waveform on a screen.